
Also published at Shapeways Magazine
—–
Welcome to the first Tutorial Tuesday on Shapeways! Each week, we’ll explore 3D design tutorials to help designers of all levels create and 3D print digital designs. This week, we’ll begin at the beginning with a tour of the basics: How to create simple designs, work with 3D printing constraints, and optimize models for materials and costs. Make sure to let us know in the comments what you’re looking to design, and share any questions or requests you might have along the way.
Whether you’re a 3D printing beginner or a seasoned pro, if you’ve tried looking for 3D printing and design tutorials online, then you’ve probably noticed that there are already a lot of tutorials out there. The hard part isn’t finding design tutorials, it’s figuring out which of the many available articles and videos are worth reading or watching! On Tutorial Tuesdays, we’ll be curating and discussing the best existing tutorials so that you can focus on designing and printing cool things.
Before we venture out into the big bad internet, let’s take stock of we have here at home. Shapeways already has dozens of great 3D printing and design tutorials to help you create, print, and troubleshoot 3D models. This week we’ll be covering the very basics, taken from the Shapeways 3D Printing & Design Tutorials collection and the Shapeways YouTube Channel.
Creating simple designs
If you’re completely new to 3D design, then the first thing you’ll need to know how to do is create a digital model. One of the fastest and easiest ways to do that is with the Shapeways 2D to 3D Creator Tool, which enables you to quickly turn a 2D image into a 3D-printable model. To get started quickly, check out Laurie Berenhaus’ video Using the 2D to 3D Tool and you’ll be up and running in just four minutes. If you’ve got more time on your hands, try working through the detailed six-video playlist Beginner 3D Modeling for 3D Printing: How to turn a sketch to a 3D model to a 3D Print by Lauren Slowik, Design Evangelist for Education at Shapeways. In that series of videos, Lauren will walk you through the process of using Photoshop to convert a sketch into a digital 2D file, then show you how to use Tinkercad to turn that sketch into a digital 3D file, then finally uploading the model for 3D printing at Shapeways.

Design considerations for 3D printing
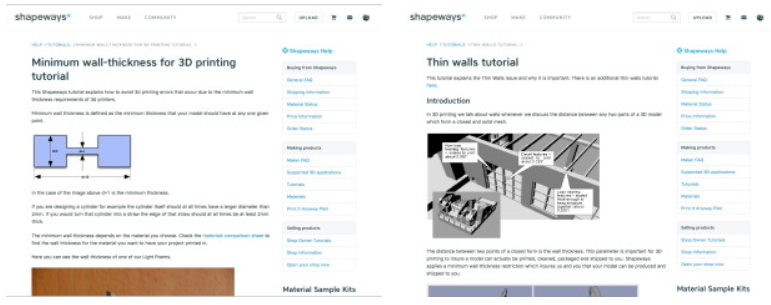
However you create your 3D models, in order for them to be 3D printable, they will have to meet certain design constraints. For example, you’ll probably want to make the walls of your models as thin as possible to keep 3D printing costs low, but at the same time you’ll need to keep those walls thick enough so that your design can 3D print successfully. Check out the Shapeways Minimum wall-thickness for 3D printing tutorial for tips about identifying thin walls and features, and the Shapeways Thin walls tutorial to learn strategies for designing delicate features for printability.
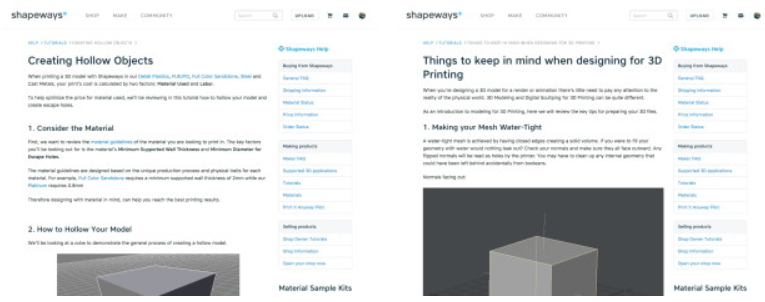
But what if your model doesn’t have any thin walls at all? Well, that might be a problem. For example, printing a solid cube can be very expensive to 3D print, because of the amount of material the 3D printer must use to create such a model. A hollowed-out cube — that is, a thin cubical shell with a small escape hole so that 3D printing material can be removed from its interior — will cost far less than a solid cube of the same size. If you’re used to printing on a desktop filament-based 3D printer, then hollowing out models might be new to you, but it is an essential part of modeling for printing with SLS nylon powder and in other materials at Shapeways. To learn how to turn your solid models into hollow ones for printing, read the Shapeways tutorial Creating Hollow Objects. Even more importantly, some digital 3D models aren’t 3D printable at all, at least not initially. For technical details about making your designs “watertight” and “manifold” for printability, take a look at the Shapeways tutorial Things to keep in mind when designing for 3D Printing.
Materials and Costs
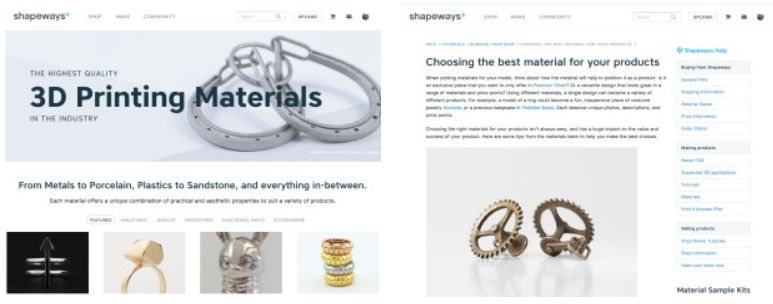
We’ll finish this week with some hints on how to keep costs down while printing with different types of 3D printing materials. For detailed information on each type of 3D printing material that Shapeways offers, check out the 3D Printing Materials guide. For tips on choosing the right 3D printing material for your design, especially if you want to print in cast or plated metal, read the Shapeways tutorial Choosing the best material for your products.
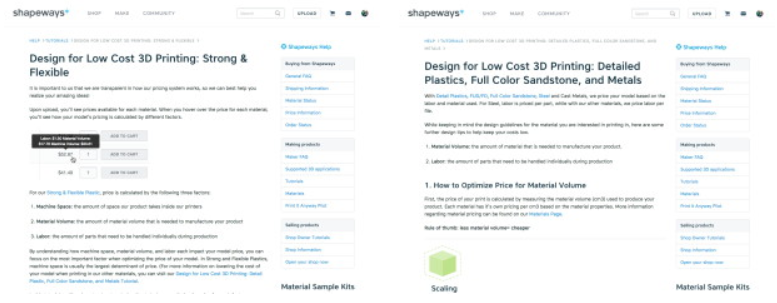
Whatever material you use, your 3D printing costs will depend on the volume of your object, and/or the amount of space it takes up in the machine, and/or a per-part handling fee. If you’re printing with SLS nylon, also known at Shapeways as Strong & Flexible Plastic, then you can reduce printing costs by hollowing out your model and by enclosing or connecting multi-part models. See the Shapeways tutorial Design for Low Cost 3D Printing: Strong & Flexible for details. To learn about cost-optimizing techniques for more exotic materials, check out the Shapeways tutorial Design for Low Cost 3D Printing: Detailed Plastics, Full Color Sandstone, and Metals.
Stay tuned, because next Tuesday we’ll dive deeper into printability with our second round of tutorials, including information about designing, exporting, and even repairing digital models for 3D printing. Have a great Tuesday, and make sure to leave your questions, ideas, and requests in the comments. And, don’t forget to share what you’re working on as you learn to 3D model. See you next week!
——————
As an Amazon Associate we earn from qualifying purchases, so if you’ve got something you need to pick up anyway, going to Amazon through this link will help us keep Hacktastic running. Thanks! :)

Leave a Reply