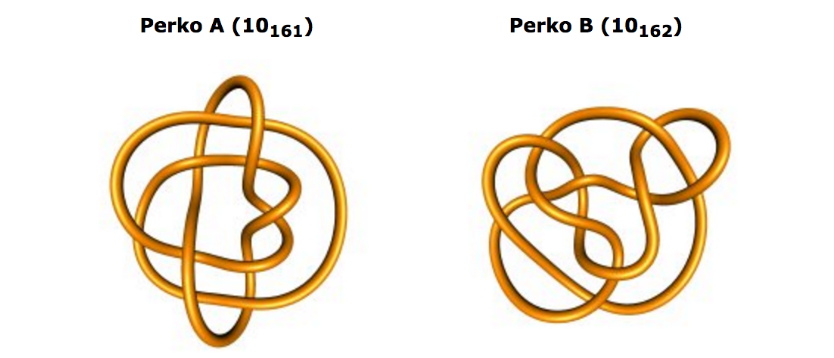
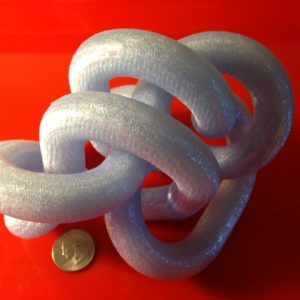
The Perko Pair is a famous pair of knots that for a long time were thought to be different, but later were famously revealed to be the same by Kenneth Perko in 1973. When these knots originally appeared in Rolfsen’s Knot Table (see also his book Knots and Links), they were known as 10_161 (now “Perko A”) and 10_162 (now “Perko B”):
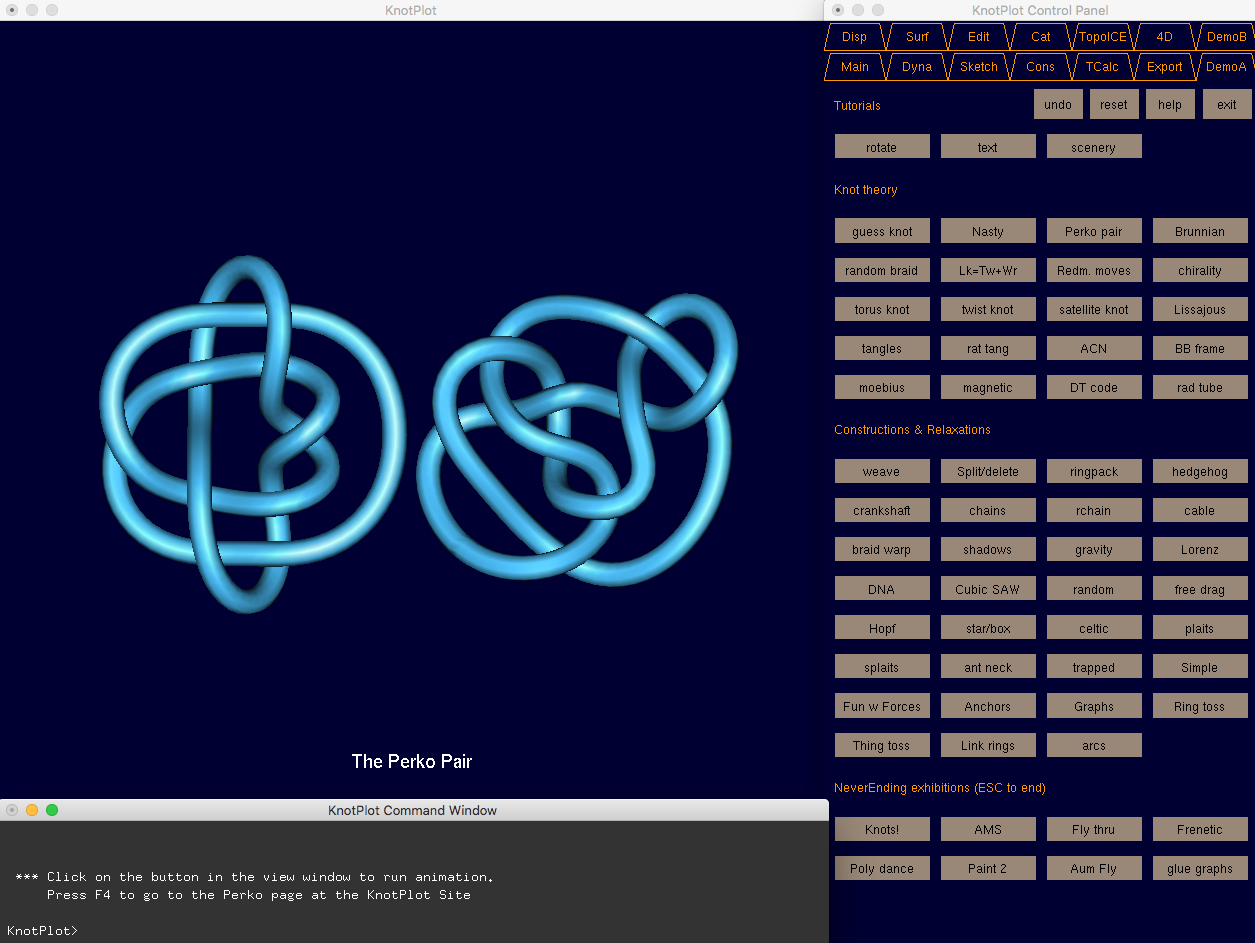
The knot we printed is a morph about halfway between Perko A and Perko B, obtained from KnotPlot by my student Jonathan Gerhard. You can read about his related project on his blog “Mathematical ADD” here: The Perko Praxinoscope and the Shrikhande Graph.
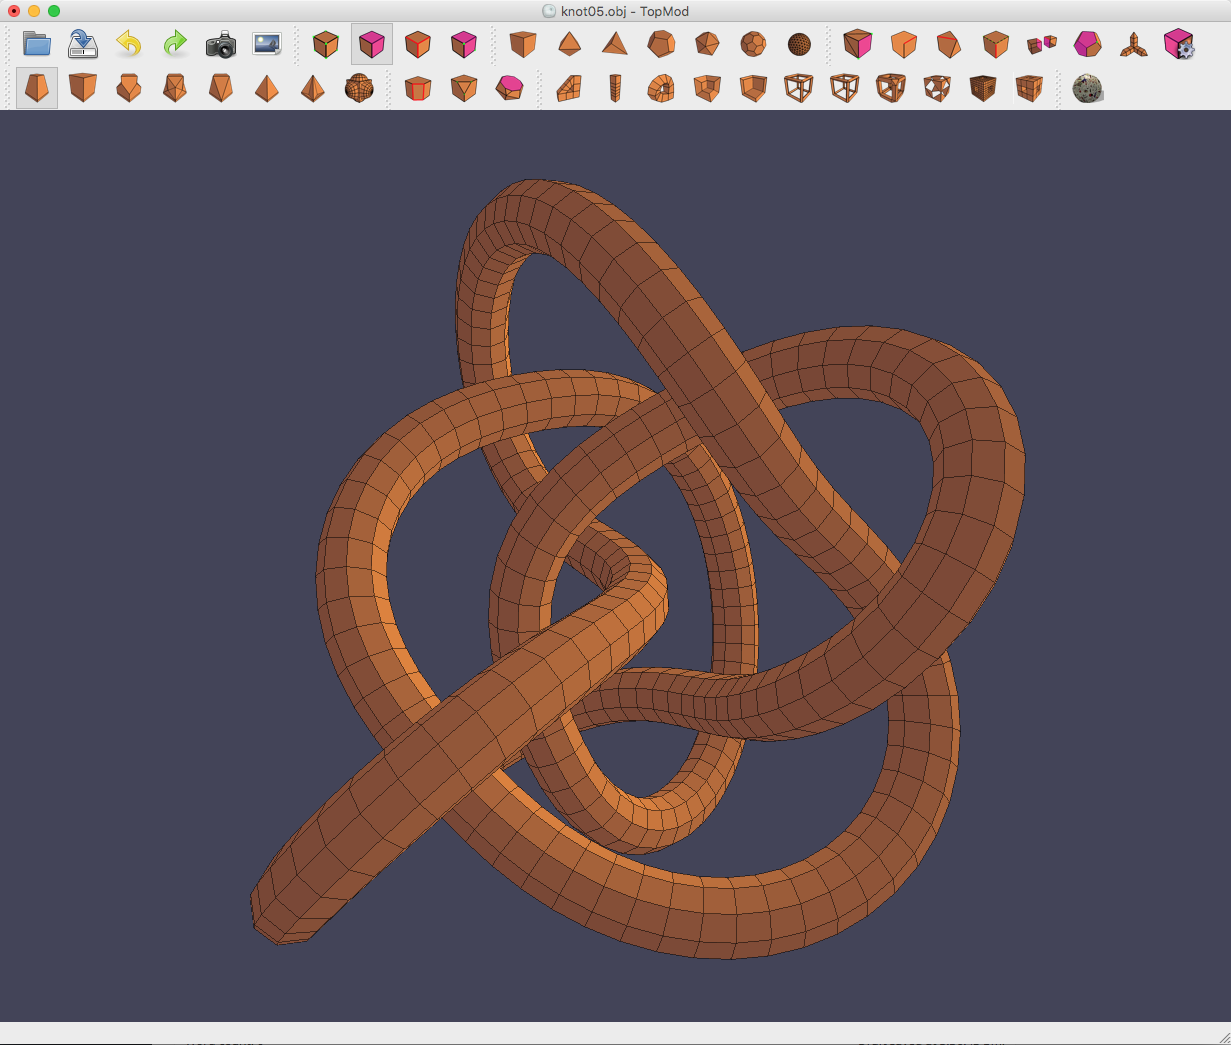
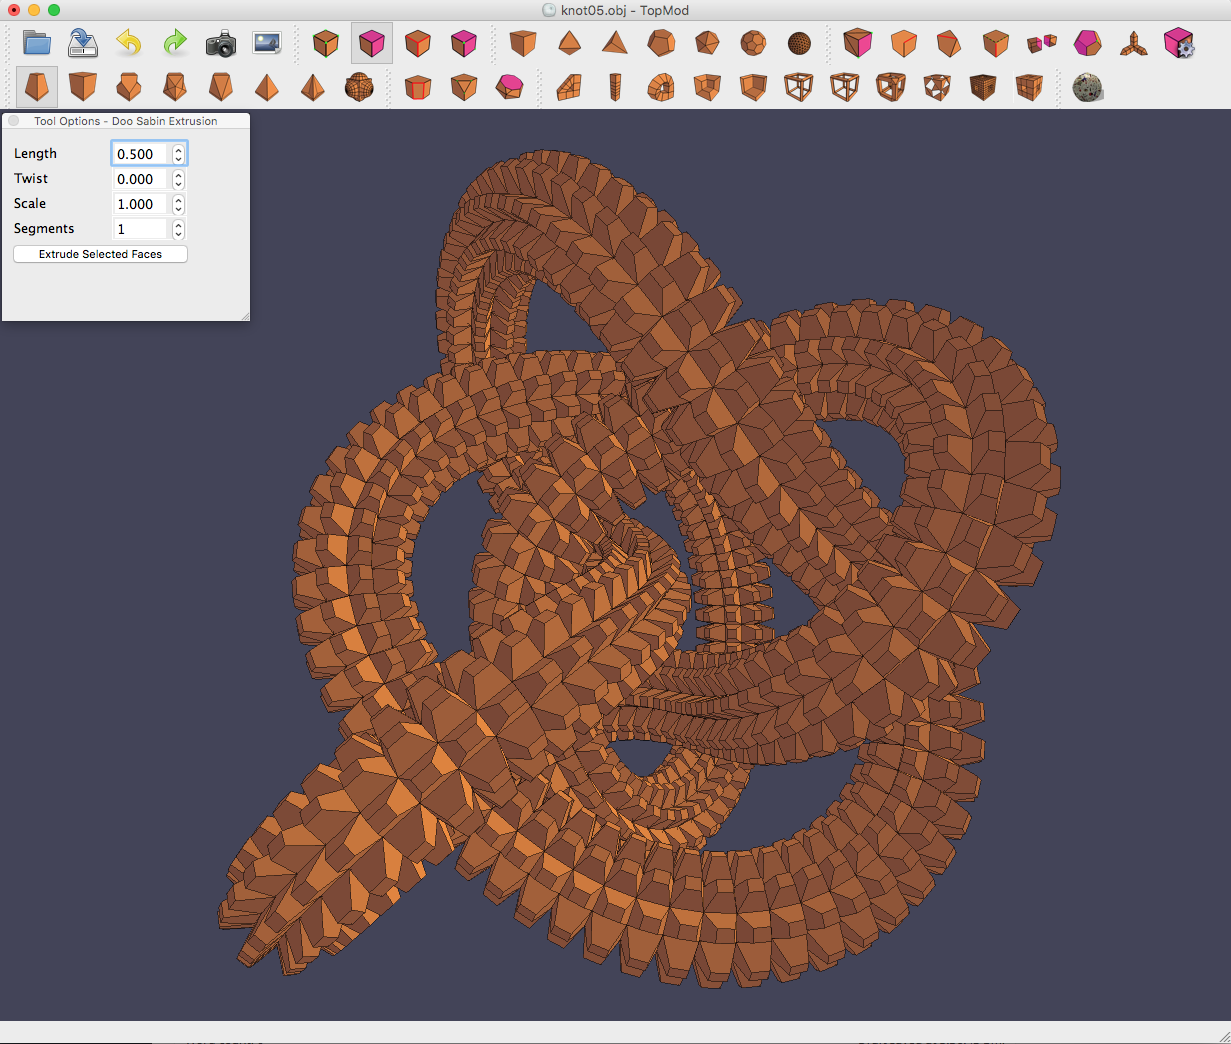
For design/aesthetic reasons we decided to add some “tire tracks” around the knot, both to accentuate the path of the knot, and to create a model that would really benefit from printing with dissolvable PVA supports on our shiny Ultimaker 3. To do this we opened the model in TopMod...
…and added some Doo Sabin Extrusions to the faces of the mesh:
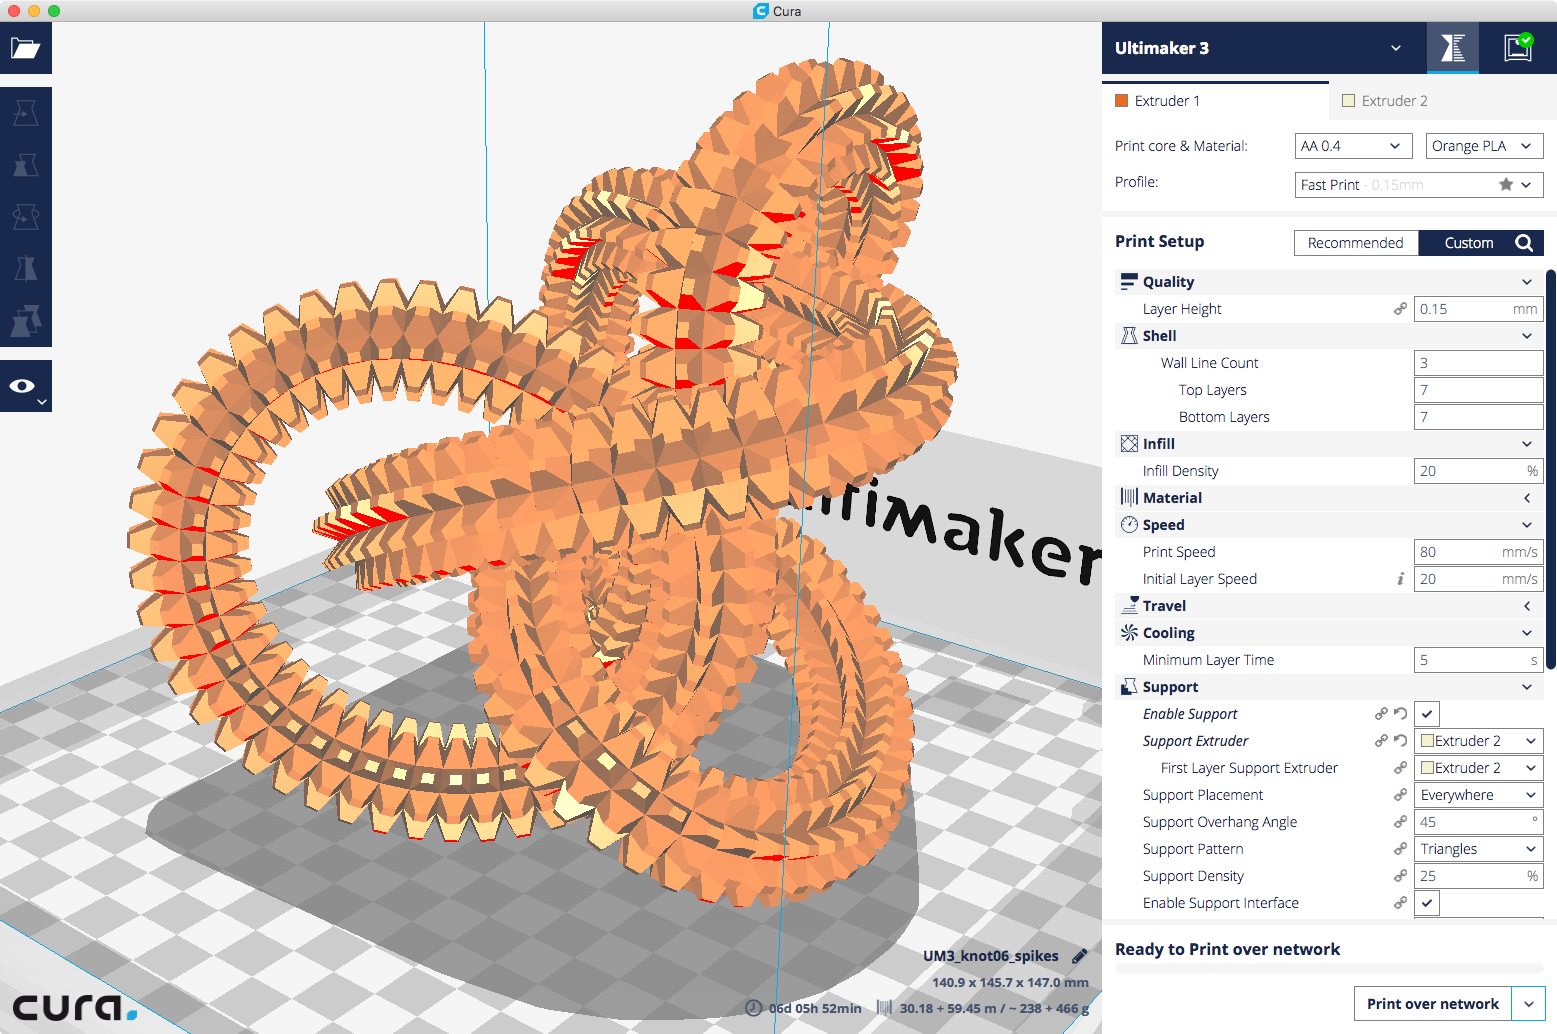
Even with “Fast Print” in Cura, our dual-extrusion PLA/PVA print was estimate to take over six days! This was by far the longest print we have ever attempted. In hindsight we probably could have sped things up considerably by reducing the support density, and we’ll probably try that next time we have a long print like this. In addition, we later learned that we could have used PVA only for the interface material between the support and the model, so that the bulk of the supports could be printed in PLA, instead of the very expensive PVA material. We will definitely do that next time, to save money!
Before printing this model I had been fortunate to have seen Sean Charlesworth’s fantastically detailed Tested: Ultimaker 3 3D Printer Review, in which he showed how to reconstruct a broken “prime tower”. A prime tower is a rectangular tower that prints to the side of a dual-extrusion print and primes and wipes off the nozzles when the print switches from one filament to another. On long prints, sometimes these prime towers get knocked over, and that did indeed happen during my Perko knot print. Sean’s solution was to stand the tower back up and then use another 3D printer to print a small segment to make up for any height missing from when the printer was printing with a knocked-down tower. I didn’t have the patience to try to print something exactly the right height, so I used a combination of Legos and pieces of business cards to repair my tower:
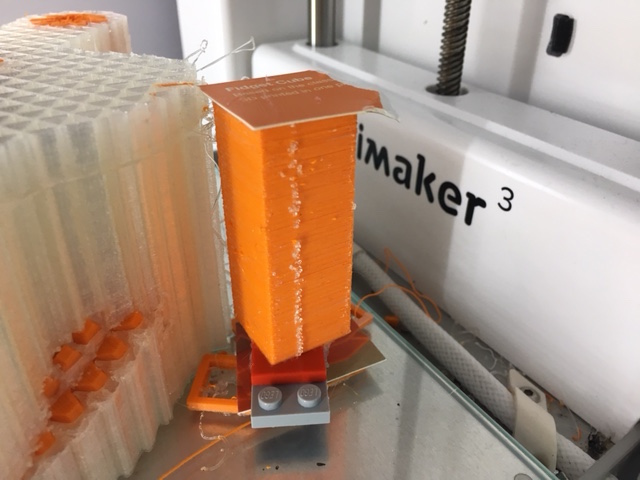
Over the course of the six days, my Frankenstein tower fell down multiple times, and in the end I used a combination of old pieces of tower from another print, rubber bands, and just giving up and letting the printer air-print the top of the tower:
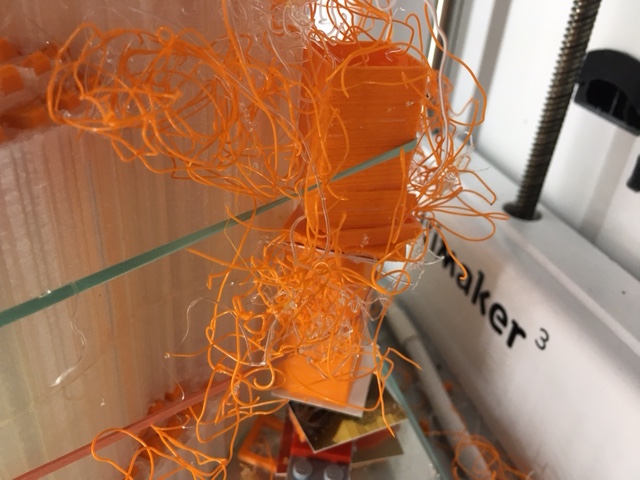
In the end it all worked out fine somehow, and the model was put into a bucket of water and left overnight so that the supports could dissolve:
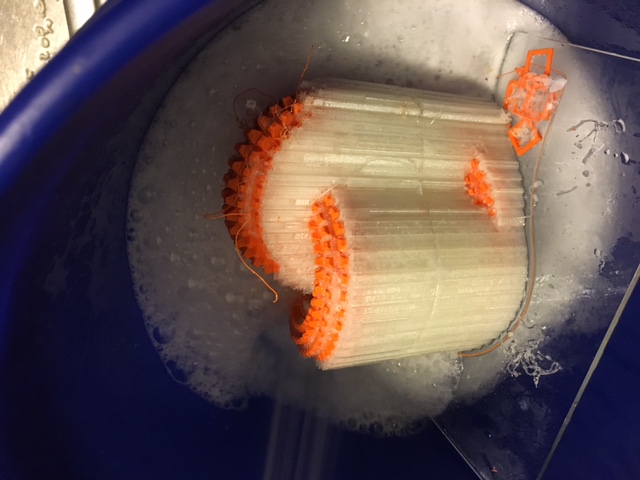
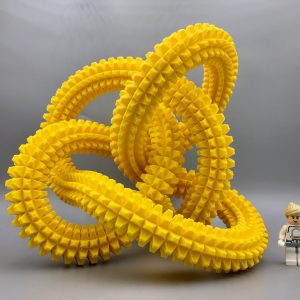
Here is the final model, with a Lego minifig friend for scale. In related news, I bought a lighted photo tent and it has been really great for taking photos like this! I highly recommend this photo tent; it’s small and easy to use, but not cheap or flimsy. And it helps create great photos like this, just from my phone:
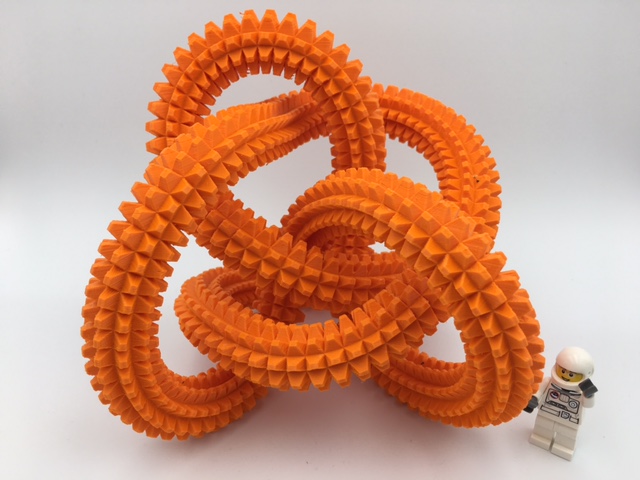
You can download this model from Thingiverse at Giant Spiky Perko Knot if you want to try printing it yourself. If you do, post a “Make” or leave a comment here to show it off!
——————
As an Amazon Associate we earn from qualifying purchases, so if you’ve got something you need to pick up anyway, going to Amazon through this link will help us keep Hacktastic running. Thanks! :)

Nice. Thanks.