
Also published at Shapeways Magazine
—–
One of the most basic 3D design skills is putting a thing on top of another thing. It’s not hard. Even these guys can do it:
But what if you want to put a thing around another thing?
For an amateur 3D designer, how to wrap something around another thing is one of those questions that you know must have an answer but seems impossible to figure out.
It comes up so often, in fact, that we’re going to devote all of this week’s Tutorial Tuesday to answering it using the Grasshopper plugin that comes with the 3D modeling software Rhino. (See last week’s post for an introduction to Grasshopper). And we’re going to give you the code so you can wrap your own things around other things.
Learn to Wrap
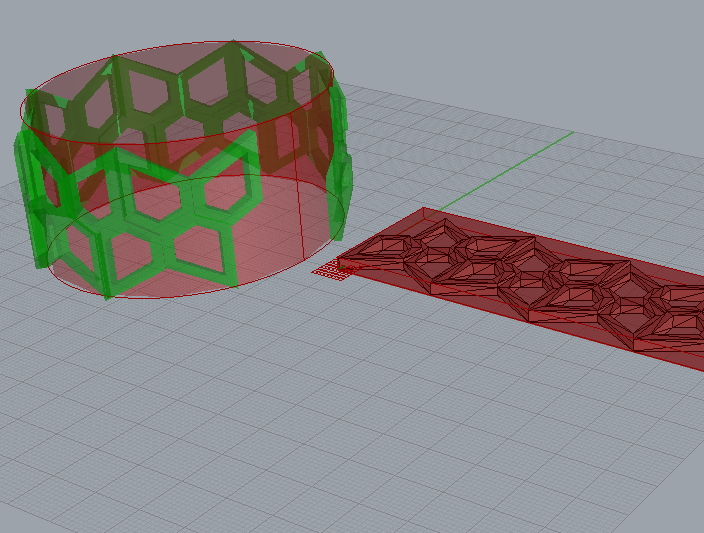
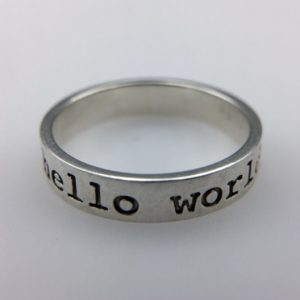
For example, suppose you have a flat band that you want to wrap around an elliptical cylinder to make a bracelet. In the image below, the individual pentagons in the band each get extruded to different heights — and those extrusions are preserved when the band is wrapped around the cylinder.

We are trying to make a bracelet, so the cylinder should have wrist-sized dimensions that we can adjust. The band we are trying to wrap around the wrist-cylinder might not be the same length as the circumference of the cylinder, but we want it to wrap around the cylinder evenly. Finally, for a C-shaped bracelet, we want to be able to adjust the size of the gap where the bracelet will slide onto the wearer’s wrist.
Here’s the solution we came up with in Grasshopper: (You can also download the code.)
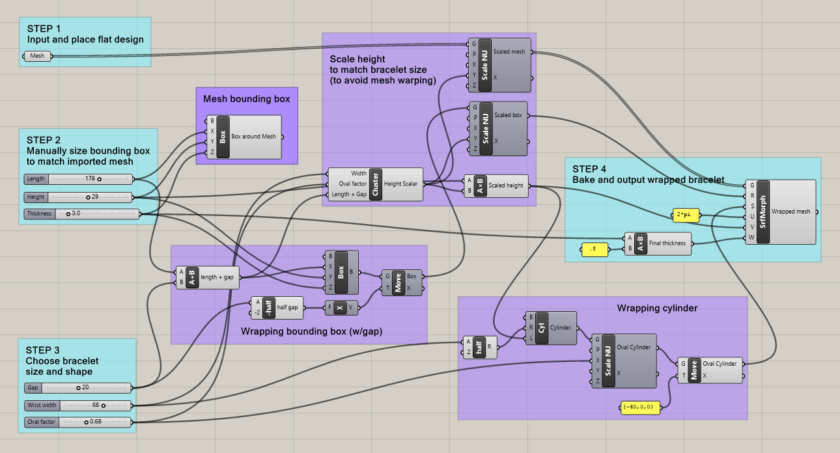
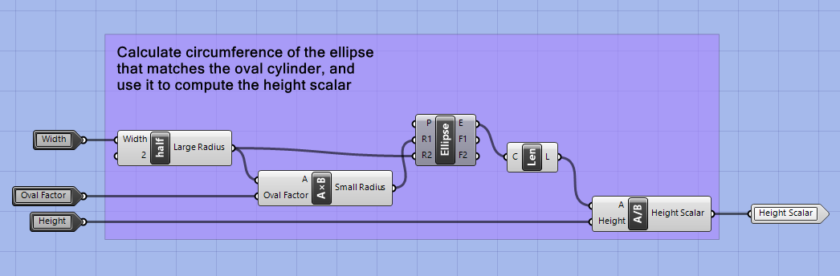
If you’re curious, the height-scaling cluster in the mid-upper purple group that enables the design to be faithfully wrapped around different sizes of cylinders with different gaps without warping looks like this:
You don’t need to know how to program in Grasshopper to use this code; you only need to be able to use the Grasshopper interface. Download the bracelet wrapper code and open it in Grasshopper to get started.
With this code, you can wrap any 3D object around a cylinder to make a bracelet by following these steps:
- Create a long flat STL model in software other than Rhino.
- Import that mesh/STL object into Rhino and move it into the bounding box.
- Use sliders in the Grasshopper file to scale the bounding box to the size of your imported mesh
- Use sliders in the Grasshopper file to set the width of the gap, the width of the wearer’s wrist, the size of the gap, and the desired amount of ovalness.
- Right-click on the rightmost Surface Morph box in Grasshopper and select “Bake” to create an exportable model of your curved design.
- From Rhino, select the wrapped object and then use File / Export Selected to export it as an STL file.
- Print and enjoy 🙂
Let the bracelet-making begin!
Once you get this process set up, you can create a wide range of parametric bracelets starting from any models you like. Here’s how our wrapped pentagon tessellation bracelet came out.
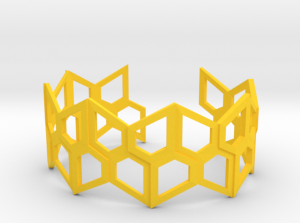
(We just figured out this wrapping technique this weekend, so our printed model isn’t here yet!)
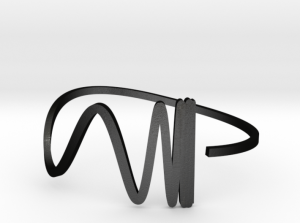
And here’s a famous trigonometric curve that we created in OpenSCAD:
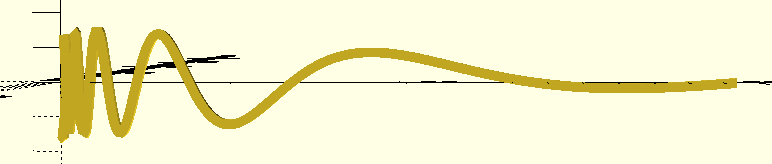
After wrapping it around a cylinder with Grasshopper, we get this variable frequency bracelet:
What things do you want to wrap around other things?
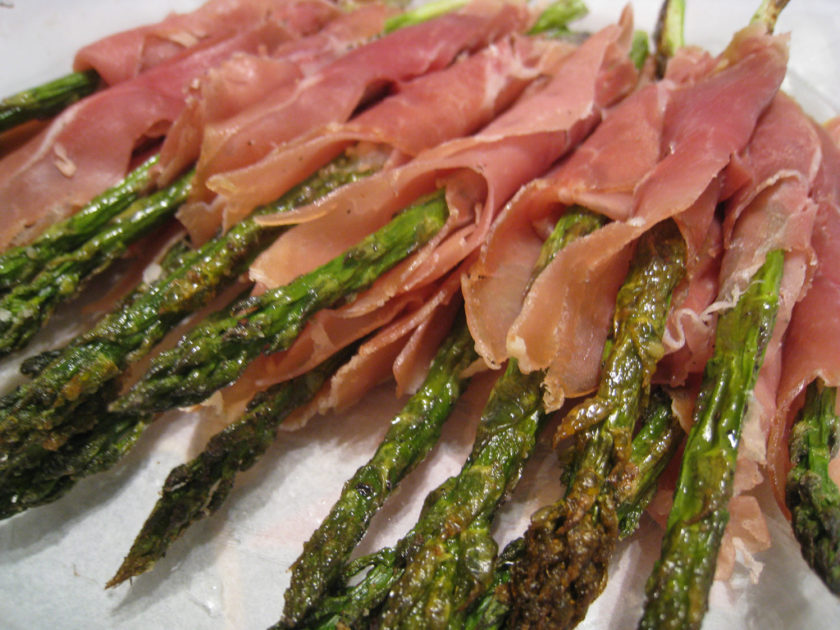
Proscuitto wrapped asparagus by Mack Male via Flickr (CC BY-SA 2.0)
Do you have a different method that you can share? Or would you like some help getting the Grasshopper code from this post up and running? Let us know in the comments.
——————
As an Amazon Associate we earn from qualifying purchases, so if you’ve got something you need to pick up anyway, going to Amazon through this link will help us keep Hacktastic running. Thanks! :)

Leave a Reply