Also published in Shapeways Magazine
—–
Welcome to Tutorial Tuesday! This week we’ll discuss three methods for modifying 3D meshes with the free software MeshLab. When you export a 3D file to STL format, what you’re doing is creating a file that describes the surface of an object with a mesh of tiny triangles. Sometimes there are problems with that mesh that cause printability issues, and MeshLab can help you fix most of those issues to make your files ready for printing.
We’ll focus on the top three issues that can arise with meshes: having too many triangles (too fine a mesh), having triangles that are oriented incorrectly or inconsistently, and having triangles that intersect with bad geometry. MeshLab has a dizzying array of menu items with long names, but if you know just which ones to choose then you can repair these three types of issues very quickly. Let us know in the comments if you have other mesh-repair techniques to share!
Reducing Triangle Count
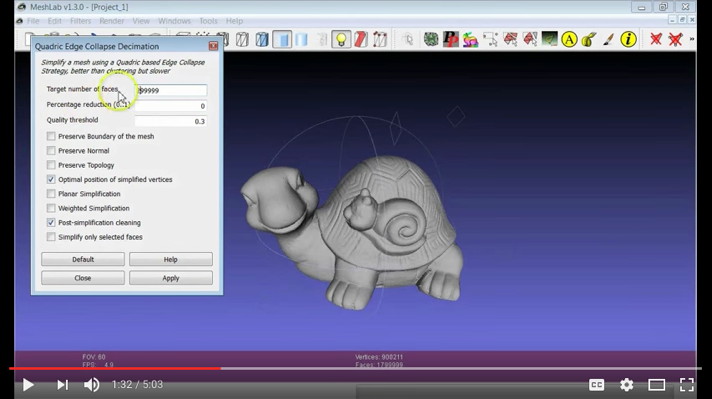
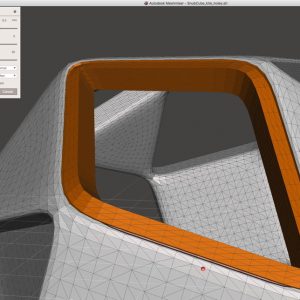
Shapeways can accept 3D models with up to one million triangles, but it’s surprisingly easy to go over that threshold, especially if you’re working with 3D scans or a sculpting program. To reduce the overall number of triangles in your model, open the model in MeshLab and from the Filters menu select “Remeshing, Simplification, and Reconstruction” and then “Simplification: Quadric Edge Collapse Decimation.” For more detailed information, see the Shapeways Tutorial Polygon Reduction with MeshLab as well as Mister P.’s video Mesh Processing: Decimation.
P. S. to MeshLab veterans: Good news! MeshLab updated to a long-awaited new version in late 2016, and in the new version you can perform “QECD” multiple times in a row without crashing the program! There’s still no “undo” in MeshLab though, alas. :/
Orienting Normals
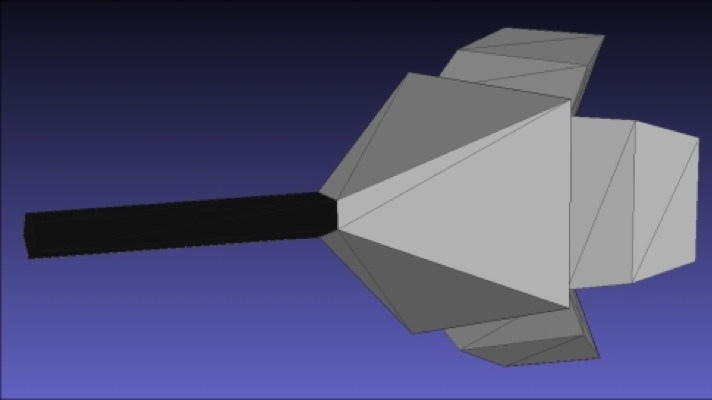
If some of your model appears “inside out” (like the black area in the image below), then you should select and flip any reversed normals using the method outlined in the recipe Using MeshLab for fixing normals in the 3D Printing with RepRap Cookbook.
Or, try a quick overall fix in MeshLab by selecting “Normals, Curvature, and Orientation” from the Filters menu, then choosing the “Re-orient all faces coherently” tool.
Removing Non-Manifold Edges
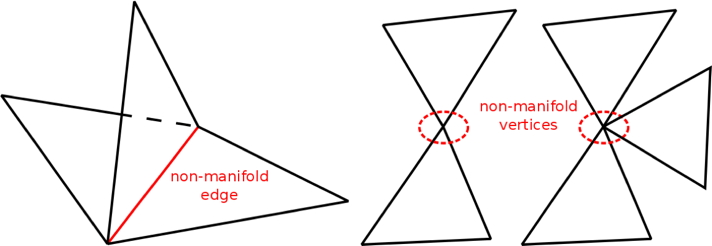
If the mesh of your model has faces that meet together in geometrically unpleasant ways, then you’ll need to repair it before 3D printing; see the Shapeways article Fixing Non-Manifold Models. “Non-manifold” edges and vertices look those like the ones shown below from Martin Sälzle at PCL Developer’s Blog.
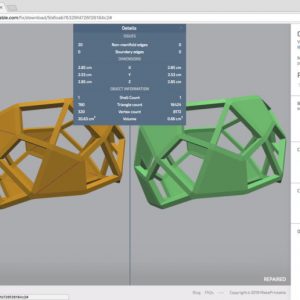
You can identify and select non-manifold elements from the Filter/Selection menu in MeshLab; look at the bottom of the view window for a count of the number of bad faces. To repair any bad geometry, use the method from the MakerHome article Shrinking and Remeshing the Fidget Cube: from the Filters menu, choose “Cleaning and Repairing”, and then try some combination of the tools “Remove Duplicate Faces”, “Remove Duplicated Vertex”, “Remove Faces From Non Manifold Edges”, and/or “Remove T-Vertices by Edge Flip”.
What are your favorite fast fixes for repairing and simplifying meshes? Let us know in the comments so we can all learn how to handle mesh problems quickly and get back to designing and creating!
——————
As an Amazon Associate we earn from qualifying purchases, so if you’ve got something you need to pick up anyway, going to Amazon through this link will help us keep Hacktastic running. Thanks! :)

Leave a Reply