Also published at Shapeways Magazine
—–
Welcome to the second Tutorial Tuesday! There’s a lot of 3D printing and design information on the internet, and it’s our job to sort it out. Let us know in the comments what you’re working on and learning about, and we’ll try to tailor future Tutorial Tuesdays to your needs.

We’ll pick up where we left off last time, with a second round of design and printing tutorials from right here at Shapeways. This time we’ll get technical, focusing on some of the more specialized issues that arise when designing, exporting, and printing 3D models. If you’re already a designer or 3D modeler and need technical advice on how to convert and export your designs and animations for 3D printing, then this week is for you.
3D Printing in Full Color
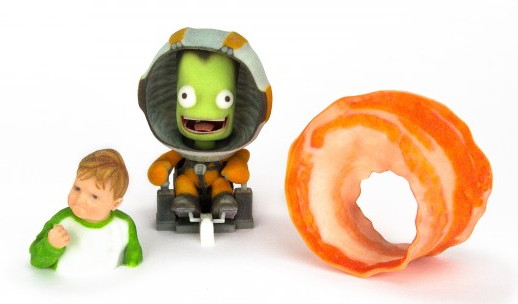
There are lots of options for 3D printing in one color or finish at a time, but just one if you want to print multi-color objects at Shapeways: Full Color Sandstone. The printed colors of your 3D model can be determined by a detailed UV texture map that you upload with your design, or by adding colors to the faces of your design in some 3D modeling programs. With full color printing, you can create some amazing models like those shown above.
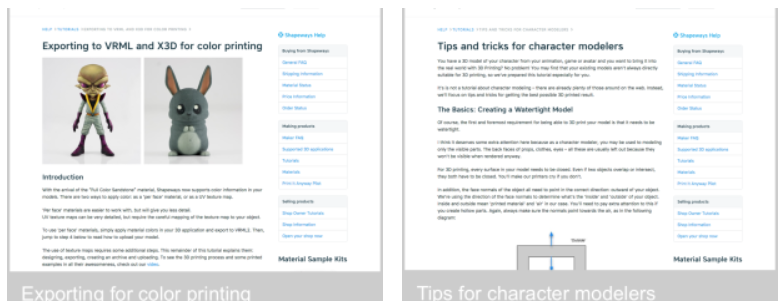
Get started printing in full color by reading the step-by-step Shapeways tutorial on Exporting to VRML and X3D for color printing, or watching the Shapeways video Full Color 3D Printing. Full color printing is especially great for printing 3D character models from video games or animations. But not every 3D character design is suitable for 3D printing; what looks good on the screen might have areas that are too thin for printing successfully, or the mesh of the digital model might have problems that affect printability. Not only that, but a digital 3D character model doesn’t have to worry about gravity or balance, but a physical, 3D printed version of that model might not be able to stand up without falling over, due to tiny legs or an awkward pose. Learn how to convert your favorite video game and animation designs into 3D-printable models with the Shapeways tutorial Tips and tricks for character models.

Advanced Character Printing
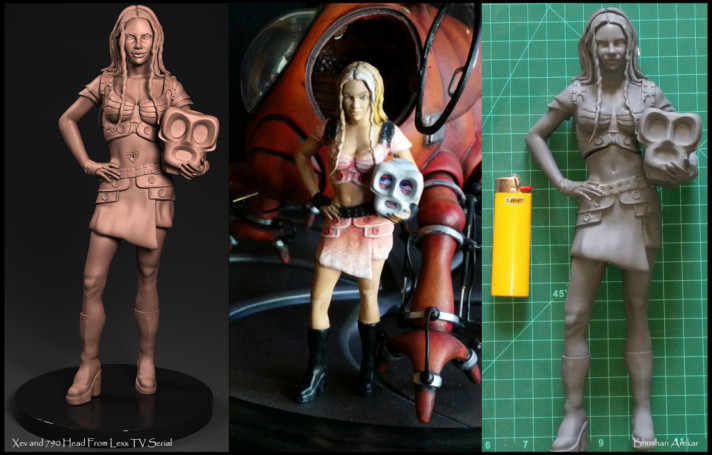
Even if you’re a professional 3D modeler, it can be difficult to convert your digital models into ones that are suitable for 3D printing. Shapeways member BhushanArekar is a ZBrush sculptor who has created many 3D printed full color designs, including this model of Xev from The LEXX:
The following detailed two-part Shapeways tutorials by Laurie Berenhaus will help you turn your intricate characters into real-life printed models: Part 1: How to Prepare your Render/Animation Model for 3D Printing, and Part 2: Adapting your Character or Animation Model for 3D Printing, which includes a video. If your model has articulated or mechanical parts, then you may also appreciate the tips in the Shapeways tutorial Designing mechanical parts for 3D printing.

Even after all that, we’ve barely scratched the surface of the tutorials that Shapeways has to offer — but that’s enough for this week! This week we got technical, but next week we’ll go back to the basics and explore how to create 3D designs with one of the most easy-to-use 3D design programs, Tinkercad, so stay tuned.
We’d love to hear from you, so if you’d like to share your own experiences 3D printing in color or with converted character designs, please join the discussion in the comments. And as always, if there is a topic or technique you’d like to learn more about, let us know and we’ll try to make it a topic of a future Tutorial Tuesday. Have a great week!
——————
As an Amazon Associate we earn from qualifying purchases, so if you’ve got something you need to pick up anyway, going to Amazon through this link will help us keep Hacktastic running. Thanks! :)


Leave a Reply