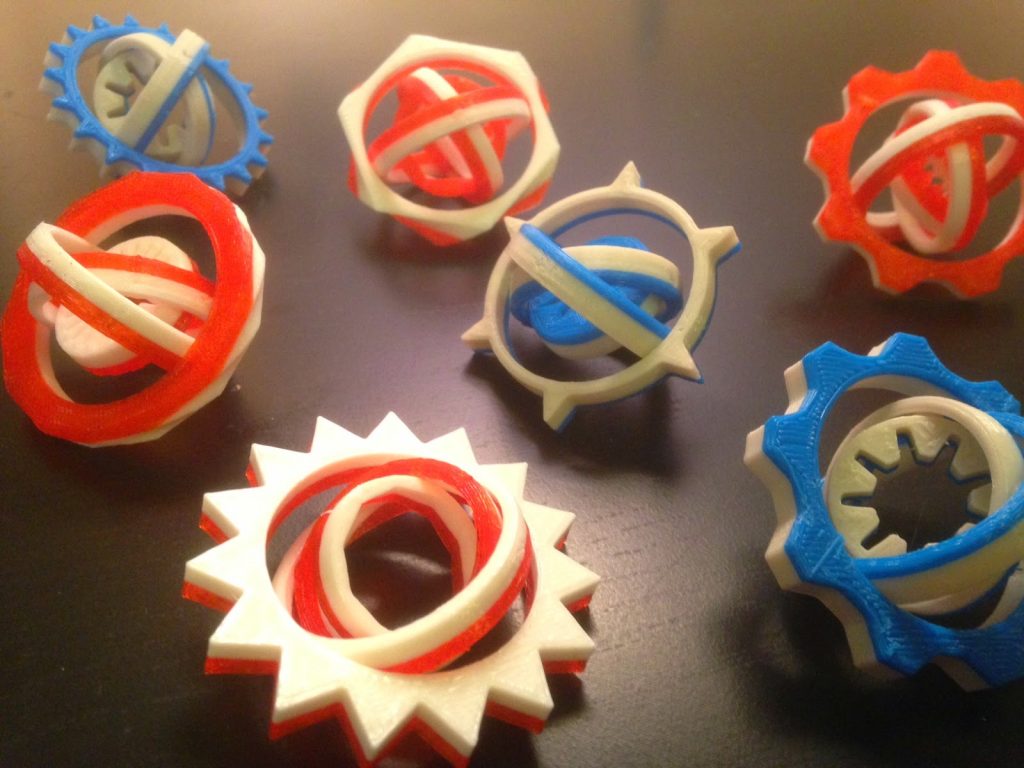
Today we gave a 3D-printing workshop at MoMath Summer Camp. Everyone got to make and print their own math gyro in Tinkercad. Here’s what the students made:
Tinkercad link: https://www.tinkercad.com/things/1RUJSJvRboQ-math-gyro-maker
Thingiverse link: http://www.thingiverse.com/thing:431348
Settings: Printed on a MakerBot Replicator 2 and a MakerBot Replicator Mini at .3mm layer height.
Technical notes, Tinkercad flavor: We got the idea for this project from Josh Ajima (@DesignMakeTeach on Twitter), master of 3D-printing education. His Personalize a Gimbal project starts with an existing gimbal design from Thingiverse and allows students to customize and personalize it in Tinkercad. He also designed an excellent MOM Gimbal which everyone should print for their geeky moms. (I’m looking at you, C. Where is my MOM Gimbal?) Riffing on this idea we designed a new gimbal/gyro in Tinkercad and then chose some shapes from the Community Shape Generators that have modifyable parts (number of petals/sides, etc). Students learn how to move, align, and group objects and then use that knowledge to put together a customized gyro from pre-made pieces:
Specifically, the student should choose one small inside hole and use the sliders in the Shape Script to change the number of sides/petals or the amount of twist in the shape. Then Align the small hole with the small blue gyro center and Group them together. For the outside, the student should choose a large shape and customize it to their liking, then Align and Group the large shape with the large hole. Finally, select the customized outer ring together with the orange, yellow, green, and customized blue gyro rings, and Align and Group together to make the final gyro. Here’s what the designs looked like after four groups of students made three gyros a piece (some groups made more than one design):
Technical notes, educator flavor: What makes this project work is that the resulting prints are very likely to print successfully. Beginning designers do not typically make reliable prints at first, which can be frustrating if you are under time constraints or giving a one-time workshop instead of a multi-session class. If a student accidentally resizes the gyro pieces then the object won’t spin and/or print correctly, so if you want to make absolutely sure the prints will work then you should check the gyro ring measurements on each design. It’s easy to replace the insides with a copy of the working gyro rings while still preserving the customizations that the student made. Halfway through printing we did a filament color swap. Having two colors is particularly effective on spinning gyros. If you have sturdy thumbs then you can also break the gyros apart and mix-and-match them back together again.


Leave a Reply