Also published in Shapeways Magazine
—–
So, you read Tutorial Tuesday 20: Taking Better Photographs of Your 3D Prints, and now you have a photo light box and/or a nice clip-on macro lens or whatnot, and your photographs are so good they almost look like renders. The only problem is… now your photos look like renders!
If you want people to purchase things from your Shapeways store, then your photos serve two purposes. First, as with any advertising media, your photos should make your design look attractive. But second, and just as importantly, your photos need to prove that your design can Actually Be Printed Successfully. If you’ve got a unique, one-of-a-kind piece that pushes the boundaries of what 3D printing can help create, then you need to show that you haven’t stepped too far over the line, and that people can confidently order copies of your model.
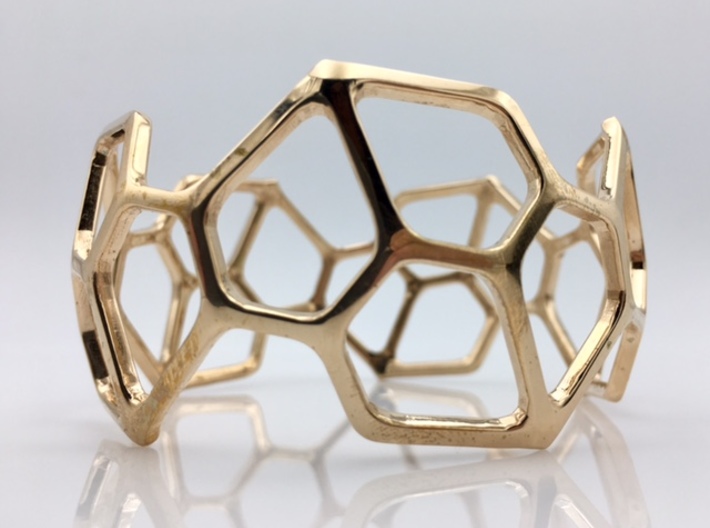
Here are three examples of products from the geekhaus store whose photos I re-shot to look more realistic, and less like renders. First, this Pentagonal Hexacontahedron Catalan Bracelet:
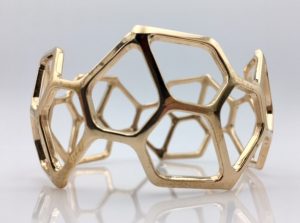
When I first took this photo I was really happy with how badass it looked. The first time someone asked me “Is this a photo or a render?”, I felt pretty good about having taken a super blingy photo. The second and third times someone asked if it was a render, I realized that I was wasting money printing and photographing my models if the end result was going to look like it was generated by a computer. But what could I do, make the photo worse?
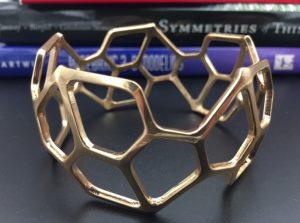
Some great advice came from friend and 3D wizard Henry Segerman, who suggested I add relevant books to the photos. I know that sounds obvious but it had not occurred to me to put extra everyday objects into the lightbox with my models (except for sometimes a Lego minifig for scale). Here is a new photo that clearly shows that the bracelet was Actually Printed Successfully, and has some nice math titles in the background as well:
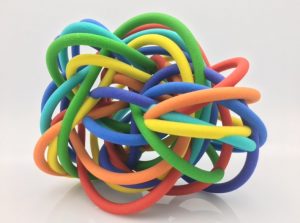
Similarly, I had worked hard to get a perfect, clean shot of my Perko Morph design, only to have the photo look really convincingly like it was generated by a computer:
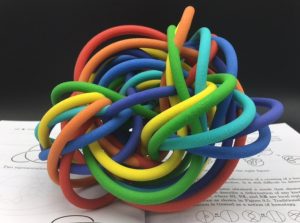
Re-shooting with a book in the photo, we we get a much better image that shows the scale of the printed model and also a bit of knot theory:
Finally, our first Hoop Knot Earring photo was pretty, but didn’t really illustrate how you were supposed to wear such a thing, or anything about how big it is:
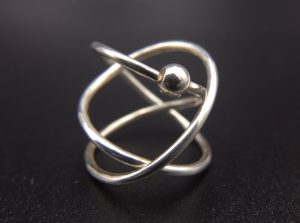
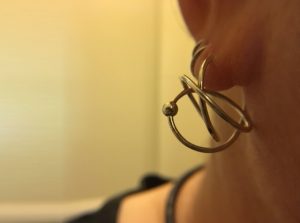
A quick live shot with a macro lens, and a bit of editing with GraphicConverter to fade out some more details, and it’s much clearer how you would wear this piece:
What are your tricks for getting realistic photos of your printed models? Share them in the comments!
——————
As an Amazon Associate we earn from qualifying purchases, so if you’ve got something you need to pick up anyway, going to Amazon through this link will help us keep Hacktastic running. Thanks! :)
Leave a Reply