

Also printed at Shapeways Magazine
—–
There are lots of ways to go from a 2D image to a 3D model, but one of the easiest ways is with the Shapeways 3D Printed Pendant Creator. This Tutorial Tuesday, we’ll take you through the creation of a simple design with the Pendant Creator, including ways to tweak your image graphic so that it works well with the Pendant Creator tool.
Find an Image for Your Design
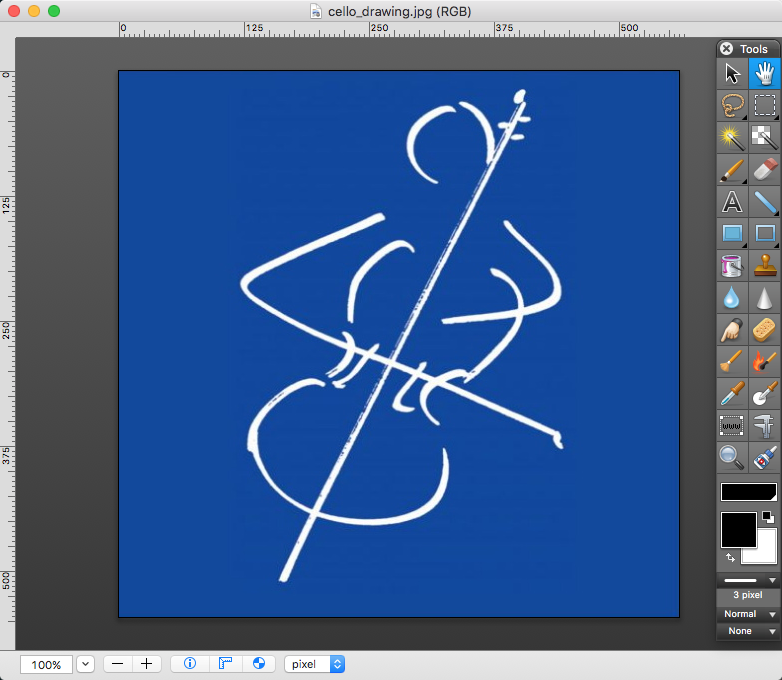
You could start with a image downloaded from the internet, or a photo uploaded from your camera. Or, just capture a screenshot selection from your computer using the Mac Screenshot Utility or the Windows Snipping Tool. That’s what we did to capture our image: a cello player drawing from the cover of the book A Portfolio of Cell Exercises by Christopher Bunting.
Here’s what the image looks like in our favorite graphics software, GraphicConverter (you could also use Inkscape, Gimp, Illustrator, Photoshop, etc).
Optimize Your Image for Pendant Creator
Uploading our current cello player image to the Pendant Creator gives us a drawing cut out of a solid block, which isn’t quite what we’re after:
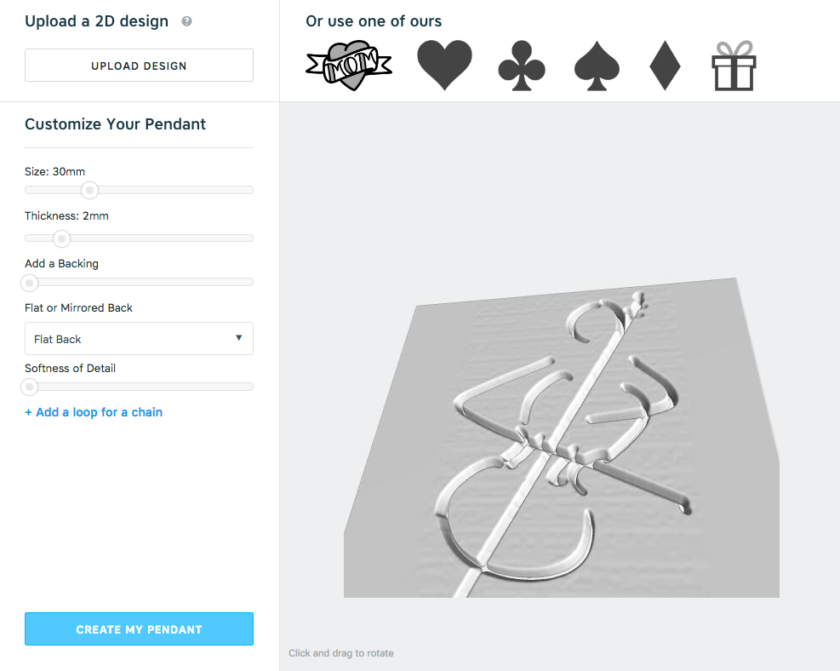
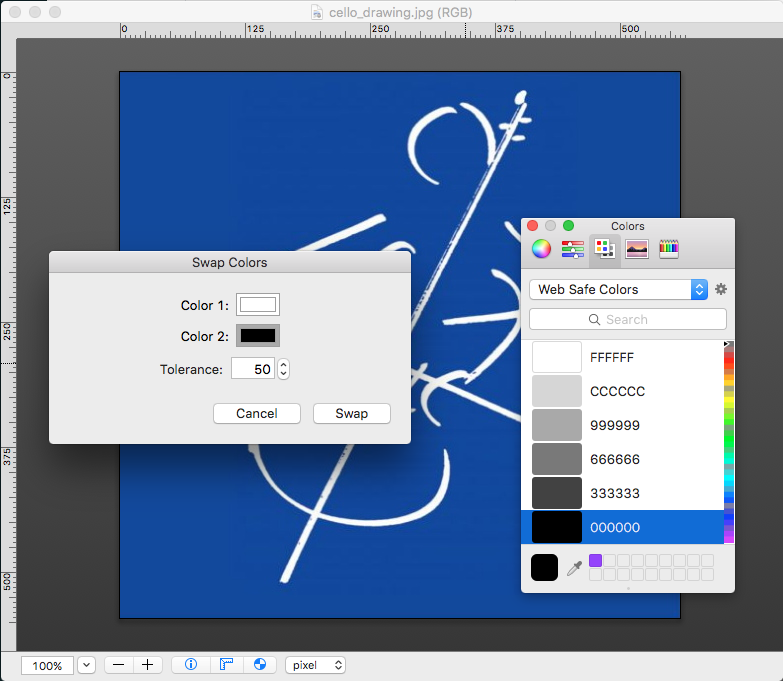
What’s happening here is that the dark parts of the image are being interpreted as the solid, while the light parts are being interpreted as open space. We can reverse this in GraphicConverter by using the Swap Colors tool to change the white outline to black and then the blue background to white:
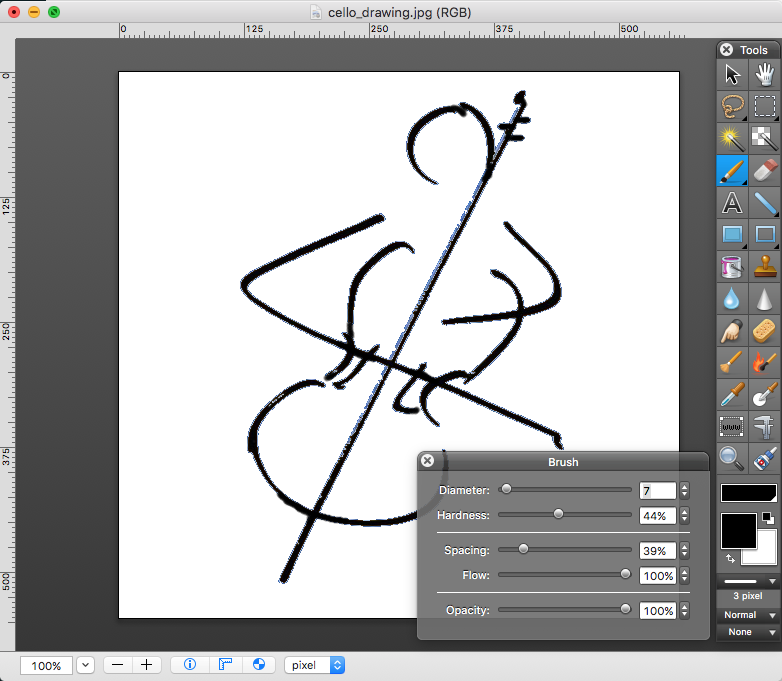
While we’re working on the image, we also used the Brush tool to strengthen some of the lines in the drawing, and to connect up some gaps:
Now when we upload to the Pendant Creator we get what we are looking for; an outline of a figure playing the cello. We controlled the look and feel of the lines of the design by experimenting with the Thickness and Softness parameters in the left column menu.
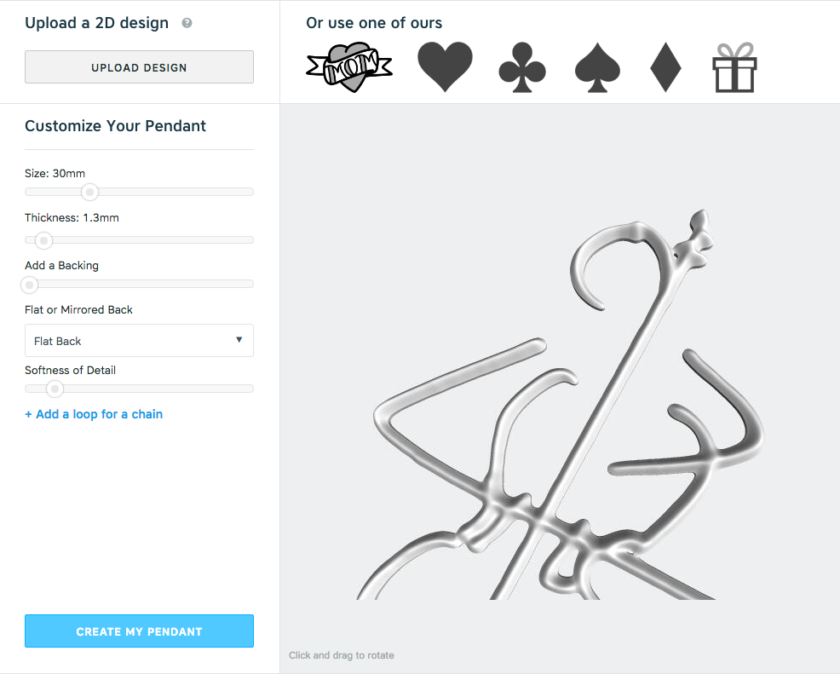
Don’t be afraid to go back to your image editing software and re-upload to the Pendant Creator tool until you get a design you like. Remember that anything disconnected is going to end up printing as separate pieces, and to try to avoid lines that are too thin or delicate. When you’re happy with your design, click “Create My Pendant” to upload the model to Shapeways for printing.
Review Shapeways Printing Checks
When we first uploaded our cello player model to Shapeways, we had some problems. Usually this is due to the fact that between your original image, your graphics software, and the pendant creator, it’s hard to tell what size object you are creating. As you can see in the 3D Tools window for our model, we’ve made something very small — just under 2×3 centimeters and less than 2 mm thick. In particular, these dimensions are too small to satisfy the Bounding Box Guidelines for Stainless Steel, which require that our model be at least 2.5 mm x 2.5 mm x 3 mm.
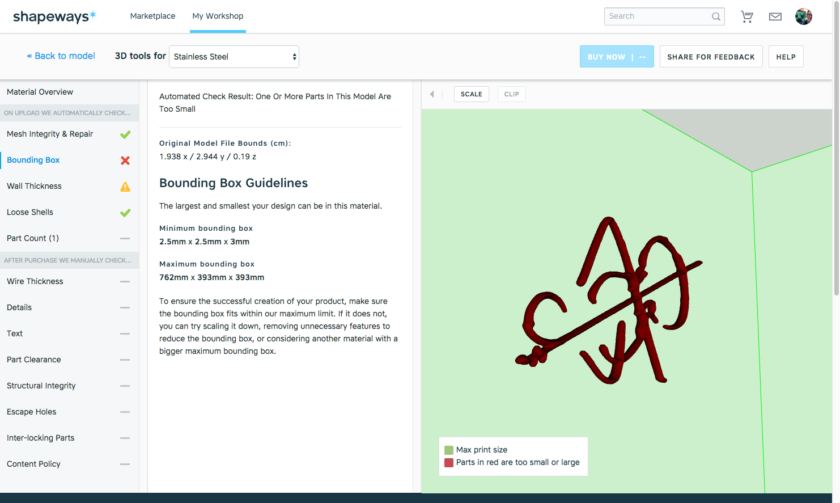
Unsurprisingly, the small size of our model also causes it to fail the Wall Thickness test, almost everywhere:

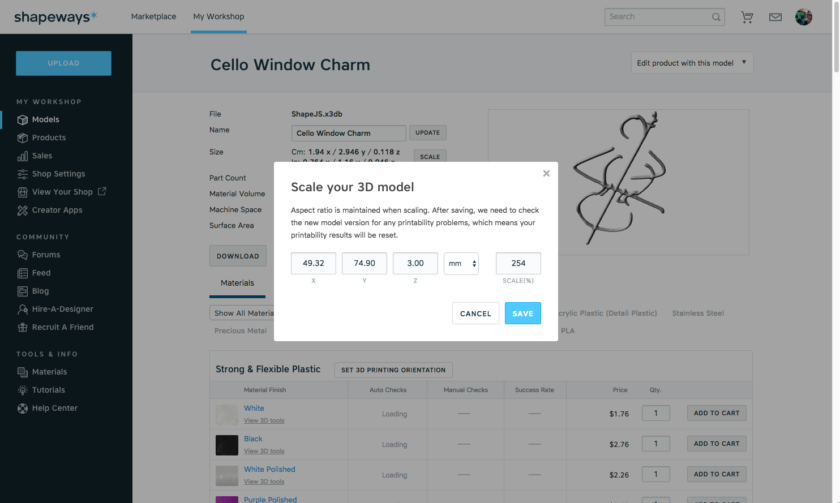
Going back to the model page, we can scale to any size we like. In this case we were making a pendant to hang on a window or wall, so wanted something larger than a wearable pendant. We also wanted to make sure that this fragile design was sturdy after printing. Setting our z-thickness to 3mm turned out to be a good solution to both issues:
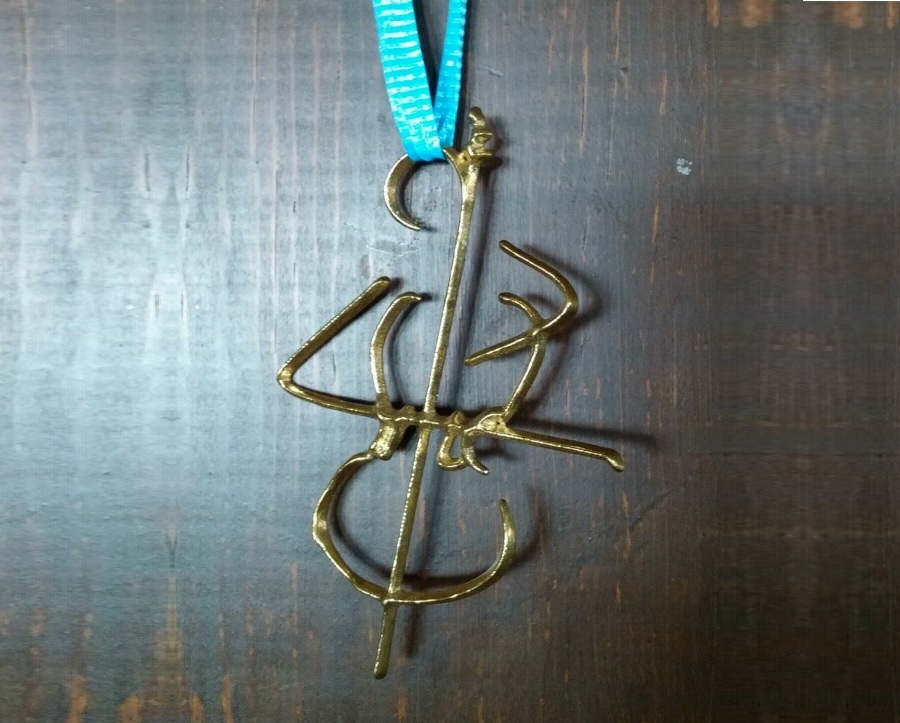
Print and Enjoy!
Here’s the finished Cello Player, in Raw Brass, which I gave to my mom on Mother’s Day. Hi, Mom!
Have you created anything with the Pendant Creator? Do you have any tricks or tips for manipulating 2D images? Let us know in the comments 🙂
——————
As an Amazon Associate we earn from qualifying purchases, so if you’ve got something you need to pick up anyway, going to Amazon through this link will help us keep Hacktastic running. Thanks! :)

Leave a Reply