
Spring semester is coming and we’ll be teaching a introductory class on 3D printing and design. As usual, our first-day 3D print will be a Penny Trap. This model is a good illustration of a design that is possible with 3D-printing but would be impossible with standard subtractive manufacturing methods such as milling. How does the penny get inside?
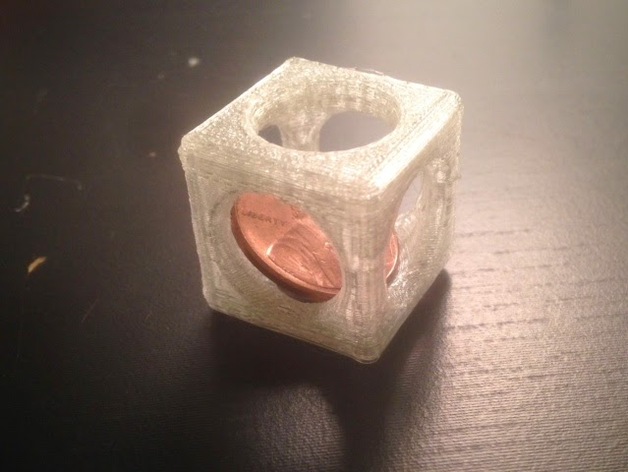
The answer is that we’ll pause the prints at the right time and drop the penny in, then let the 3D printer continue printing above and around the penny. The “right time” is when the model is about 60% or 70% printed; this ensures that the penny will sit below the printing height of the nozzle, which will help us not damage the machines!
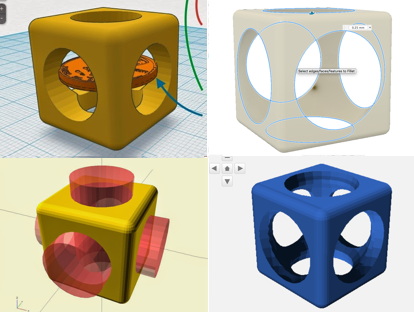
The Penny Trap is a very simple model, and you could make it in lots of different design programs. In this article we’ll walk through how to create this model in Tinkercad, Fusion 360, OpenSCAD, and the Thingiverse Customizer. Those happen to be exactly the same four design tools our students will learn about, so this is kind of a preview of the whole arc of the semester.
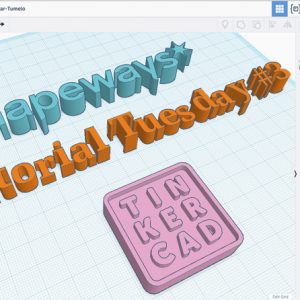
Designing a Penny Trap with Tinkercad
First, with Tinkercad, you can drag and drop shapes and cut out “holes” from some shapes using other shapes. You can read about this at the MakerHome tutorial Designing a Penny Trap with Tinkercad, and tinker with the model itself in Tinkercad.

Designing a Penny Trap with Fusion 360
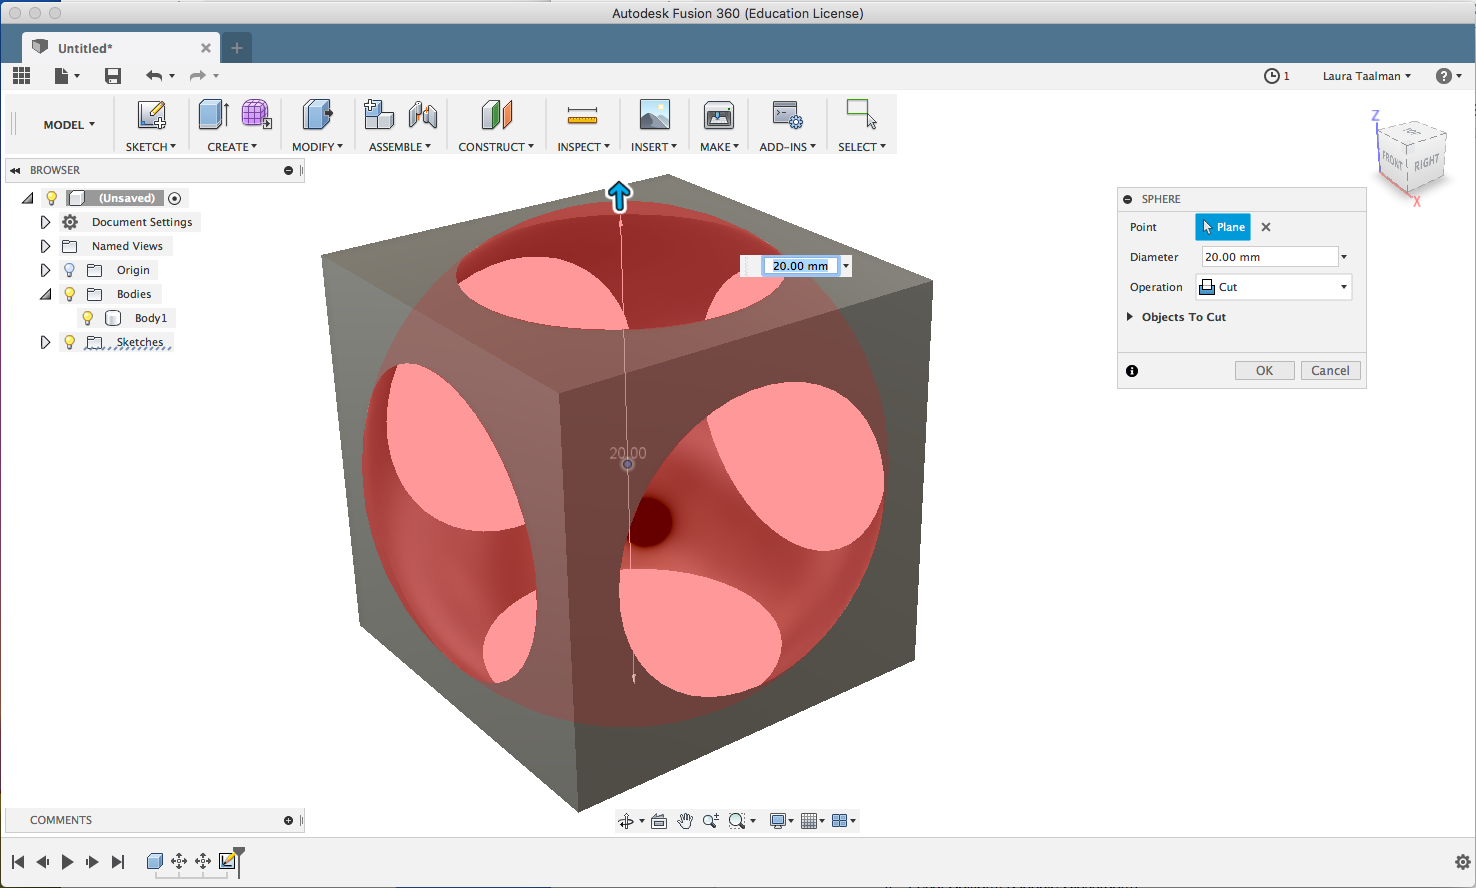
With a little work you can use Tinkercad to make nice rounded edges on your model, even in the “portholes” of the Penny trap. But if you know how to use the more advanced modeling software Fusion 360 then that process is much easier. Getting started witih Fusion 360 is easier than you think; if you’re interested in getting started then I suggest the excellent CAD for Newbies videos by Maker’s Muse. In Fusion 360 you can easily Create a Cube, move it to the origin, and then Create a Sphere that cuts through the Cube:
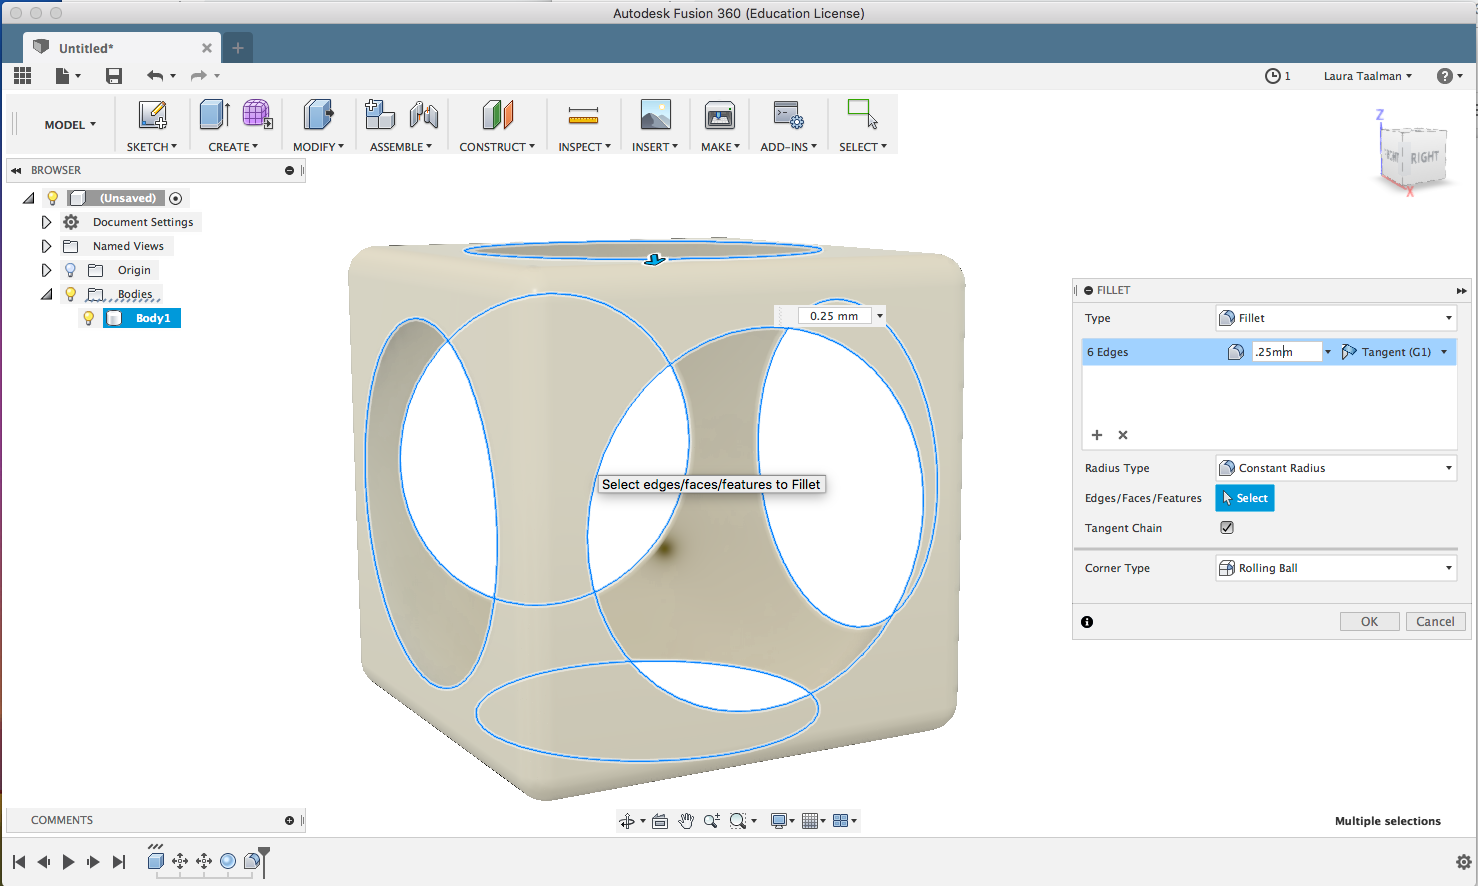
Just by pressing the “F” key you can access the Fillet tool, which you can use to round the edges of your model as much as you like:
Fusion 360 has a steeper learning curve than Tinkercad, but it pays to learn it so that you can make use of advanced tools like Fillets, Lofts, and Sweeps. Alternately, you can now import basic Tinkercad models into Fusion 360 and then apply features such as Fillets; you can read more about that process at the Tinkercad Blog and at our previous article Filament Samples and Customizability.
Designing a Penny Trap with OpenSCAD
With the code-based design software OpenSCAD, you can use simple code to place, rotate, and take “differences” of objects to make the Penny Trap design. You can read about this at the MakerHome tutorial Designing a Penny Trap with OpenSCAD, and take a look at the actual OpenSCAD code.

Designing an Interactive Coin Trap Model for Thingiverse Customizer
Finally, we can extend our OpenSCAD model to make it customizable for other users that want to create different-sized coin traps. One of the great things about designing models in OpenSCAD is that they are parametric, which means that you can change features of the model very easily by modifying the values of its input variables. In the case of the Penny Trap, this means that we could write code that creates “traps” for any type or size of coin.
By adding certain comments to our OpenSCAD code we can extend it to a user-friendly parametric slider interface on the Thingiverse Customizer, creating some Customizable Coin Traps:
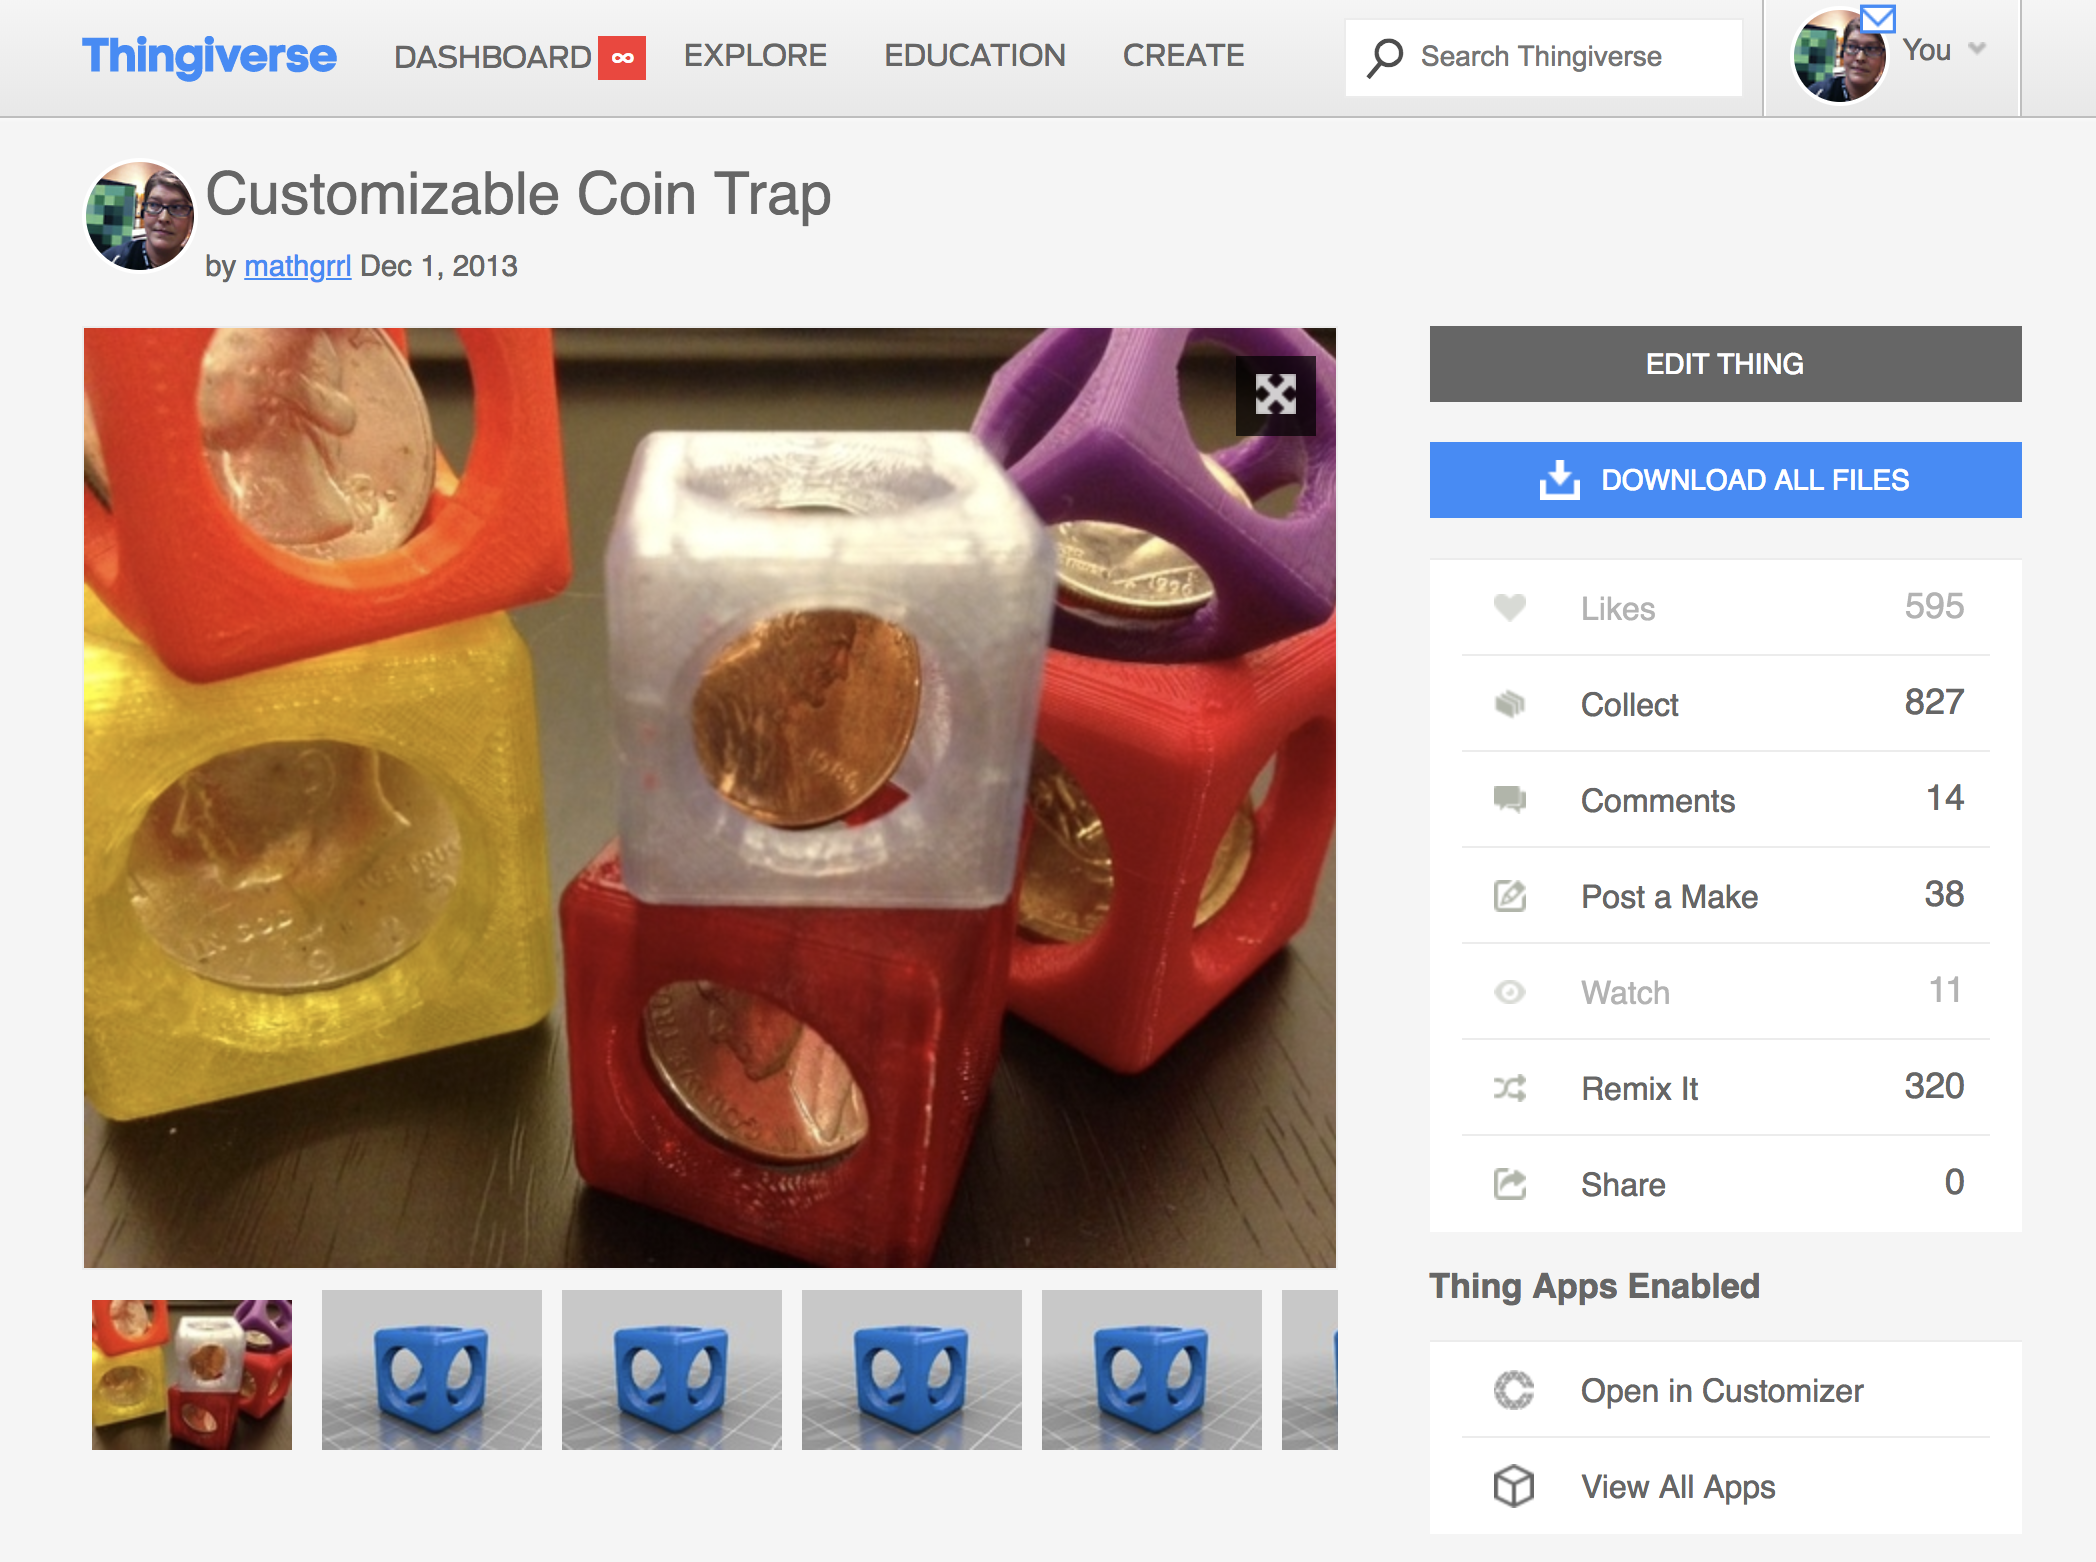
Using the Customizer interface, people can can create traps for coins from all around the world, or select their own unique coin size:
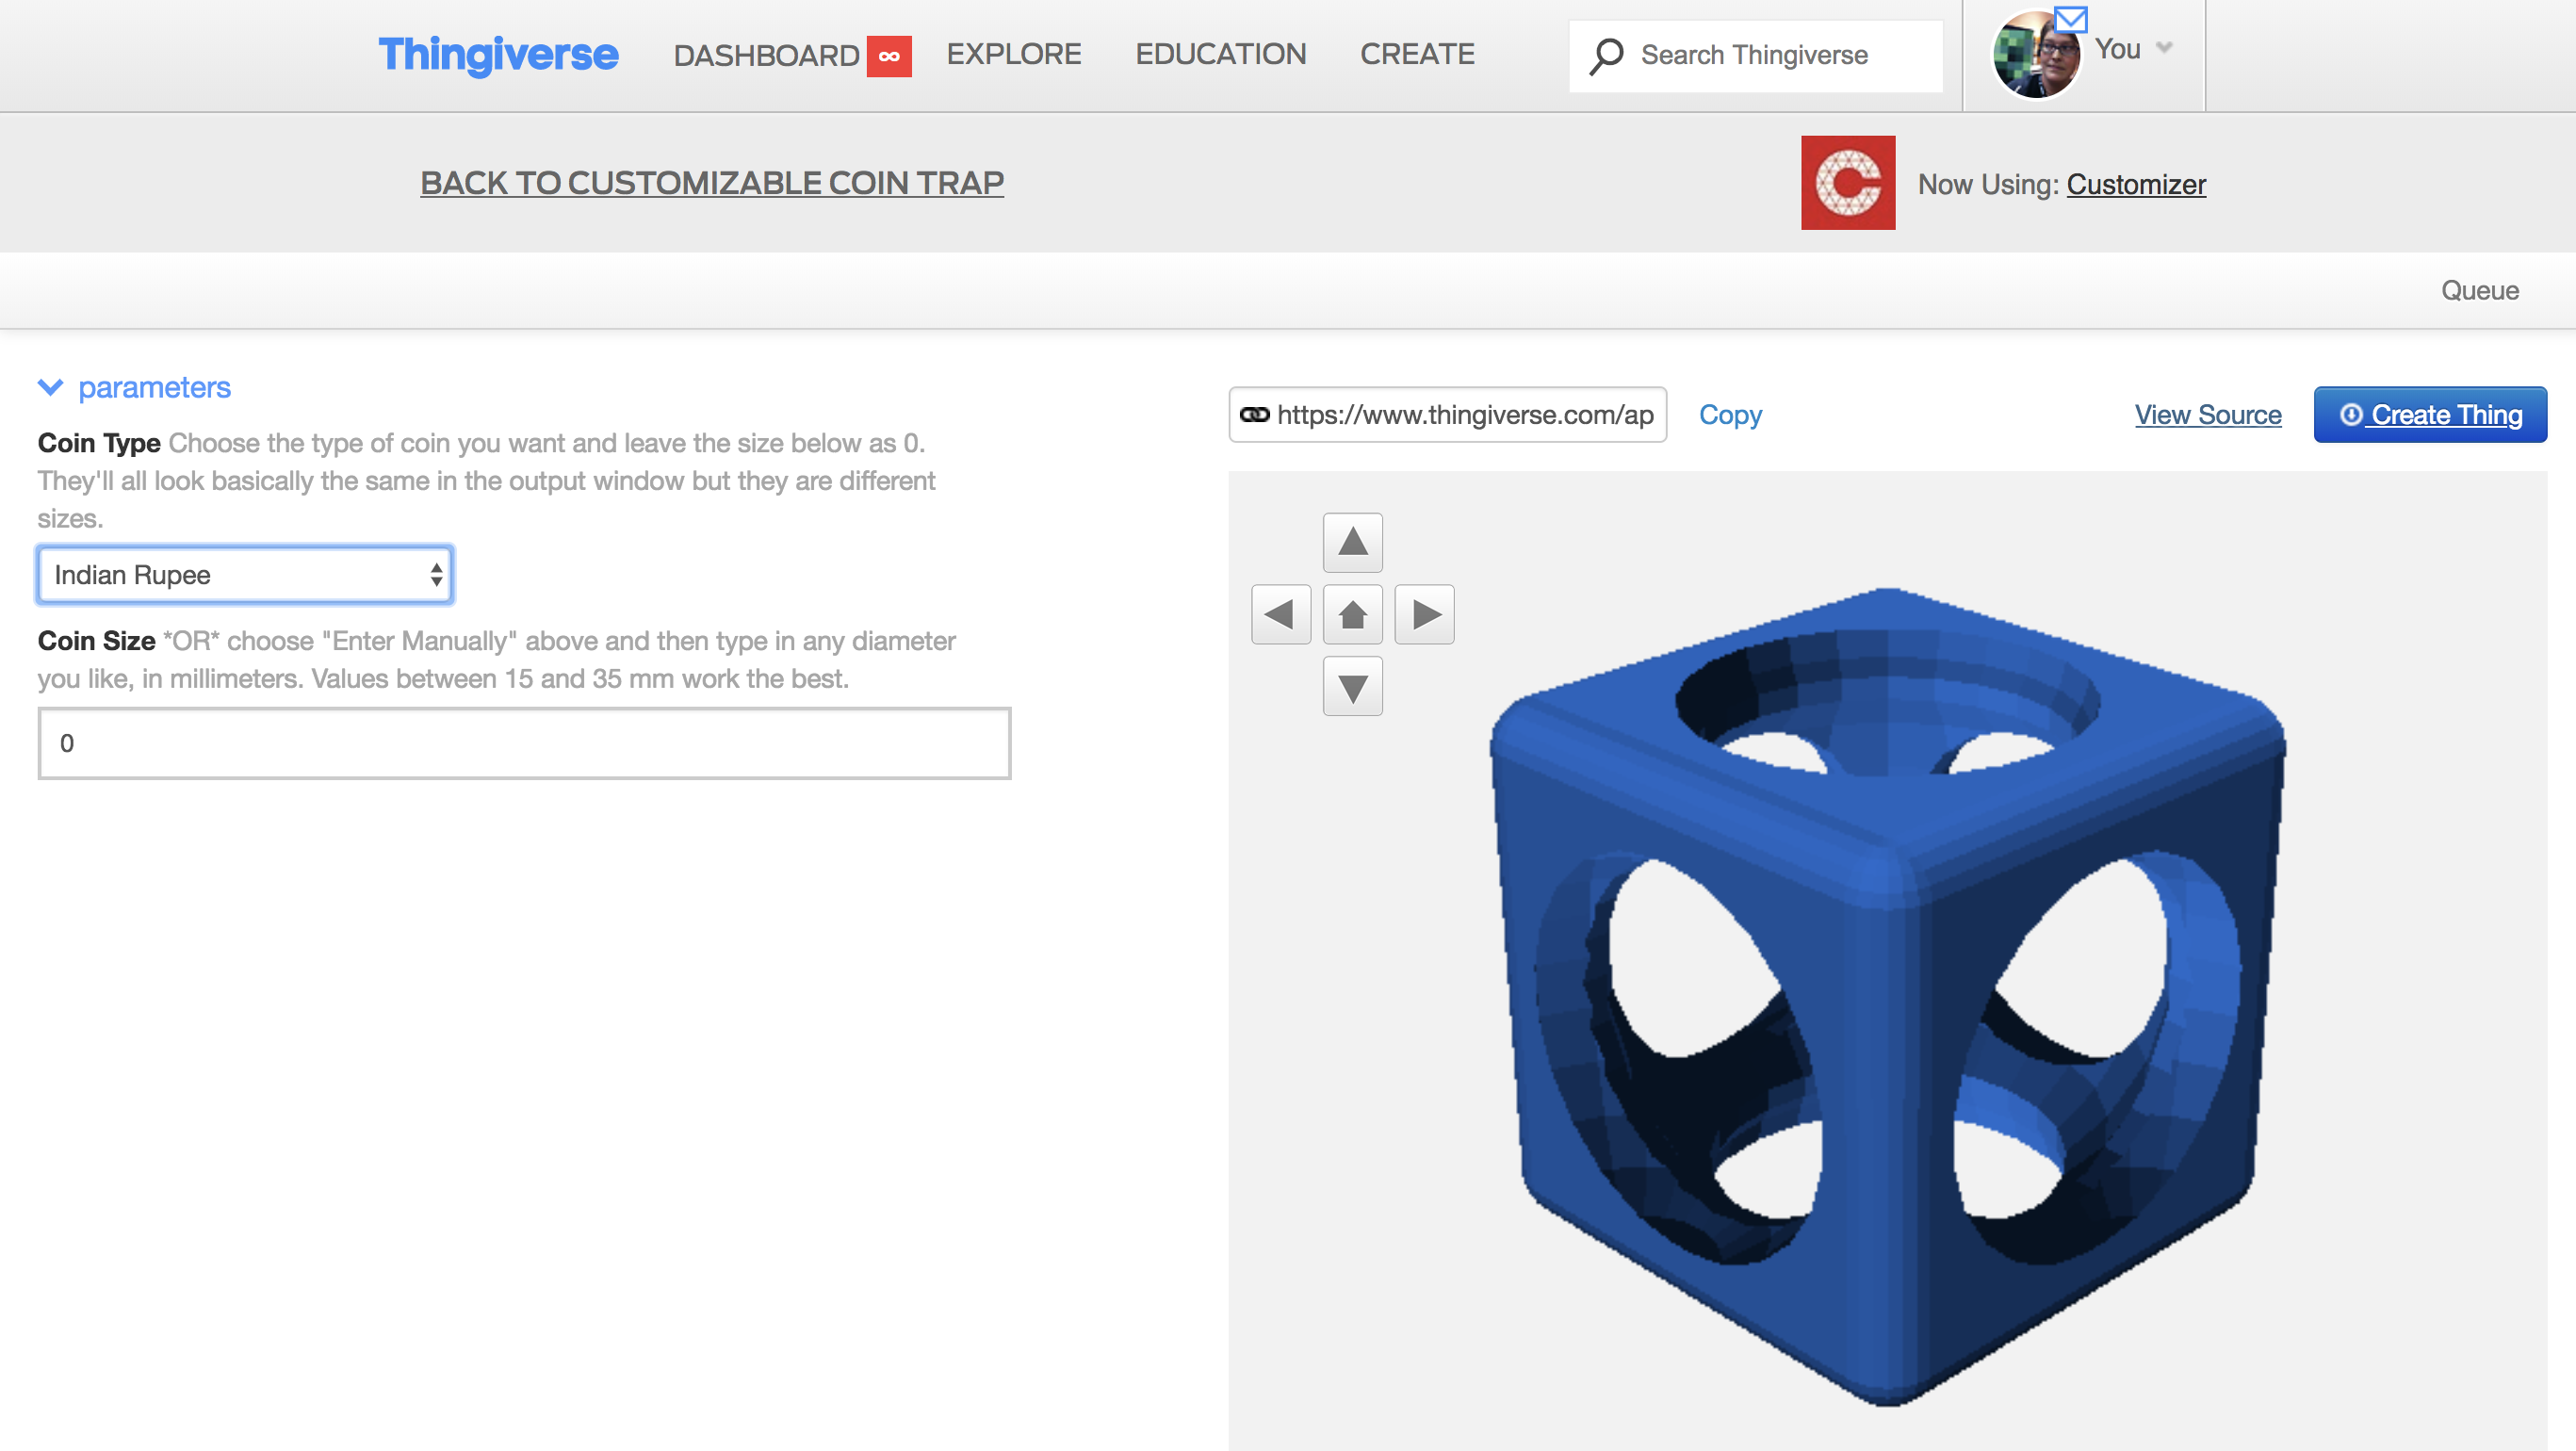
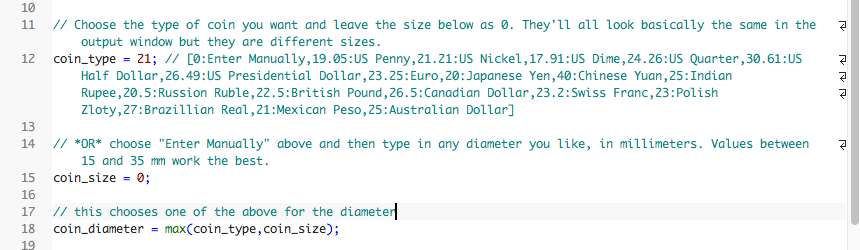
To see how we extended our OpenSCAD model to this Customizer model, you can download the code from the Thingiverse model and compare it to the code in the OpenSCAD tutorial. Here’s a snippet so you can see how the OpenSCAD comments turn into variable names and drop-down menus in the Customizer image above:
Coin traps are a great first model to make in any design software, as you learn the ropes. Throughout this semester our students will follow this same series of design methods, starting with Tinkercad, then learning Fusion 360 and OpenSCAD, then extending your models for the user-friendly Thingiverse Customizer. All student work will be submitted in public blog posts, so if you want to see what the students create, check out our ISCI 104 class website in a few weeks!
——————
As an Amazon Associate we earn from qualifying purchases, so if you’ve got something you need to pick up anyway, going to Amazon through this link will help us keep Hacktastic running. Thanks! :)

Leave a Reply