
This weekend we’ll be headed to the MOVES 2019 Conference in NYC at MoMath, organized by mathematicians Josh Laison and Robert Vallin. This year, MOVES is origami-themed and features keynotes by Erik Demaine and Robert Lang. In honor of the occasion we’ve decided to design 3D printed “origami presses” that push crease patterns into origami paper.
Press Test
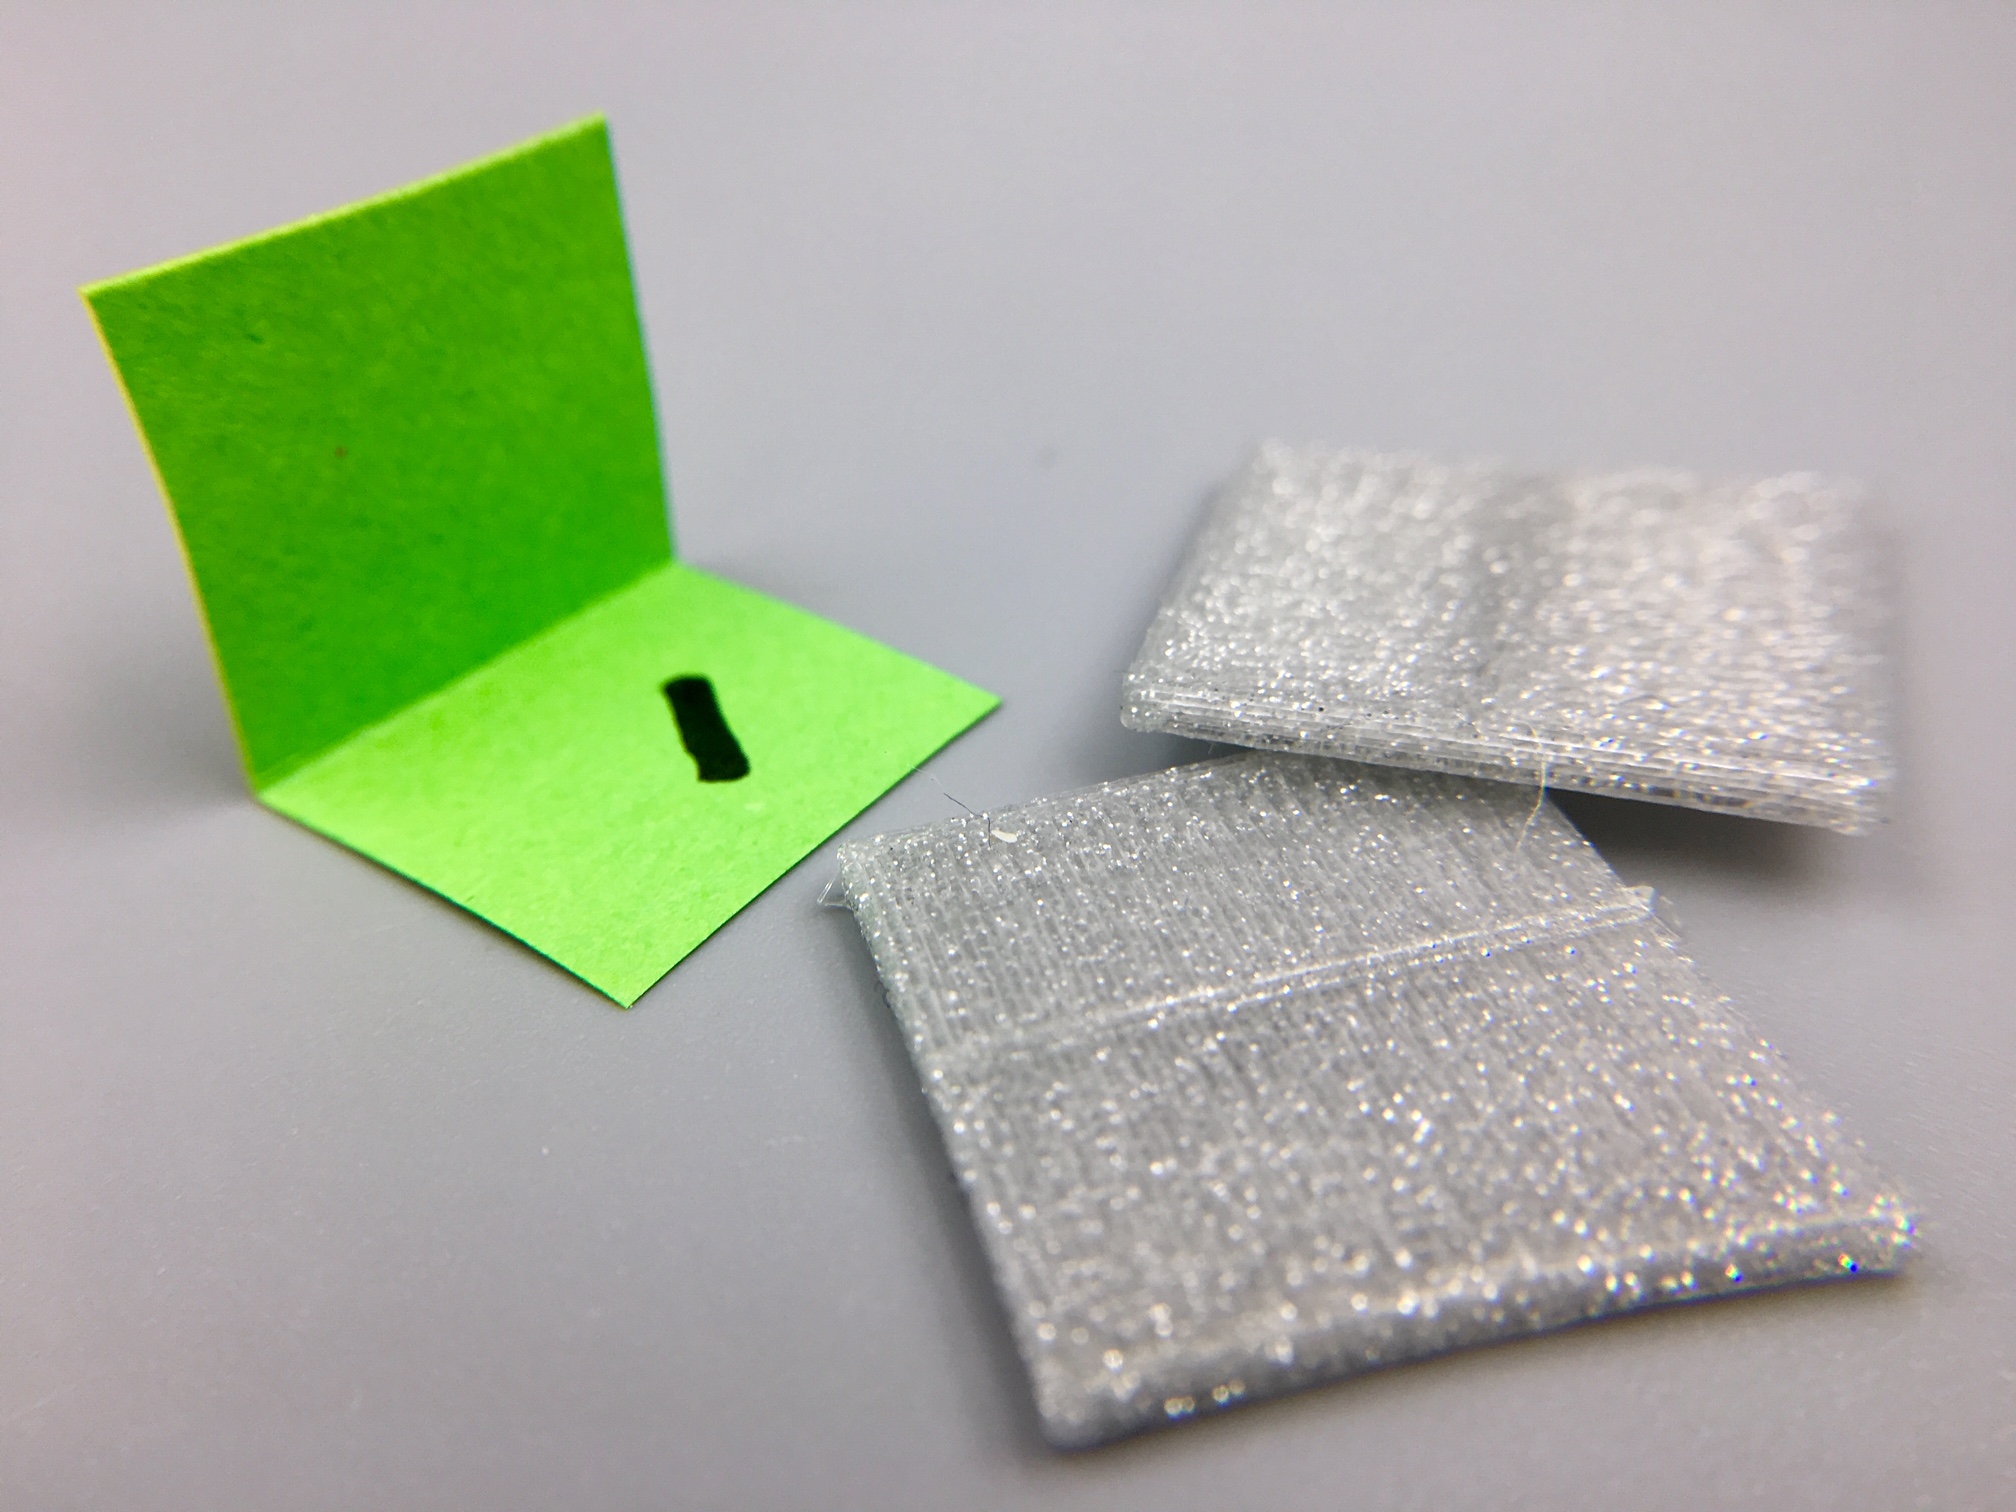
The first question is: can we 3D print something that presses a crease into a piece of paper? The answer turned out to be YES, and somehow on the very first try:
Waterbomb Base
Okay, that was a super easy crease; but what if we have a mountain and a valley fold that come together, as happens in the Waterbomb Base that is at the core of so many origami models? After many failed efforts, we got the right crease strength and figured out that we had to put a gap around the center vertex where the mountain and valley folds instersect. We also increased the size of the press to 75mm, to match the dimensions of our origami paper.
For this larger test we moved to the Ultimaker printers, because they excel at keeping things flat on the build plate… at least if we remember to use Magigoo. (Yes, we realize this is a $20 glue stick… but it seems like it will last forever, so over time it’s a small price to pay for turning the bad peeling-up print shown below left into the beautiful superflat print shown below right.)

By the 10th iteration we had a press that could make this basic mountain/valley intersection reliably. After pressing the paper between the two 3D printed pieces, you just fold along the pressed creases in the correct direction:
Miura Fold
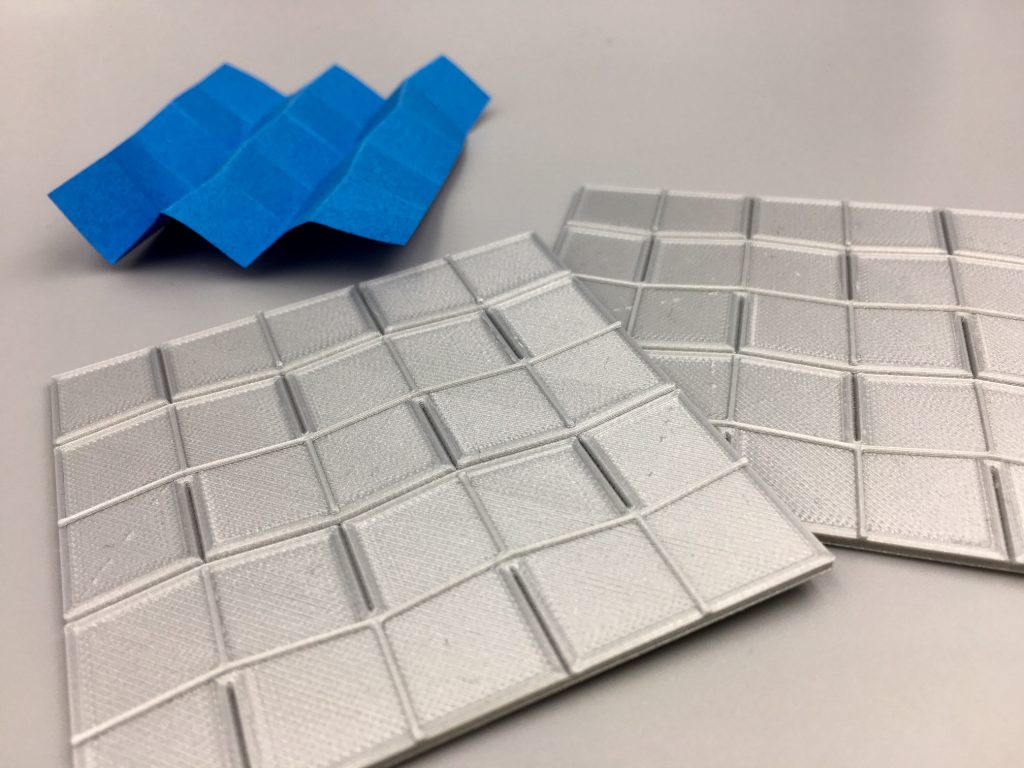
The goal of our Origami Press is to enable us to pre-crease more challenging designs, such as the Miura fold. The Miura fold is a “map fold” consisting of a partially-angled grid that can fold into a small square and open up into a large sheet in one fluid motion. Thes type of folds are famously used to make expanding solar panels on space satellites and wallet-sized collapsing city maps.
Miura-type folds can be challenging to fold well by hand, for many reasons: the angles are hard to make consistently, it’s difficult to fold through many layers of paper accurately, and the mountains and valleys alternate in such way that is difficult to produce without first creasing them the wrong direction. Our press allows us to pre-crease the folds so that they can be folded the rest of the way individually, at exact angles (84 and 96 degrees), and in the correct direction.
Here’s our first attempt, which was wrong in many ways — most significantly in the fact that we didn’t mirror the design correctly so the press panels only fit together on an offset overlap:
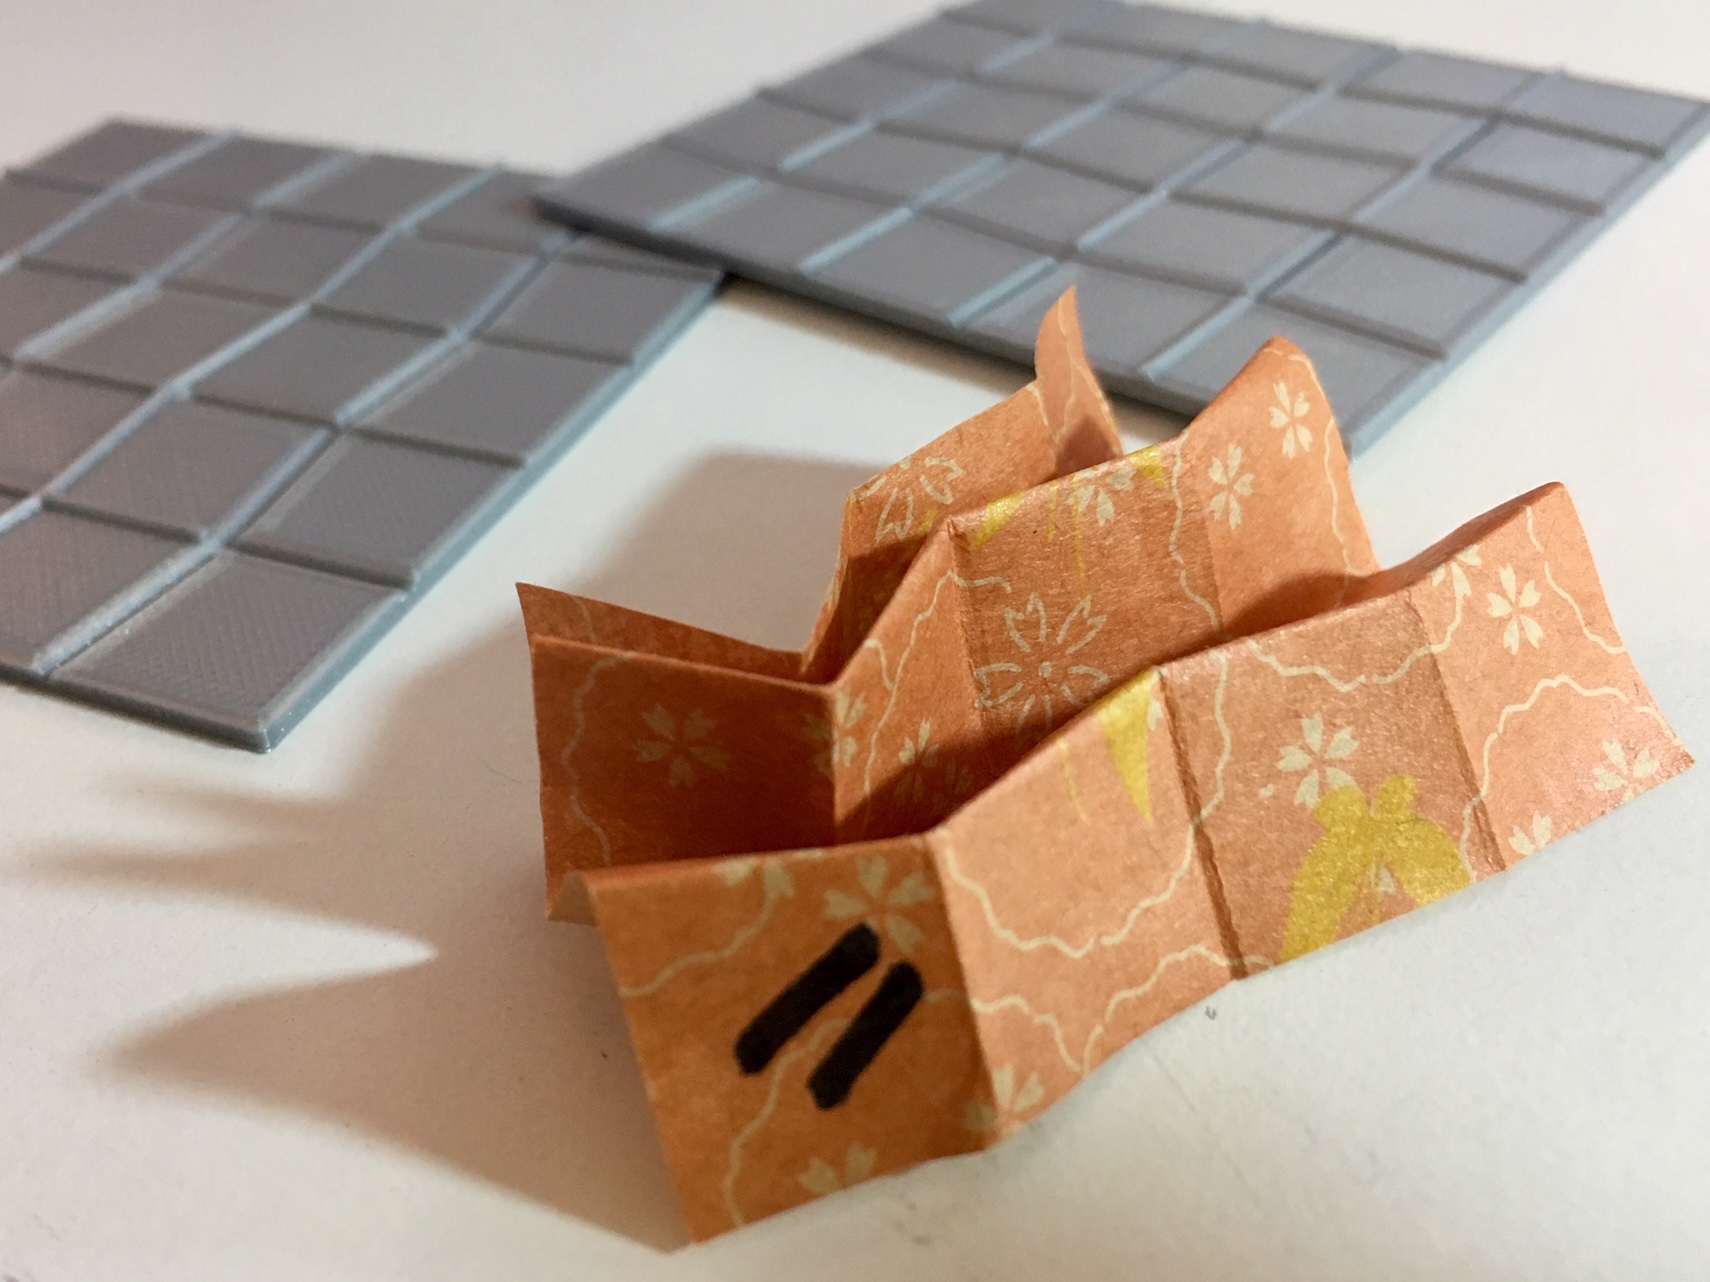
The paper shown in the photo above is 75mm Washi Chiogami paper. It’s a little thicker than other origami paper you might be used to, but after testing our press on various types of paper we found that this kind worked the best.
Designing and Using the Press
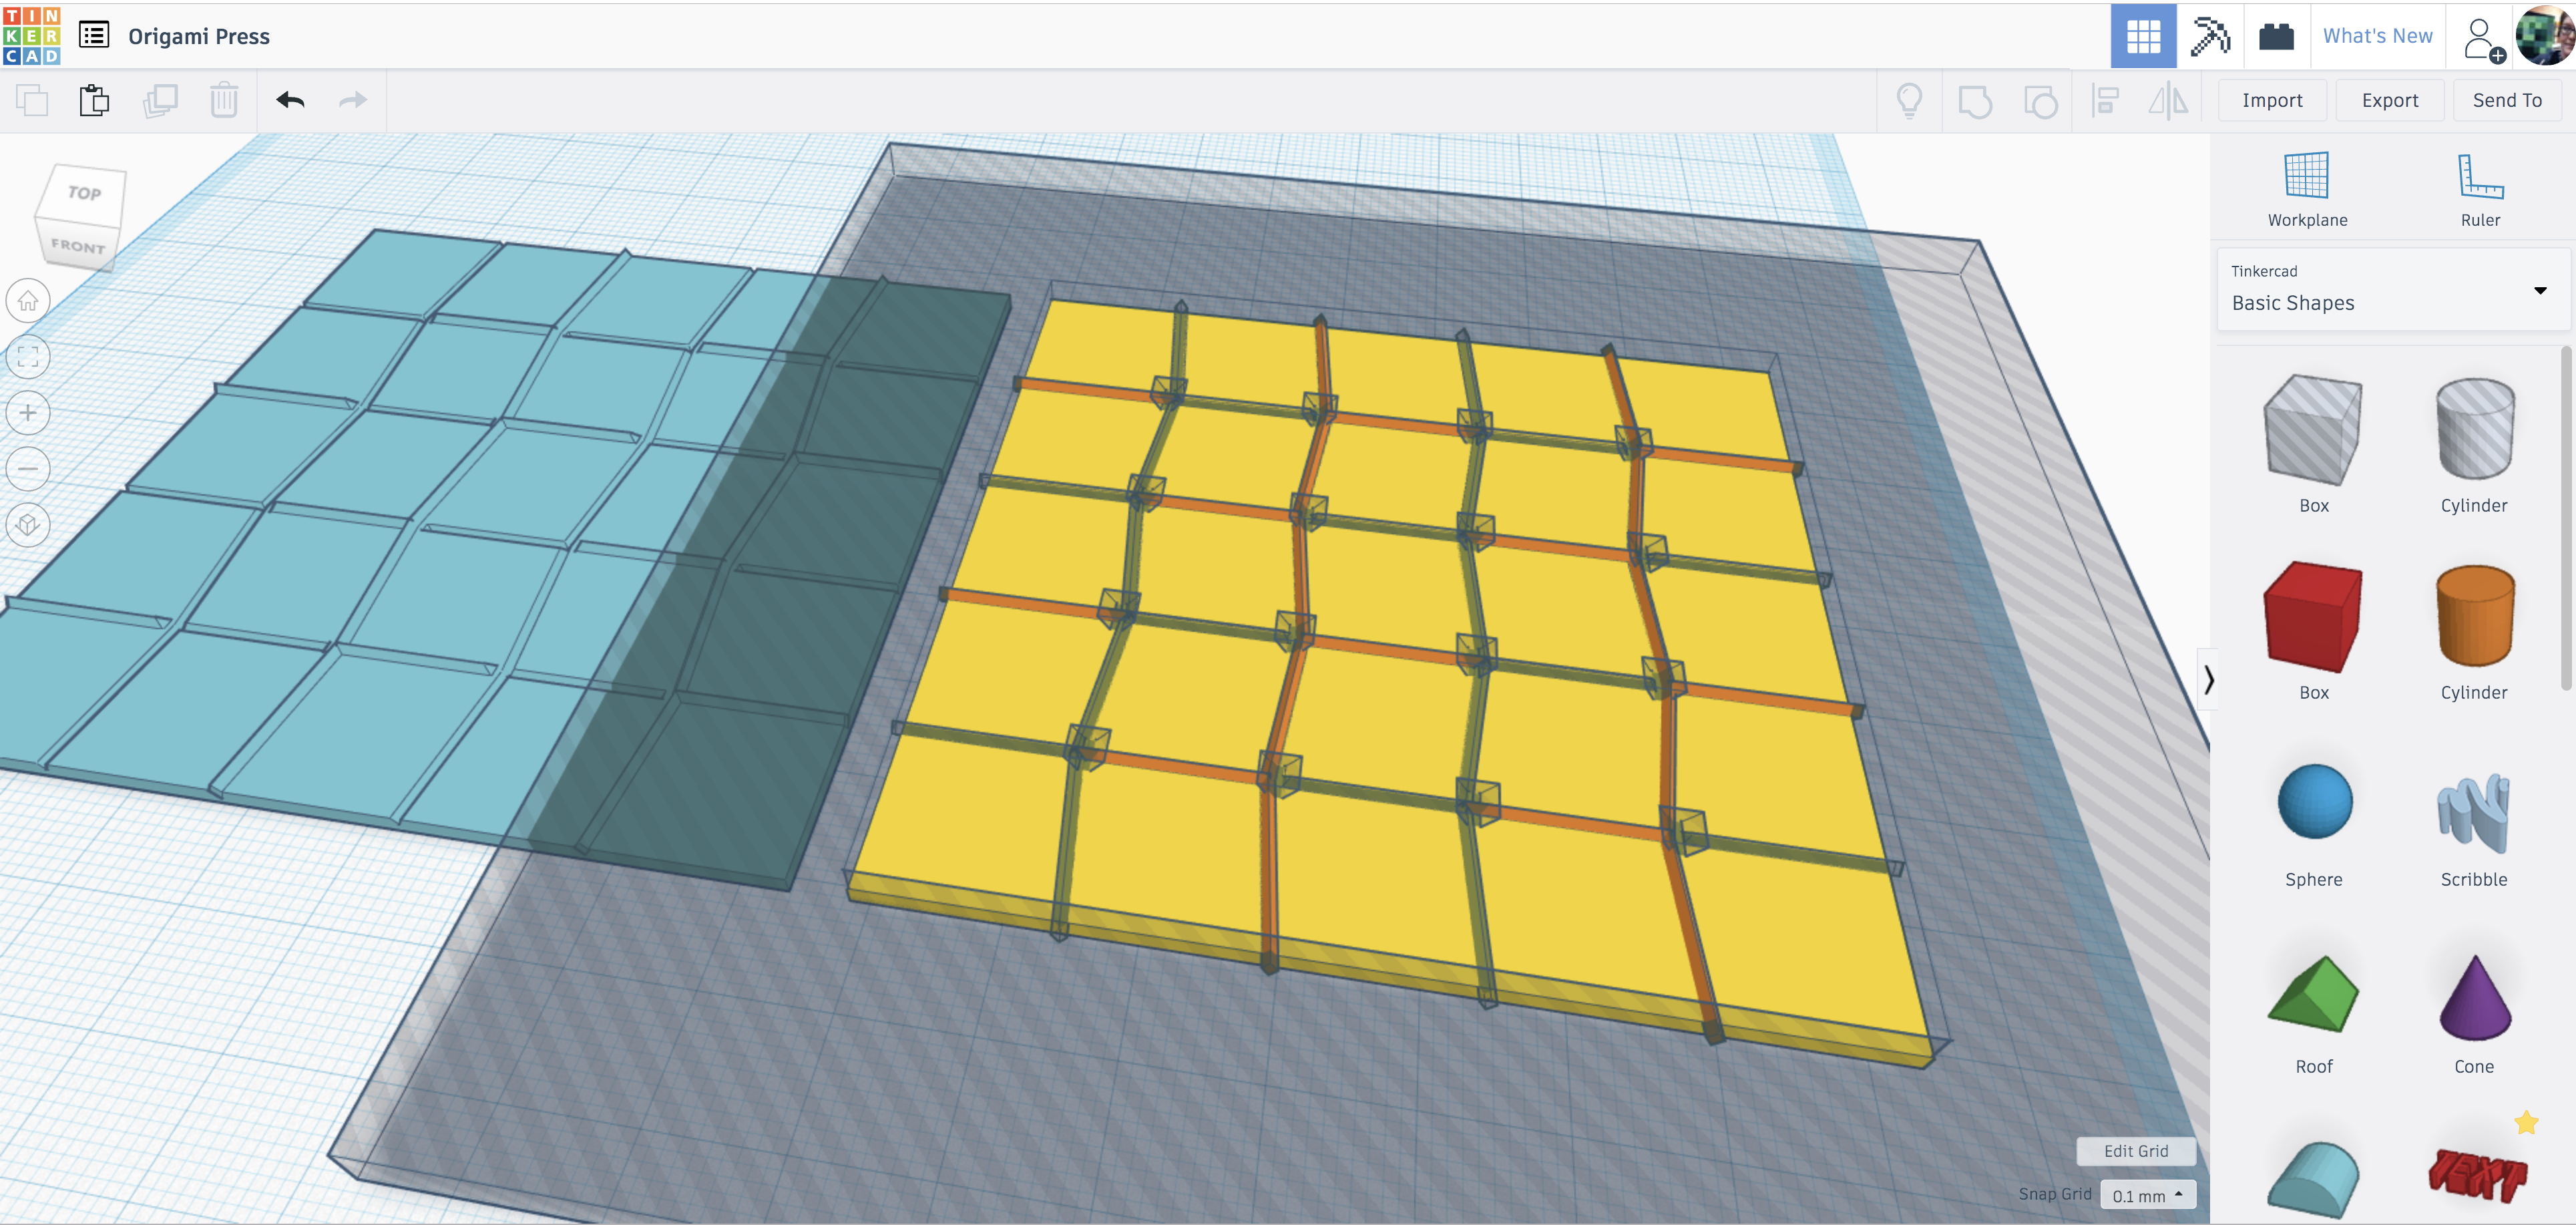
We ended up using Tinkercad to create our model, because the Tinkercad interface is so good for making repeated holes and groups of objects. You can tinker with our Origami Press model in Tinkercad yourself if you like, and remix it to your own needs.
After our final iteration we made a video showing how the Origami Press works, and how to fold up the Miura design after pressing:
Getting the Model
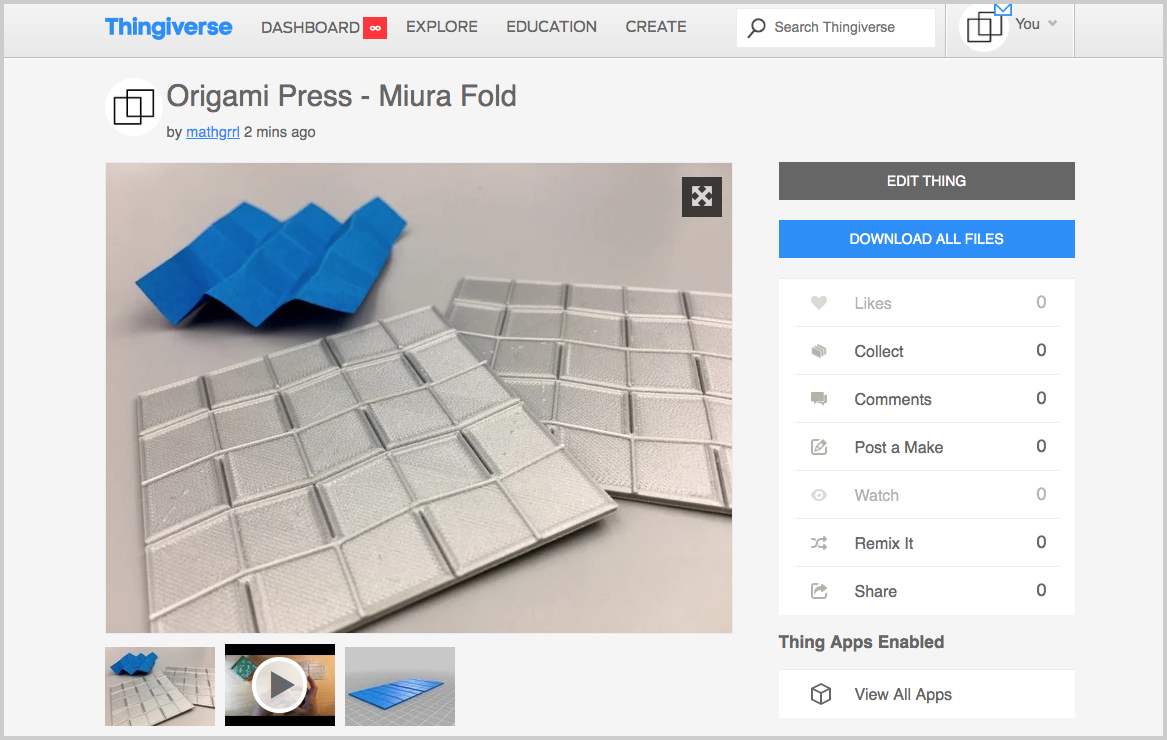
You can download the STL model of our origami press for free at Thingiverse:
We’ve also put the model up at PrusaPrinters, the hot new 3D printing respository that is fixing to give Thingiverse a run for the money:

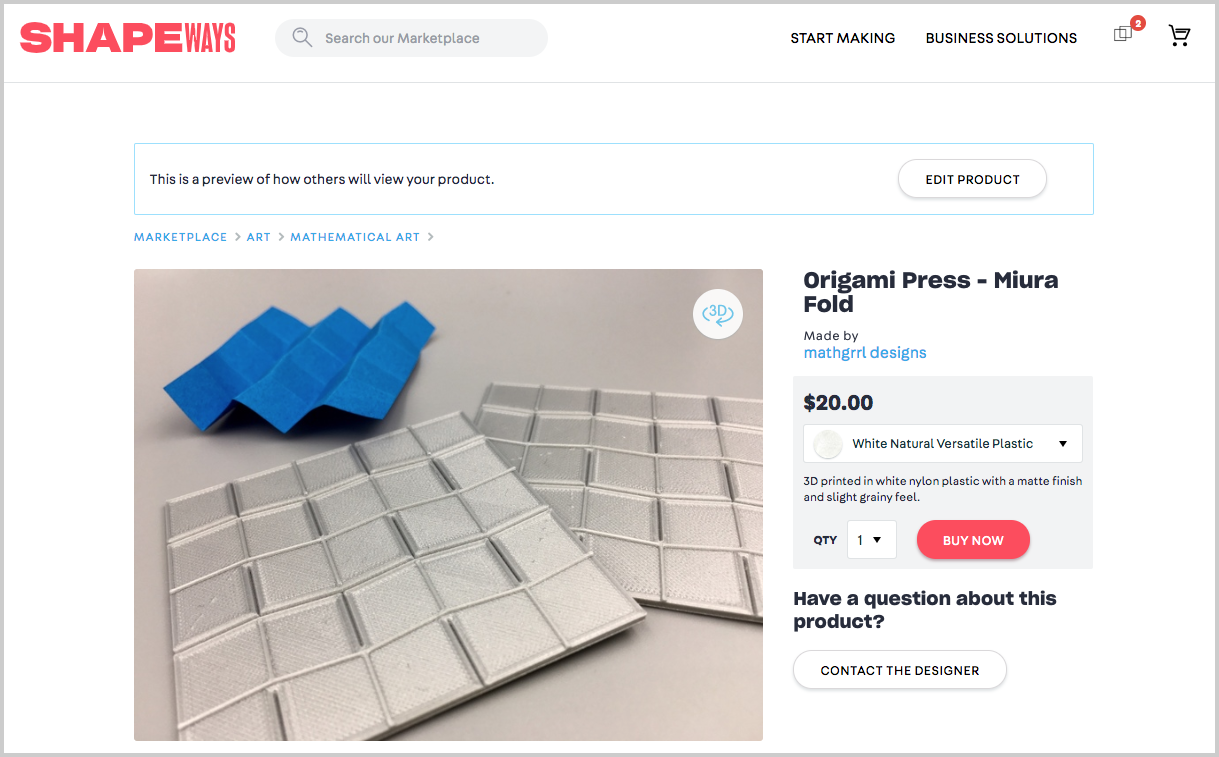
Finally, if you don’t have a 3D printer or want to order completed prints, you can do so from our Shapeways Shop:
If you use or remix this press, send us some photos and we will feature them here :)
——————
As an Amazon Associate we earn from qualifying purchases, so if you’ve got something you need to pick up anyway, going to Amazon through this link will help us keep Hacktastic running. Thanks! :)

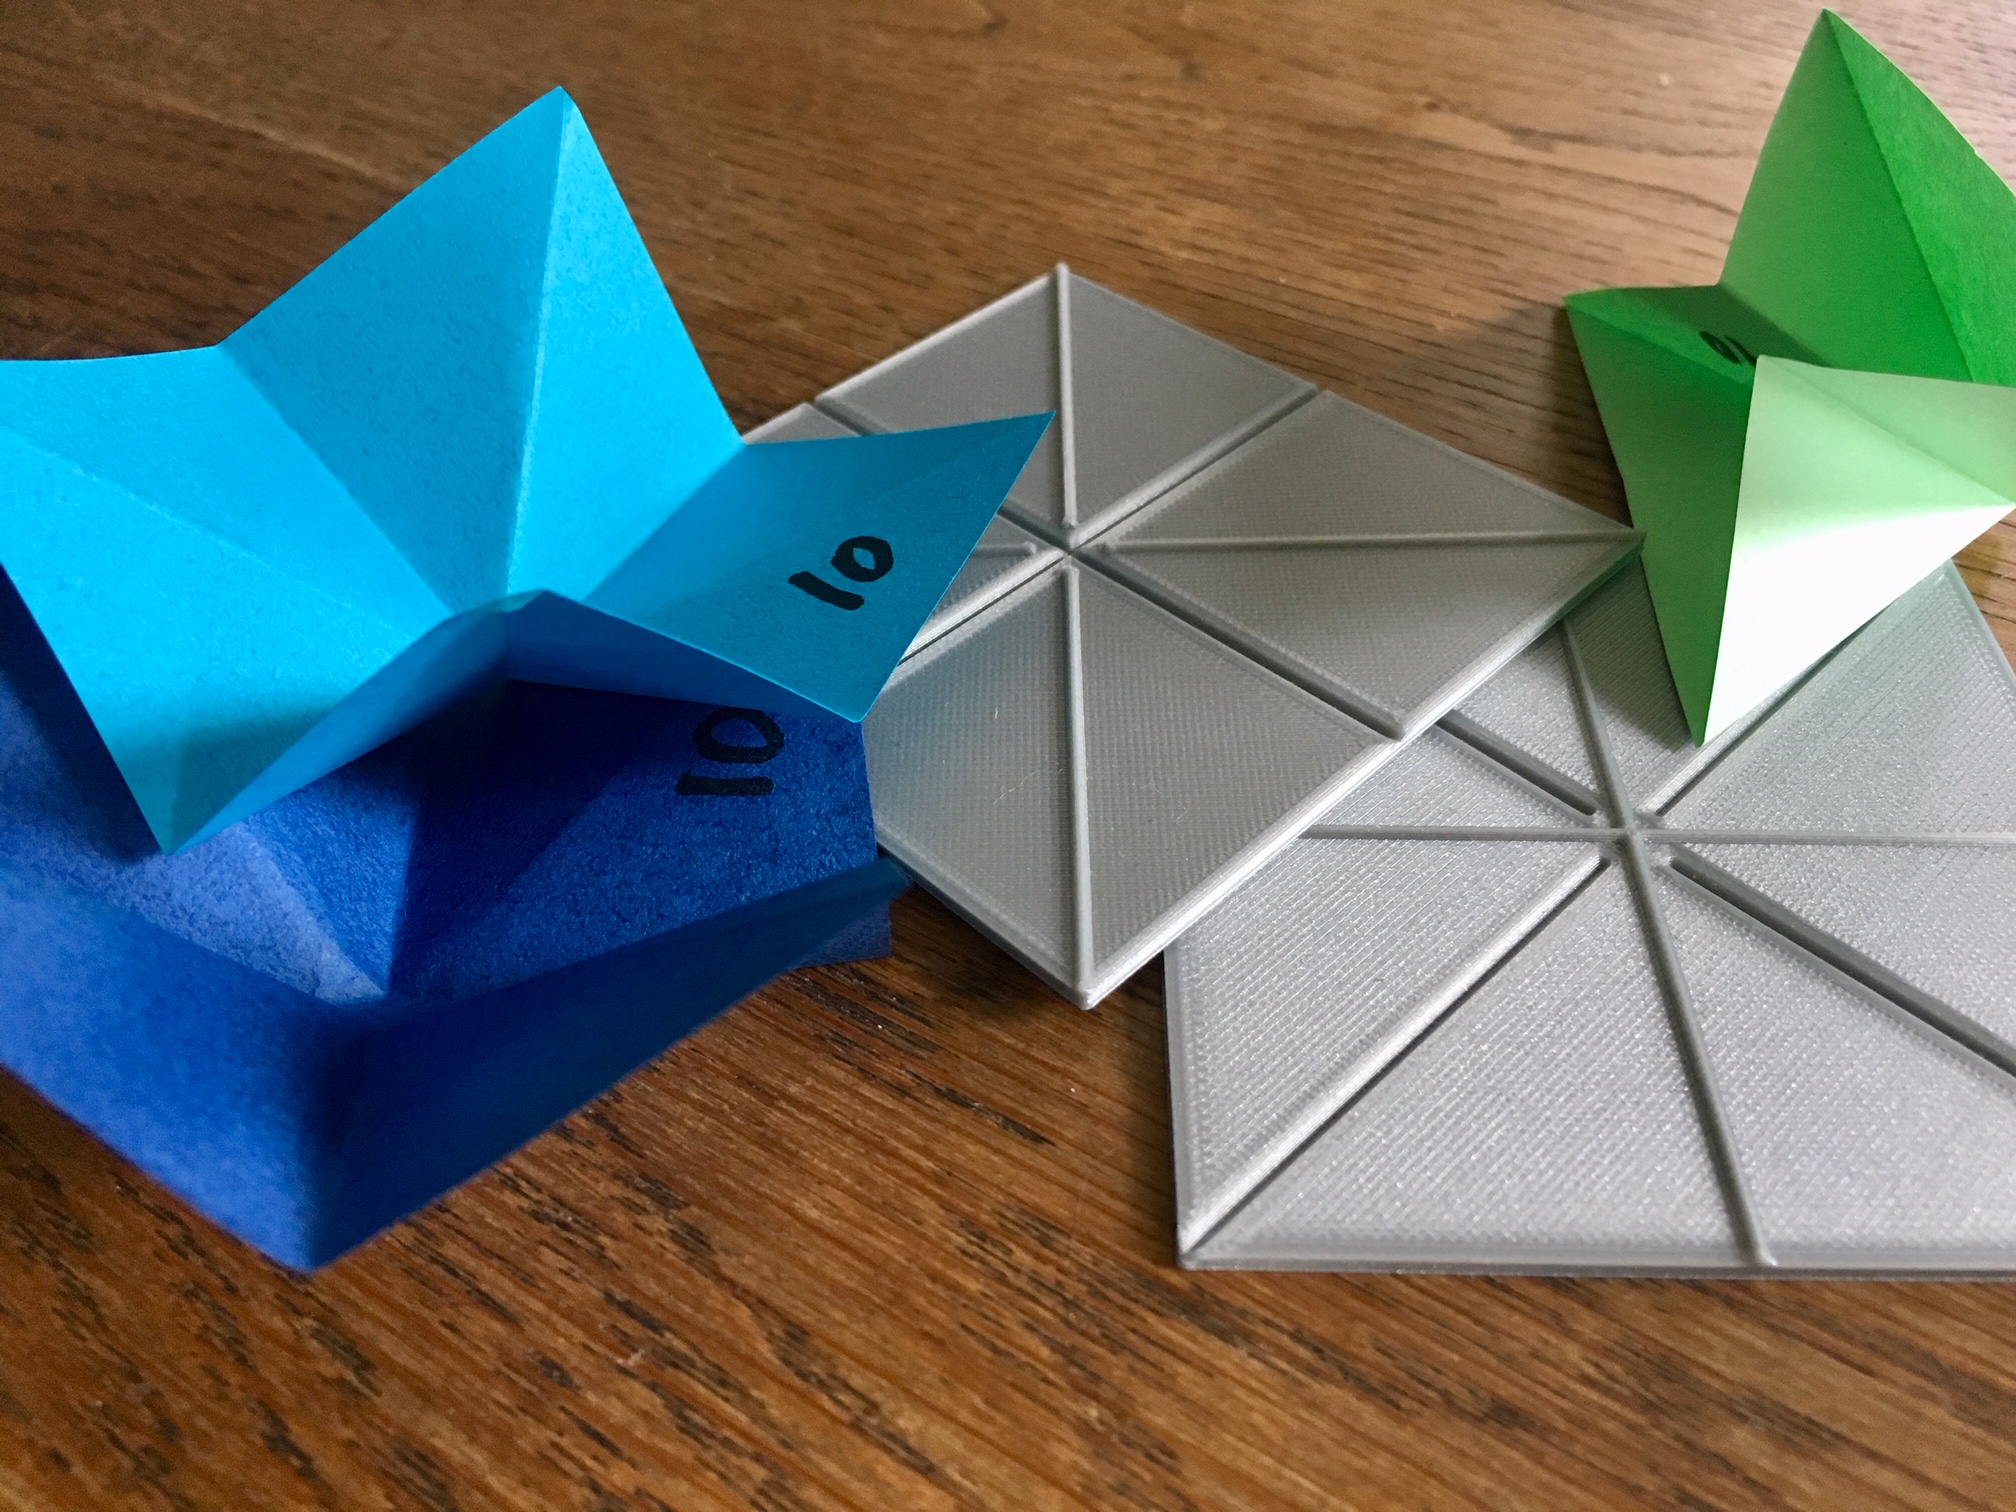
I’d love to make one of these for triangle grids. You should make one :)