
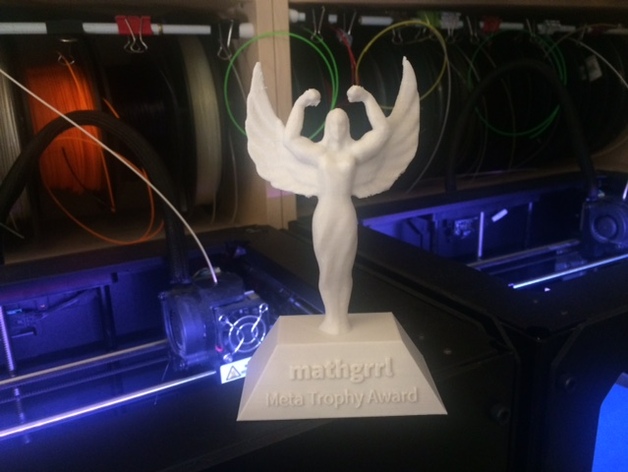
You’re good enough, smart enough, and you deserve a damn trophy. Even if it’s only a trophy that you give yourself for making it through the day, or a meta-award for designing and 3D printing a trophy. Or maybe a trophy for picking yourself up off the floor after getting the boot in a massive layoff at Makerbot :(

Add text to make your own here: Customizable Beefy Trophy
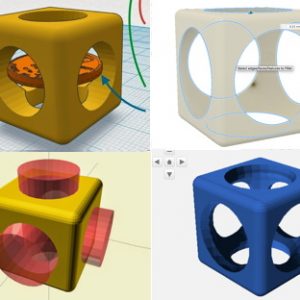
The Beefy Trophy is a combination of a very simple customizable base and a statue of tbuser’s Beefy Trophy. So how did we make a customizable model that incorporates an existing model that wasn’t originally made in OpenSCAD? It’s easy to import STL files into OpenSCAD using the import command. However, the Thingiverse Customizer cannot accommodate imported files. This means that to create customizable models which incorporate existing designs, you have to bake those designs directly into your OpenSCAD code as polyhedral meshes.
In this post we’ll show you how to take something from Thingiverse and use a python Blender add-on to export it into an OpenSCAD module that can be included in a Customizer design like this one. In other words, take anything on Thingiverse and add a customizable element to it!
Infinity thanks to the legendary atartanian for showing me how to do this.
Step 1: Get the Blender add-on from GitHub
Go to github.com/graphicsforge/io_mesh_openscad and download the .zip. (But do not unzip it!) This python script was written by Thingiverse heros atartanian and graphicsforge.
Step 2: Set up Blender
If you haven’t used Blender before, then hold on to your hat. Also, you might want to start by opening Blender and then deleting the default camera, lamp, and cube that appear on the workplane. You can do this by selecting them from the “Scene” menu in the upper right and then hitting delete. After you’ve done that, go to File / Save Startup File so that you won’t have to do it next time.
Step 3: Install the Blender add-on
- Go to File / User Preferences / Addons / Install from File and navigate to the .zip file you downloaded in Step 1.
- Turn on the add-on by activating the checkbox (put “scad” in the search box if the add-on isn’t visible).
- Press “Save User Settings” and close the window.
- Now in File / Export there should be a new .scad option
Step 4: Get a file you like from Thingiverse
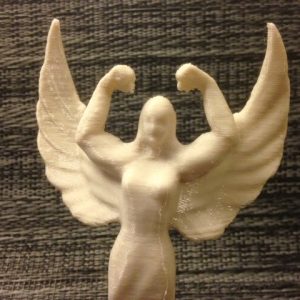
I chose tbuser’s Beefy Trophy
which itself was remixed from lordkylo’s Trophy girl
and atartanian’s Beefy Arm Starter Kit,
and to which we will apply graphicsforge’s io_mesh_openscad.
Interesting fact: With this long pedigree of remixes, the creation of this 3D model involved a lot of design tools, including MakeHuman, Blender, Python, OpenSCAD, Thingiverse, MeshMixer, and I think even a 3D scan.
Step 5: Open in Blender
First, open the file:
- In Blender, Import / STL / navigate to file.
- Right-click on the model to select it.
Step 6: Reduce mesh complexity as needed
Now reduce the mesh to fewer than 10K faces. I know you think this is not necessary and you can get away with more than that, because I thought so — or at least I hoped it. However, more than 10K faces will be more than OpenSCAD can easily handle without slowing down to a crawl even when you’re typing in the editor window. So do the following:
- Click the “wrench” icon (in top quarter of right hand menus), then “Add Modifier”.
- Select “Decimate” and look at “Face Count” number.
- Make sure “Collapse” is selected.
- Type a decimal in “Ratio” to reduce Face Count and hit enter. For example, my Face Count was about 40K so I used Ratio of 0.2 to get down to about 8K. You can toggle the wireframe view on and off with “z” if you want to see what the mesh looks like.
- Click “Apply” or else all of the original vertices will remain in the background, and that is bad.
Step 7: Export to .scad file
Use File / Export / openscad (.scad) and name the file, saving it to whatever location you want. Now you can open this file in OpenSCAD and you’ll have a module that uses polyhedron to construct the model you chose from Thingiverse in terms of a text list of vertices and triangle vertex assignments. That means that you can now build a Customizer around this model! For example, in this case we built a simple base with two lines of text that can be customized to make a trophy with the original Beefy Trophy on the top.
——————
As an Amazon Associate we earn from qualifying purchases, so if you’ve got something you need to pick up anyway, going to Amazon through this link will help us keep Hacktastic running. Thanks! :)
Leave a Reply