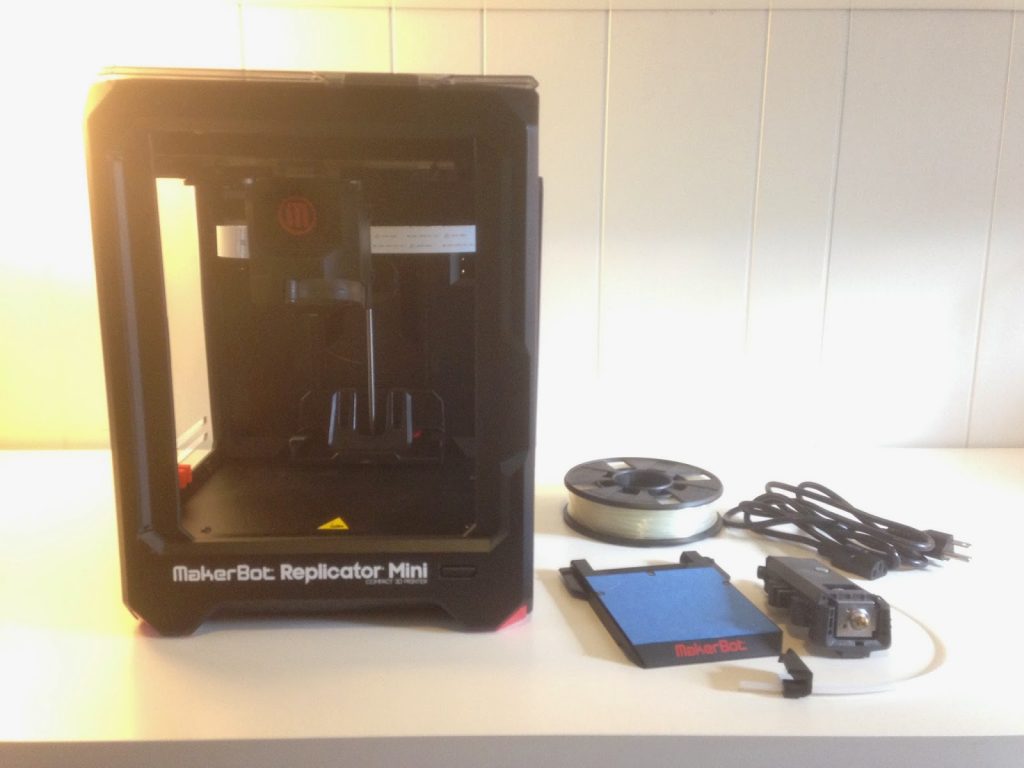
Today my 9-year-old assistant Calvin will be setting up a Replicator Mini. This is the start of a series of posts on how to get started with a 3D printer, what you might try printing first, how to modify existing designs and make your own, what supplies you might want to have on hand, and things you can do in the classroom or with your own kids.
Then you put the filament spool in the back, pull the filament through the tube, and seat the tube clip near the spool. Make sure your spool has the filament feeding from below into the clip:
Then insert the end of the filament into the top of the extruder:
Finally, snap in the build plate:
Once the printer is set up you have to install the MakerBot Desktop software. For those of you with pre-5th-gen machines, Desktop is different from MakerWare, and it’s both more and less powerful at the same time: it’s more powerful in the sense that it is connected to Thingiverse and a Library of your designs, but less powerful in the sense that there is a lot less flexibility with custom profiles and settings. The same is true of the machine itself: it’s more powerful, has a better extruder, etc, but it’s not made to be taken apart and repaired like the trusty Replicator 2 was.
Once you get Desktop installed, it is a good idea to immediately update your firmware. From the menu at the very top of the MakerBot Desktop screen choose Devices/Update Firmware, then download the firmware. The process takes a while and then the printer will restart. If you have a problem with your prints, the very first thing that Support is going to ask is whether or not you have updated your software and firmware, so you might as well do it now!
Here are some links to help you finish setting up and get started on your first print:
- MakerBot Getting Started pamphlet for the Mini
- MakerBot Mini Reference Guide
- MakerBot assembly video of the entire setup process
- Download site for the MakerBot Desktop software
- MakerBot Printshop app for creating a few easy prints from your iPad
First impressions so far: The Mini is built to help you learn fast, but it forces you to color inside the lines. This is great for getting started, but when you want to tinker outside of the lines it can be a challenge. Nothing we can’t fix, though! Over the next few weeks we’ll explore both how to print things quick-and-easy and how to break the rules and go further to tinker and modify prints on the Mini.


Welcome to New York! I can't wait to see how the Mini will handle the challenging prints you'll be sending to it. . .