This is the fourth post in our series about machine knitting and our goal of using a Silhouette Cameo 3 craft cutter to create custom punch cards for vintage knitting machines. Here are the first three posts:
- Getting Started on the Brother KH-881 Punchcard Knitting Machine
- Knitting Machine Punch Card Trials
- 3D Printed Spacer for Using Sharpies in the Silhouette
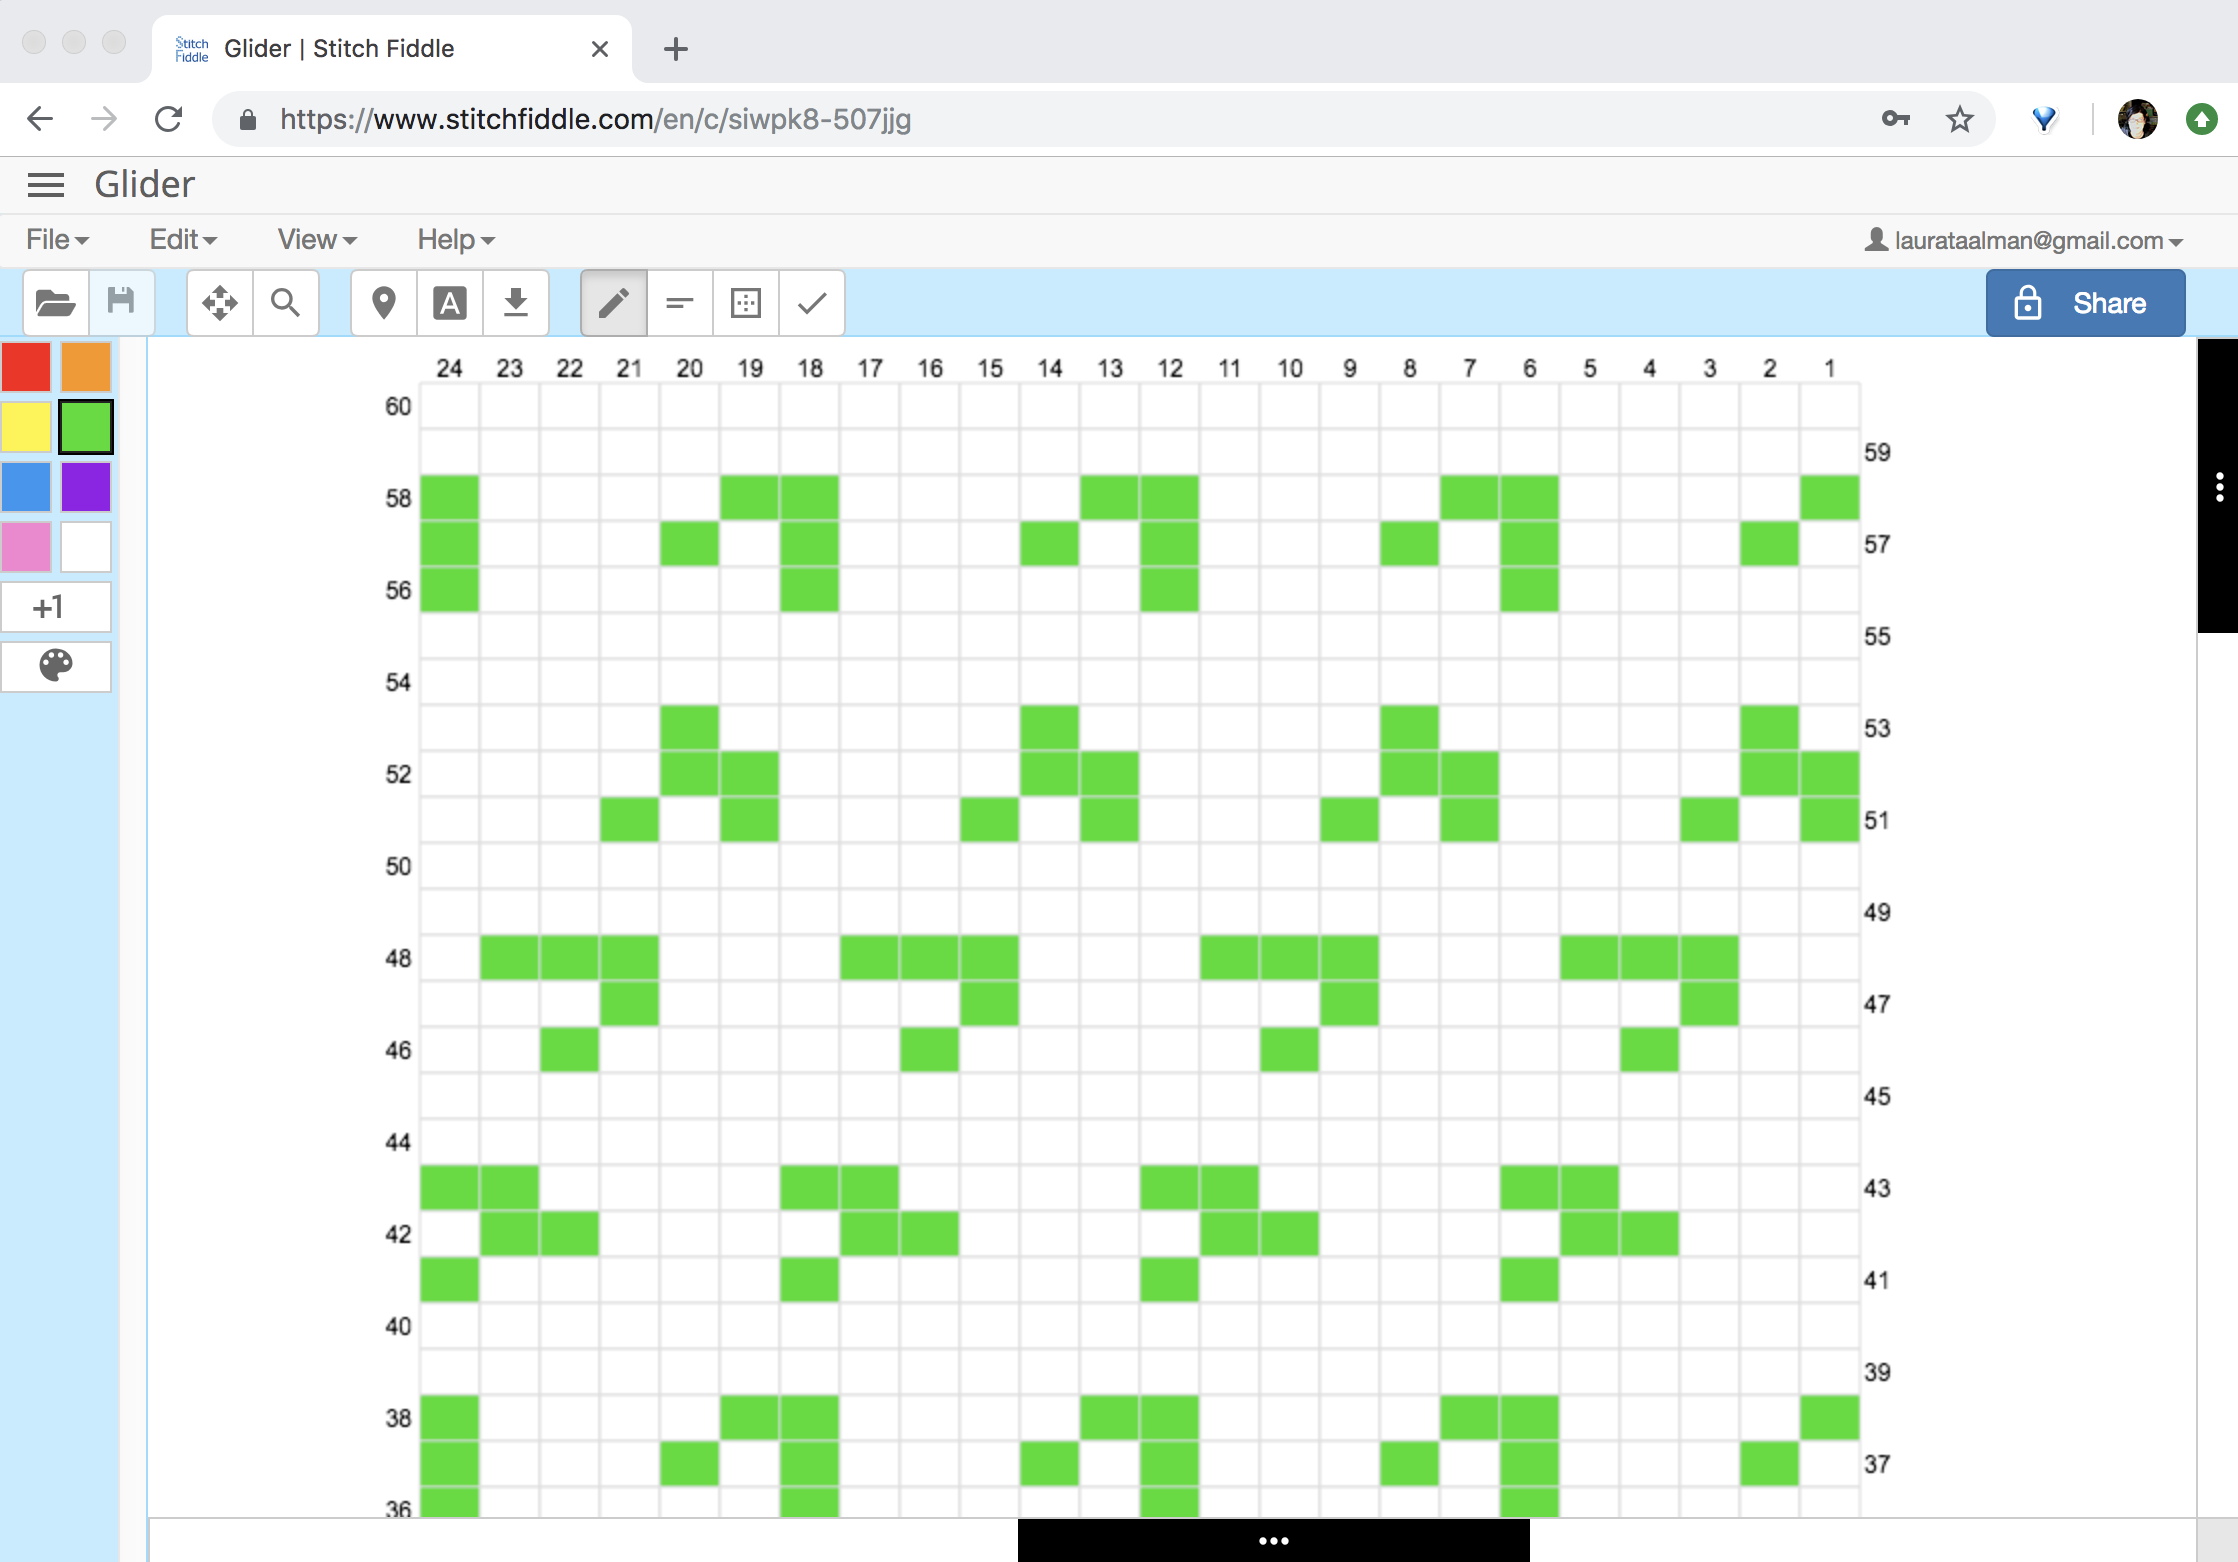
Now that we’ve sorted out how to cut punch cards and use them to make knit swatches, in this post we’ll discuss how to design the patterns for the cards and then get those designs into the Silhouette Studio software. We’ll start with a simple solution to the problem, using the easy-to-use online design program Stitch Fiddle:
Of course, we could just create our designs directly in Silhouette Studio, by coloring or uncoloring the circles in the punch card template we already developed:
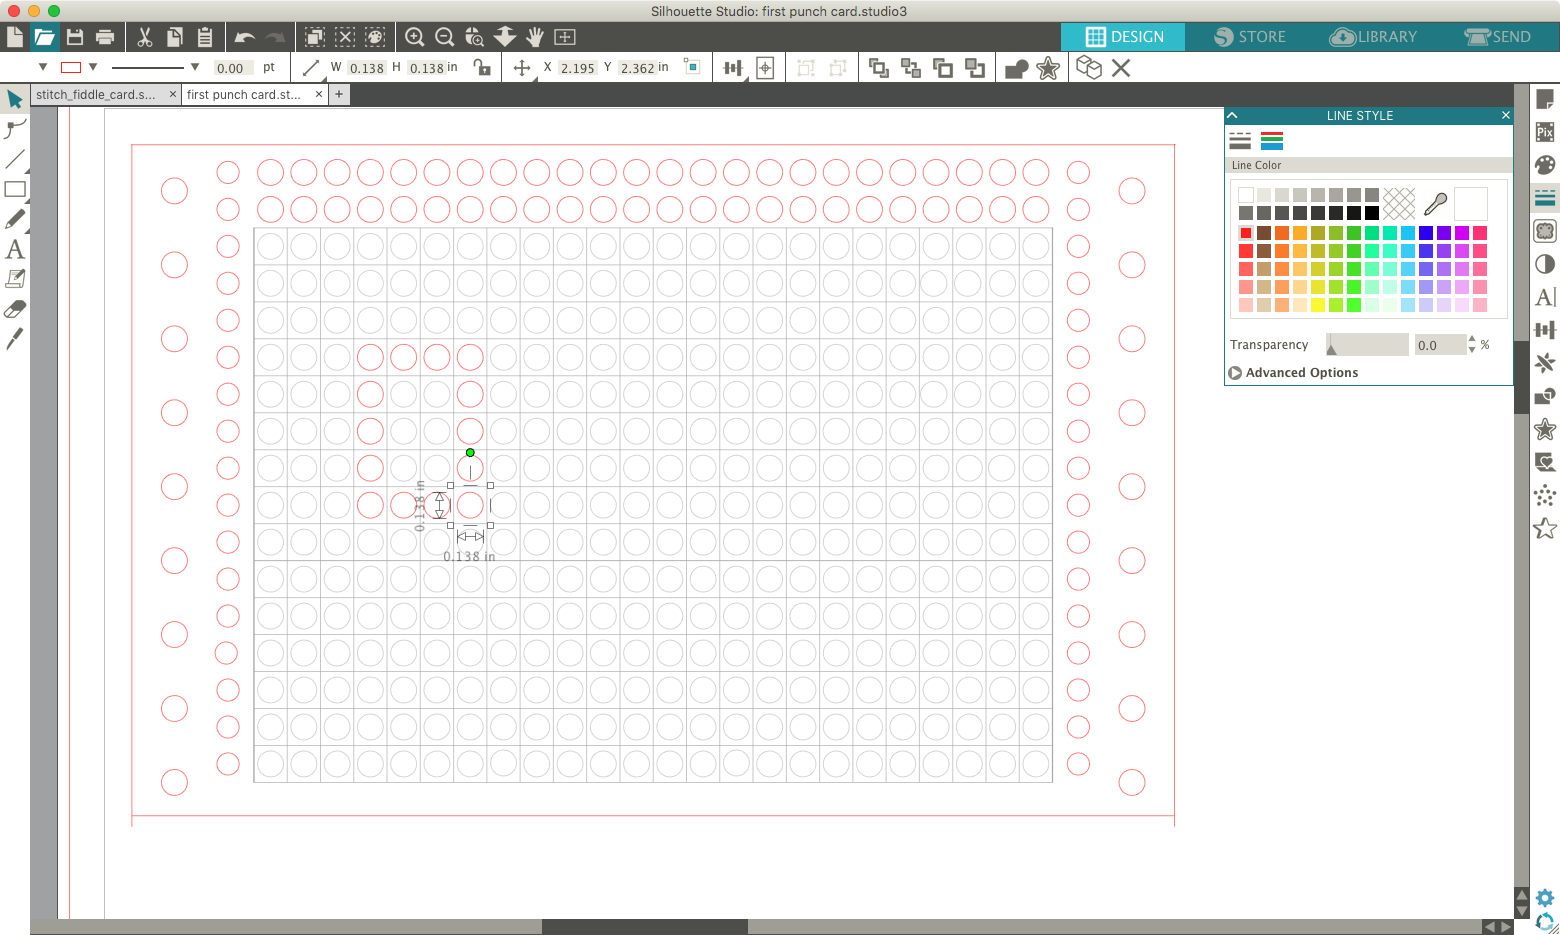
That would be fine for a simple pattern, but would be too tedious and fiddly for something that had to go through a lot of design iteration like the green StitchFiddle pattern shown above above (based on “gliders” from Conway’s Game of Life).
In StitchFiddle you can just click the cells of the pattern to turn them on/off in different colors. You can also change the pattern grid style, so we thought maybe… just maybe… the StitchFiddle holes would be the correct size for our punch cards?
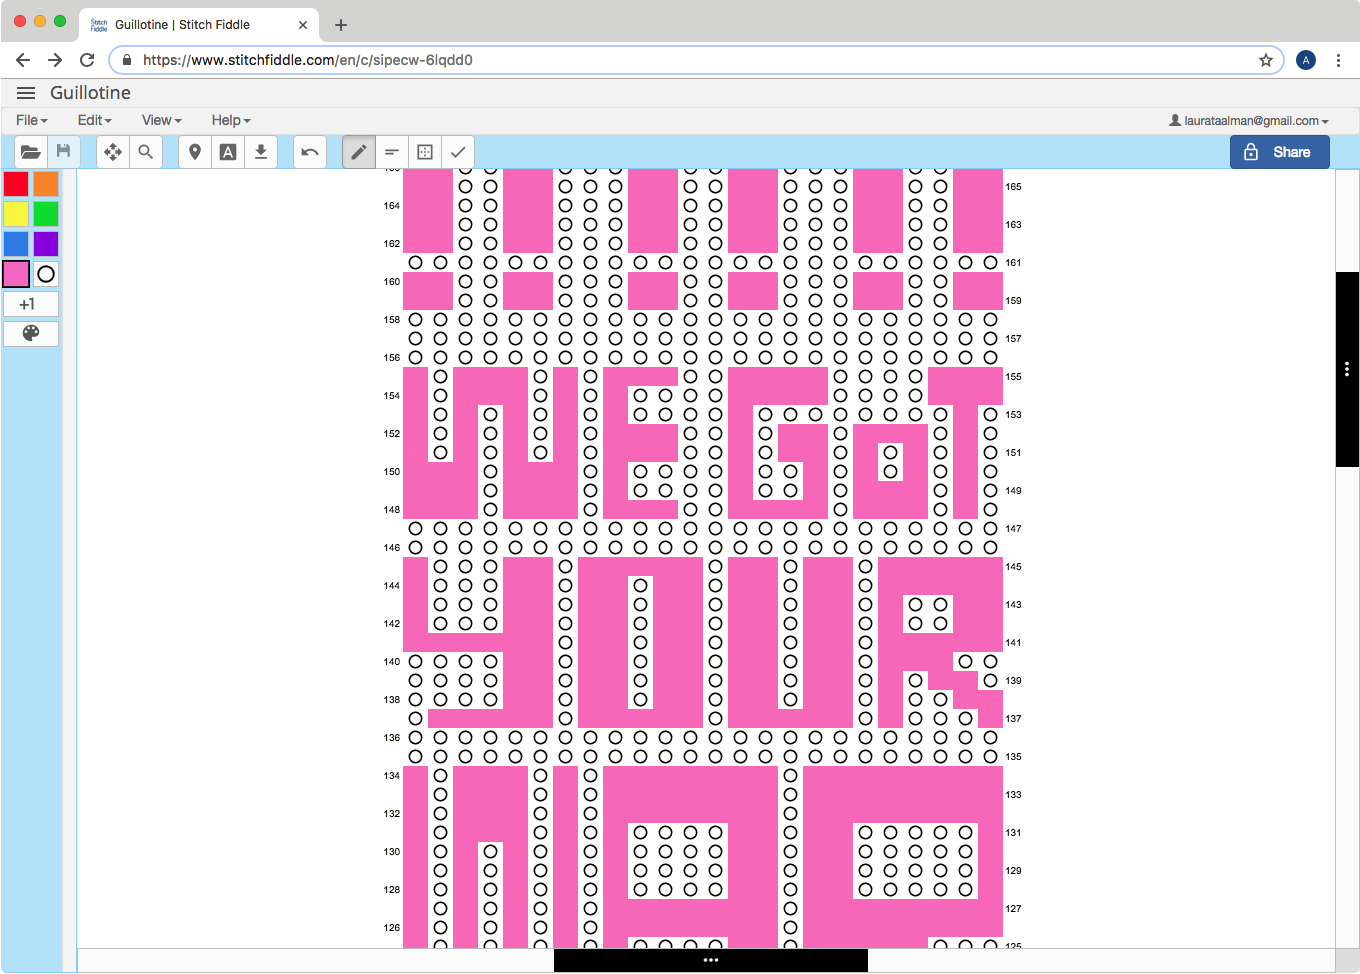
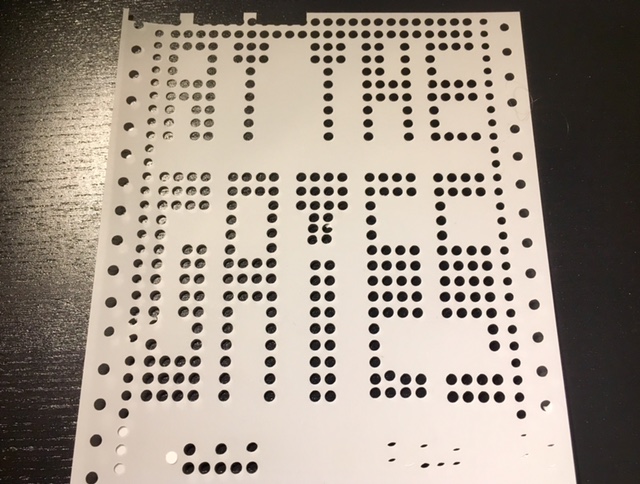
The pattern above is based on the “Sorry to Bother You” font (see the Appendix below). To export from StitchFiddle use [File/Print] and then [Download as PDF], and then finally set to JPG. The resulting JPG file can be imported into Silhouette Studio. Alas, the holes are not the correct size or spacing, but by scaling and then overlaying the StitchFiddle pattern on our Studio punch card template, we could easily see which circles in the template to color “red” for cutting. Here’s what the resulting patten looked like in Studio (with the StitchFiddle pattern guide now moved over to the side). Note on the right side of the image that we are setting the red lines to be cut when set to the Cameo.
Success! (mostly)
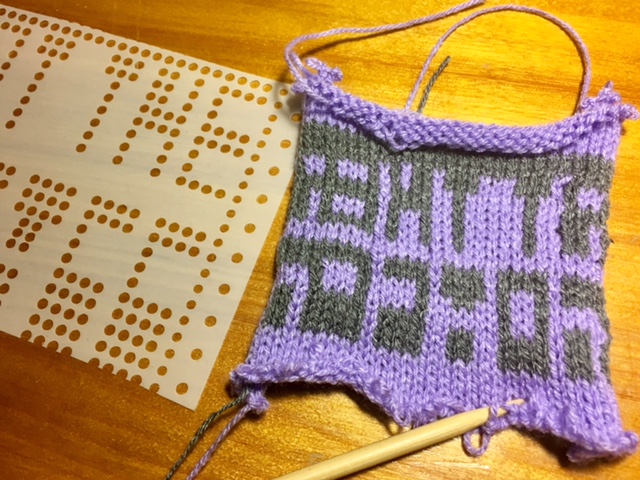
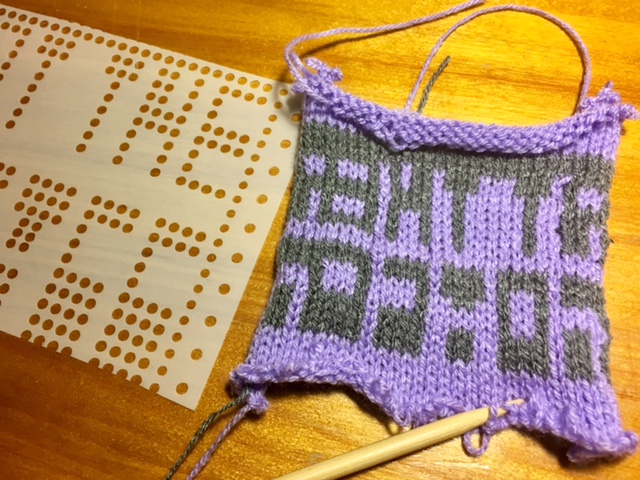
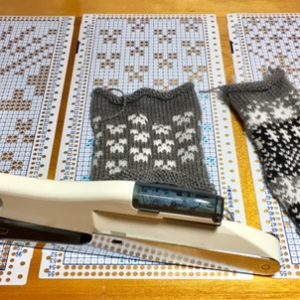
Some of the holes didn’t punch all the way through, and things got a bit warpy after the Dura-Lar paper started moving around for some reason during the cutting process, but at least the top of the card was good enough to run through the Brother KH-881 for a test swatch:
The result was pretty messed up, but actually really good for a first test. THIS IS GOING TO WORK!
Things to do next time:
- Flip the punch card over when using it in the knitting machine — of course the design gets reversed so I need to reverse the card!
- Use the motif spacer thing on the knitting machine that makes the pattern only appear once — in this sample the words get repeated immediately in each row, but we only want them once.
- Set the cutter to cut sharper/harder so that the punches always go all the way through.
- Adjust the cutter rollers to keep the media properly in place while cuting.
Appendix
The design we’ve been working with in this post is the start of a longer scarf design of lyrics from song The Guillotine by The Coup, based on the font and style of the posters for the amazing movie Sorry to Bother You. The final design will have to be cut on multiple punch card sheets and then attached together for feeding into the knitting machine. Here’s what the pattern looks like so far:
——————
As an Amazon Associate we earn from qualifying purchases, so if you’ve got something you need to pick up anyway, going to Amazon through this link will help us keep Hacktastic running. Thanks! :)


If your scarf will be more than 24 stitches wide you will need to leave a column of stitches on one side so your words won’t be all run togetherwithoutspaces.