Companies come and go, especially online. Data gets lost, start-ups don’t get past start, and businesses get bought out or go belly-up. Changes sometimes happen quickly, and your online content could go out the window without warning. So, if you post or publish your work online, forget New Year’s resolutions… instead we have an end-of-year resolution:

Creating local copies of your online content is tedius but easy. In this post we’ll go over some best practices for making end-of-the-year backups so you can be protected in case something goes sideways online. Hold on to your hats and grab a cup of tea, because there’s a lot you might need to back up if you haven’t done this before…
I can already tell this is tl;dr
This post is gonna be long, so maybe you just want to jump down to the main sections on how to back up your work from: Thingiverse, Shapeways, Etsy, YouTube, WordPress, or Twitter?
Do I have to?
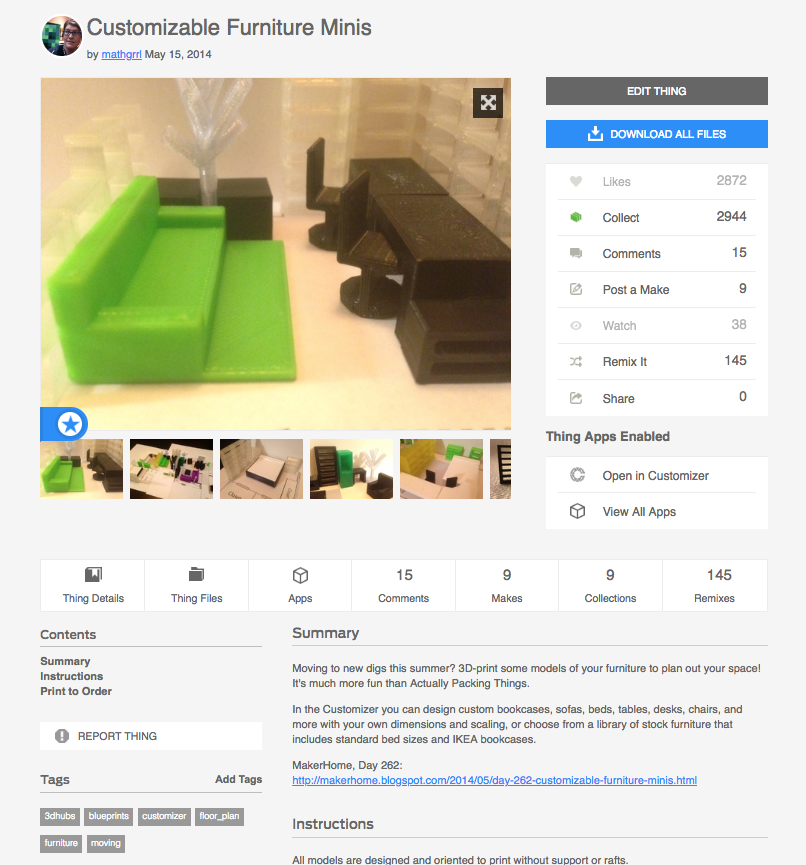
Let’s consider just one online platform to start: Thingiverse. I have hundreds of models uploaded there; for example, this parametric model for constructing Customizable Furniture Minis (handy if you’re moving into a new apartment and want to see how your furniture might fit):
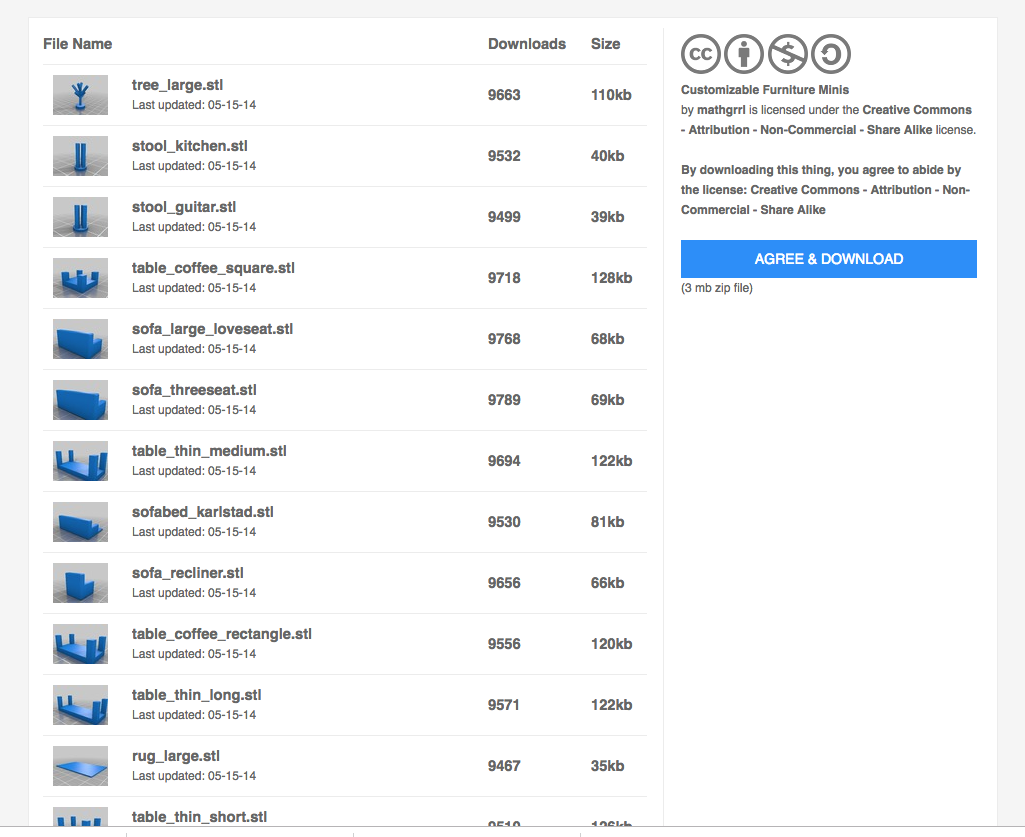
The online content for each “Thing” on Thingiverse includes STL files, images, text descriptions, tags, analytics, and more. This particular model has also lots of sample STL files, as well as an OpenSCAD code file that runs the Customizer so people can create models that are sized like their own furniture. That’s a lot of downloadable content that I’m keeping up on Thingiverse:
Do I have all that content somewhere locally? Well, I have all the STL files somewhere on my computer, and all the images are in my phone’s photo collection… but everything is mixed up. Which of my local STL files are the ones that I uploaded to Thingiverse? What code did I upload for the Customizer, and did I modify it later or is it still the same? Which photos from my camera roll are the ones that I thought had the best angles or lighting, and what month did I take those photos, and where the heck are they? I don’t have the text description or tags saved anywhere since I typed those directly into Thingiverse; and I don’t have a local up-to-date record of the analytics of how many people liked or downloaded this model.
So here’s the question: If I woke up one morning to find that Thingiverse had suddenly disappeared (excuse me while I hyperventilate for a second just for typing that), how the heck would I put all that back together again?
You might be thinking that it’s pretty unlikely that you’d have to deal with such an emergency, but consider that Thingiverse is owned by MakerBot, who famously suffered numerous rounds of CEO changes and layoffs (including from the Thingiverse team, ahem) after being purchased by Stratasys a few years ago, and whose new printer is geared for professionals and industry, not makers. Who knows what the future will hold?
Consider also what recently happened at Flickr, the online photo hosting service that was purchased by SmugMug earlier this year. For users on the “free” plan, the previous limit of 1TB of storage was reduced to just 1,000 pictures. Here’s what The Verge reported about how this change would be implemented on Flickr:
“Free users with more than 1,000 photos or videos will have until January 8th, 2019, to upgrade to Pro or download their surplus content. After January 8th, free users with over 1,000 pictures or videos won’t be able to upload any more. And on February 5th, 2019, free accounts that are still over the limit will have their content actively deleted until they’re back under 1,000 (starting with the oldest content first).”
This is pretty real if you’ve got a lot of content on Flickr, especially if you don’t notice before February and your photos start being deleted! Frankly this is kind of a best-case scenario, since users have time to prepare and probably get a lot of emails pushing them to upgrade to the paid service before their content is deleted. If a company went under then things could be a lot worse, with no notice at all! Okay, now that we’re sufficiently terrified, let’s do this thing…
Backing up Thingiverse
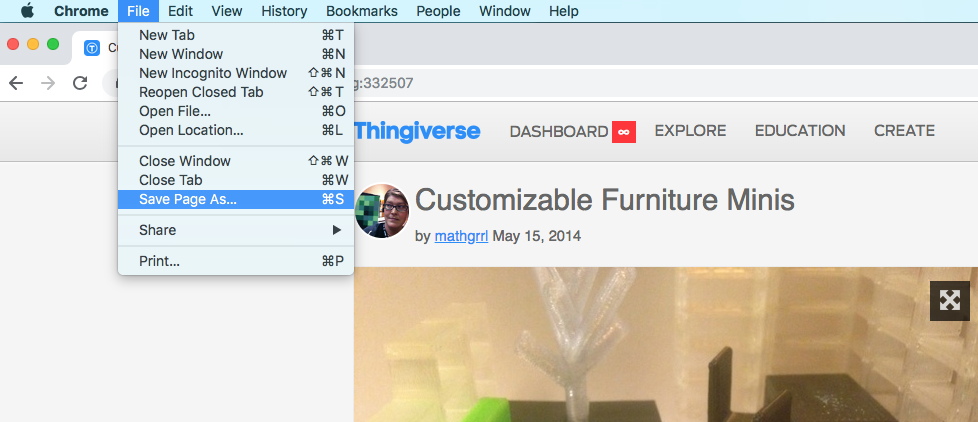
Backing up “Things” on Thingiverse is a two-step process. First, use File / Save Page As to save a local copy of the webpage for the Thing. (Note: All the instructions in this article are for Chrome on a Mac.)
Make sure that you choose the Format “Webpage, Complete”. This results in an .html file that you can open locally from your computer, and a folder that contains all the images and data needed to display the website. All images in your Gallery will be in this folder in both thumbnail and display-quality sizes, even those that aren’t visible from the webpage when you save. This only saves the main page of your Thing, and if you click on any links from this page they will link to content online, not locally.
The second thing you need to do is save your model files. To do this just click the big blue “Download All Files” button, to get a .zip file that contains attribution card, license, and of course all the STL, code, and design files you uploaded to the site. It also includes display-size copies of all the images for your Thing, so if you don’t need the descriptions and tags for your models then this one step might be all you need to do.
Warning: Make sure you wait long enough after saving the page before navigating away, closing the window, or saving model files. It can take longer than you think to save the complete website, and doing any navigation can mess up the process. If you’re not sure whether or not something got messed up, just open the .html file and check.
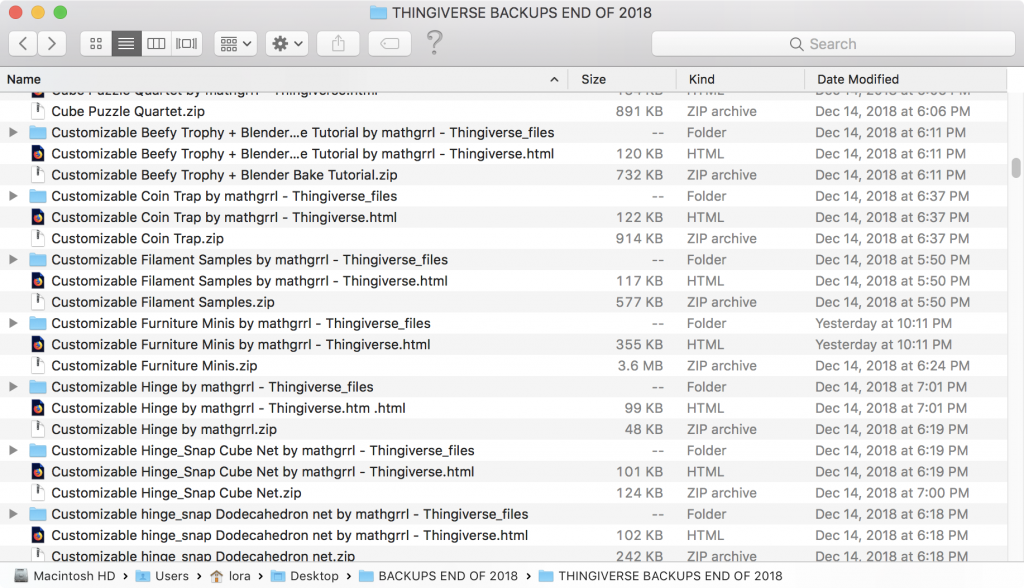
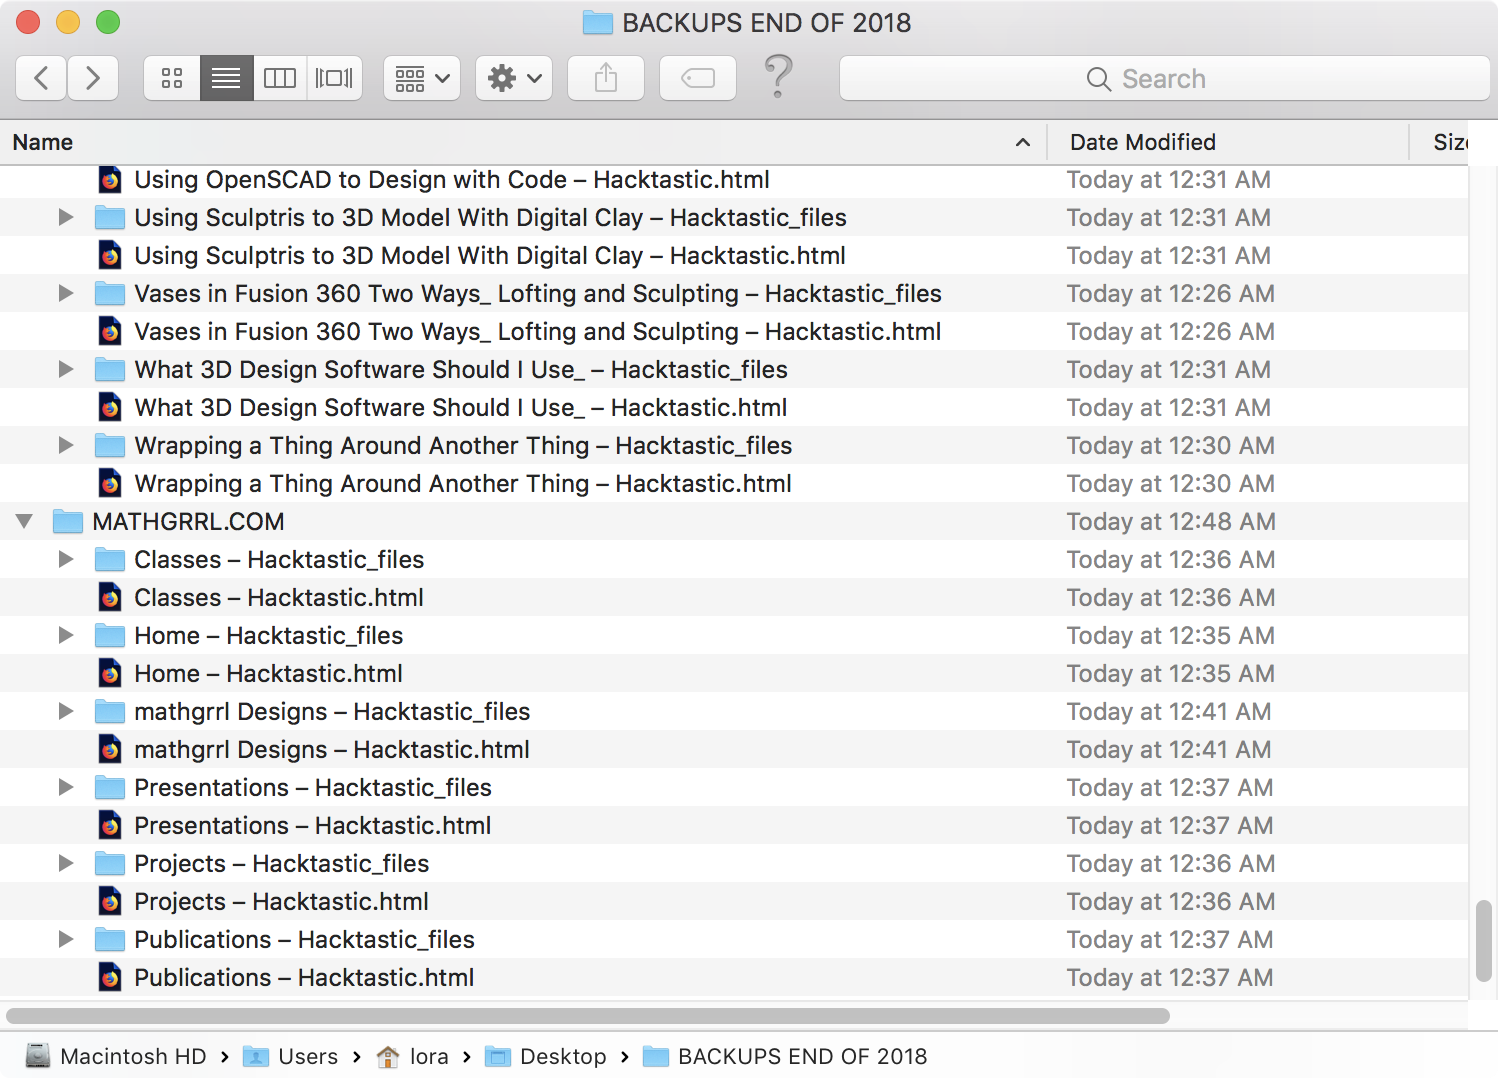
If you have a lot of files and want to be able to double-check that you have everything, then you may want to rename your .zip files to have spaces instead of underscores. That way your files will appear in neat sets of three when you order by filename, and you can easily check if anything has gone missing:
You may be thinking that it’s better practice to change spaces to underscores than the other way around, and I thought so too… but it turns out that doing things that way causes some problems when you try to open the .html files locally, I think because the the folder name is no longer what the .html file expects. To change underscores to spaces in your .zip files in one batch from the command line, get to the directory with your files in it and then run this (thank you Stack Exchange and @rileypb):
for file in *.zip ; do mv — “$file” “${file//_/ }” ; done
Alternately you could just make a folder for each Thing and put the .html file, .zip file, and data folder into that Thing folder, or even just leave it all a big jumble and pick it apart later if catastrophe strikes.
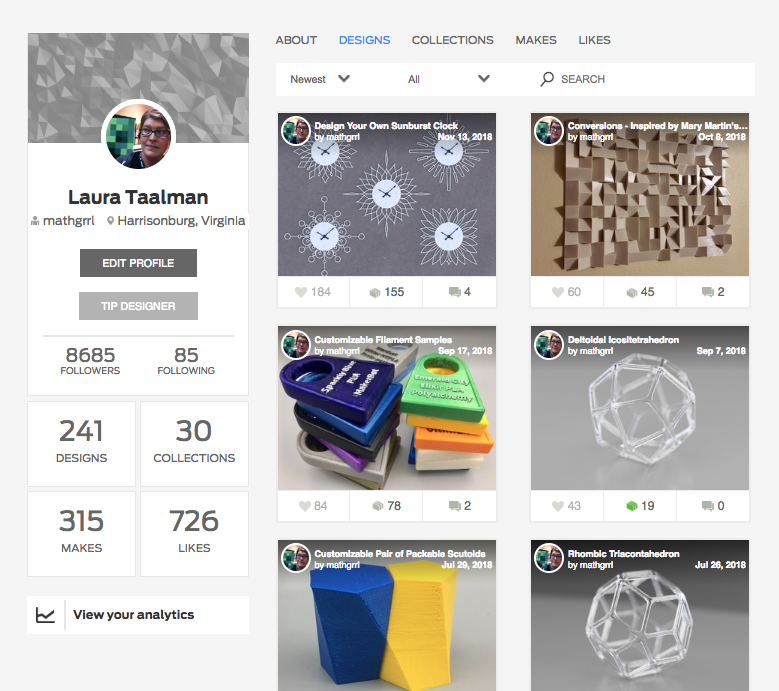
I also wanted to keep a record of the order that my Things were uploaded to Thingiverse, so I needed to save the very long infinite-scroll page that lists all of my designs, which starts like this:
As you scroll down, the page loads new content to continue the list of designs. If you scroll all the way down and save then the upper content will not be saved, and if you don’t scroll down then the lower content will not be saved. The solution is to go to your Thingiverse Settings and change the “Use pagination instead of infinite scroll” toggle to “Yes”, so that you can save one page of designs at a time and eventually capture everything. The same technique comes in handy if you want to save your Collections.
If you’ve got content on other online 3D model repositories, like Pinshape or YouMagine, then you can back things up approximately the same way. Just back up whichever repository is your usual go-to, and don’t worry about the rest, since you can probably use the same data to recreate content on any 3D model site.
Backing up Shapeways
The 3D printing service and marketplace Shapeways seems relatively stable, and got a new CEO and Series E funding this year, but changes there have been fast and furious recently. What if some future shift in business plans causes changes that affect the Marketplace or your Shapeways Store? I hope not, but best to be backed up just in case!
Backing up from Shapeways is pretty much just like backing up from Thingiverse, except that recent changes on the site make it more difficult for you to download your actual model files. The first step is the same, though: navigate to one of your product pages and use File / Save Page As to save a local copy of the complete webpages and files. This will save all featured images and your description, tags, and the price for printing in the default material.
To quickly see what files are used in your product, scroll down to the Details panel and look at the “What’s in the box” information. To download that file, go to your 3D Models list and search for that name, then click on the vertical dots and choose Download. Remember that if your model has different Variants then you may have to download multiple files.
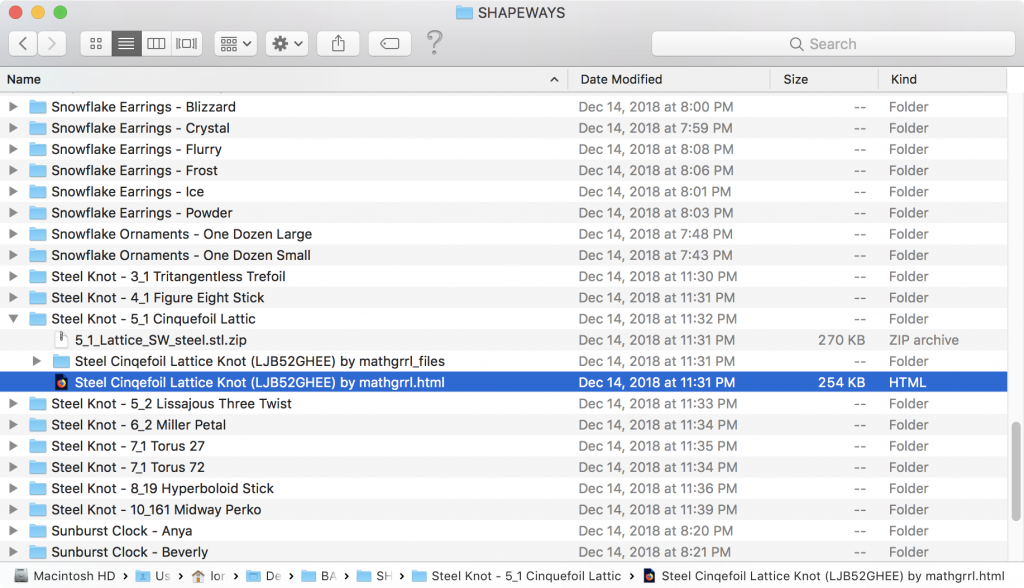
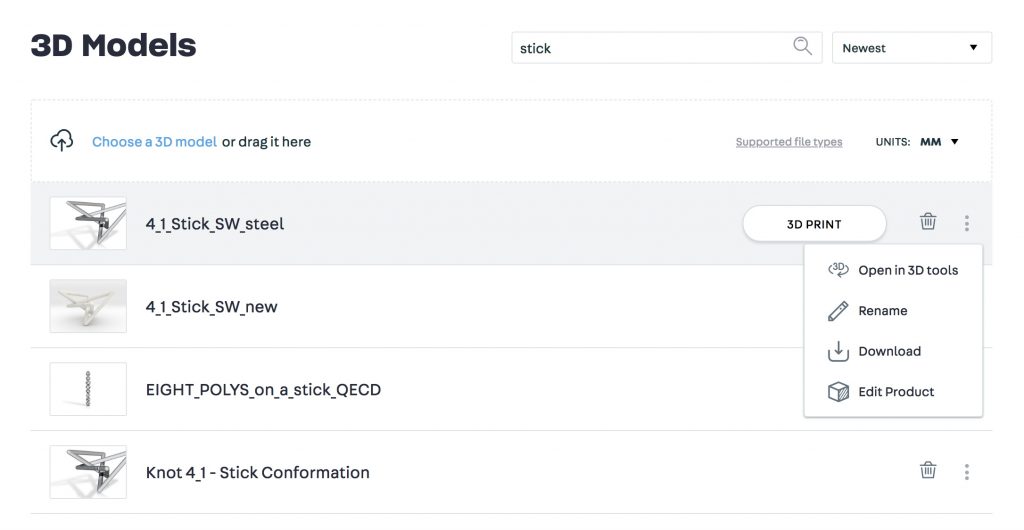 Rather than mess with filenames, this time I just made a folder for each product and put the data folder, .html, and model files into that folder:
If you’ve got product files on iMaterialize, MyMiniFactory, or any other commercial 3D model repository, then you can follow a similar process to archive your work for the year, as needed. Probably you’ll only need to do it once, for the service that you use the most — unless you tend to post different types of things on different sites.
Backing up Etsy
I only have one thing on Etsy right now, but I backed it up just in case. Again, just by selecting File / Save Page As, to get the listing data and images:
From Etsy there are no files to download, because orders to Etsy are filled by you shipping actual items from your own inventory. However there are a lot of listing flags and properties that wouldn’t be fun to remember if Etsy somehow lost all your data, so I think the best practice is to choose Edit from your product page and then save the actual “Edit Listing” page as well:
Backing up Sketchfab
Models you upload to Sketchfab can be viewed in 3D/VR mode and embedded in Twitter, Facebook, and even here in WordPress (click the play button to see the live model!):
I’d like to be able to download my 3D/VR images from Sketchfab to back them up, but there doesn’t seem to be a way to do that. Saving the website doesn’t work in any of the ways that I’ve tried, and there does not seem to be a way to download the 3D view of a model. You can “Share” a model, which effectively sends a link or an embed with a link to email, Twitter, etc, but that doesn’t give you a local copy of the 3D visualization. I guess it only works at the Sketchfab site or through their API, which kind of makes sense. If you know otherwise please let us know in the comments!
Backing up Tinkercad
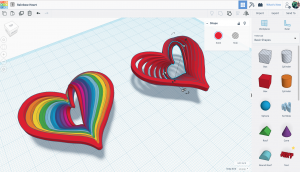
You all remember when Tinkercad went away, right? Those were bleak times… until Autodesk saved the day and made it live again (see the article Tinkercad is Back! Autodesk is buying it from 2013). Since then, Autodesk has taken great care of Tinkercad, and even this year has made major updates. I’ve got hundreds and hundreds of models and experiments on Tinkercad, from the serious to the silly:
We hope that Tinkercad will be here forever, but if something happens… there’s probably nothing we can do. There doesn’t seem to be a way to back up your Tinkercad files, and that makes sense because you would need to have Tinkercad to open and edit them. You could download the STL files for each of your models, but that wouldn’t preserve your Tinkercad groupings and edits. Like Sketchfab, we’re just going to have to cross our fingers on this one.
Backing up YouTube
If you’ve got videos on YouTube then you probably have local versions from when you shot or edited the video, but it’s nice to know you have all your videos in one place in exactly the right versions, in case something goes wrong online. For example I have about eight videos on my phone and in iMovie that look something like the one below, but this edited version is the one I would want to repost if something happened to my channel:
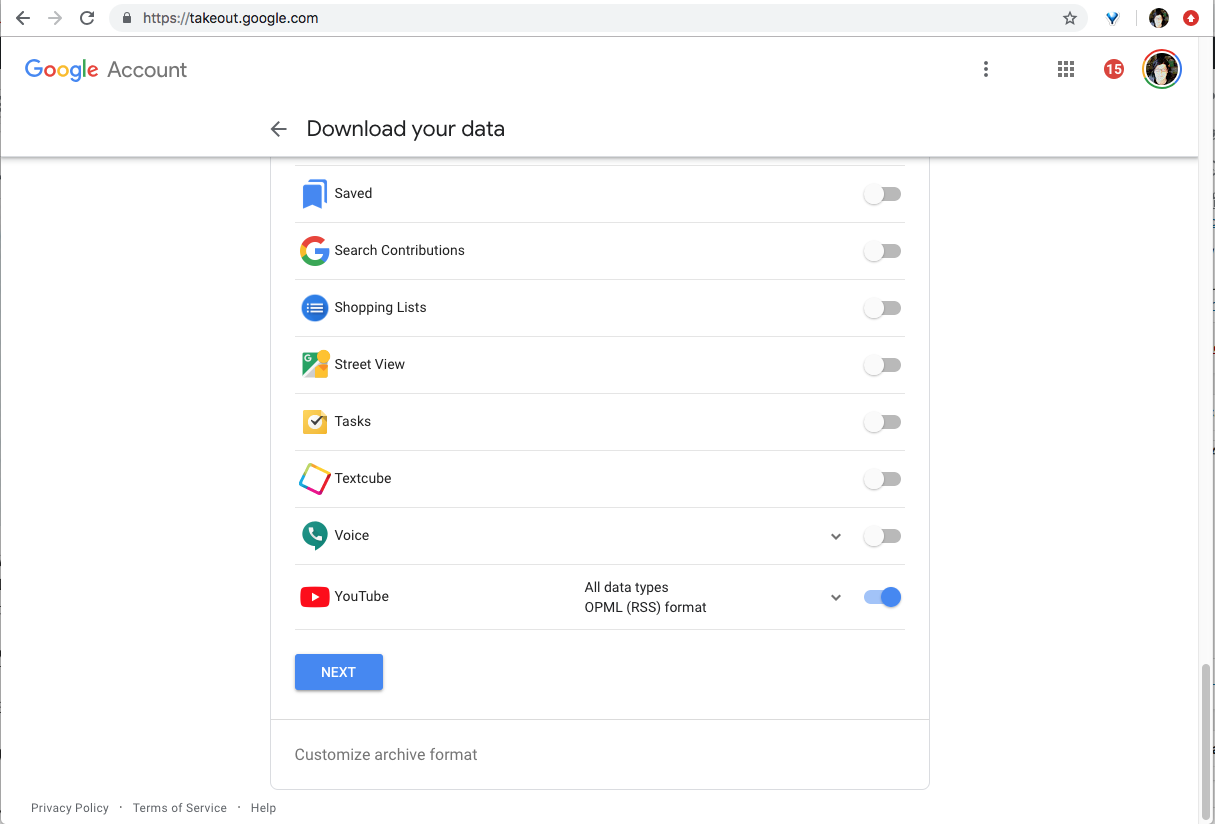
Luckily, backing up videos from your YouTube channel is easy, because YouTube is owned by Google. Just go to Google Takeout and choose “Select None”, then turn on the very last toggle to select YouTube for backup.
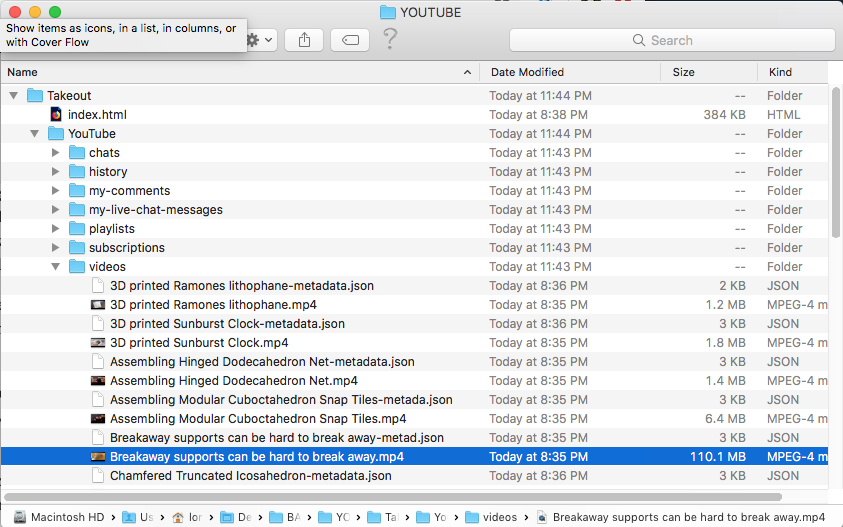
Google will ask you to set some preferences about the archive it will create, then after processing for a few minutes will give you a button to press for downloading a .zip file of all your videos. After you download and unzip the archive, you will see copies of all your videos, as well as .json files that include descriptions and other data, and even a list of all the comments you’ve made on videos and your search and watch histories (!).
Prepare for this archive to be big if you have any significant amount of content! My channel only has a couple dozen very short video clips, and with just that my archive was nearly 1GB. If you’ve got content on Blogspot/Blogger then you can use this same method to create an archive, because Google owns that too.
Backing up WordPress
There are three types of backups that I suggest for online blog content. First, if you have a WordPress blog (like this one!), then you should already be creating backups at least every once in a while when updates occur. How you back it up depends on where your WordPress is hosted; we have Hacktastic on our own server, so we back up from there. The WordPress Codex has information about backups in general, and there are also lots of WordPress plugins for auto-backups.
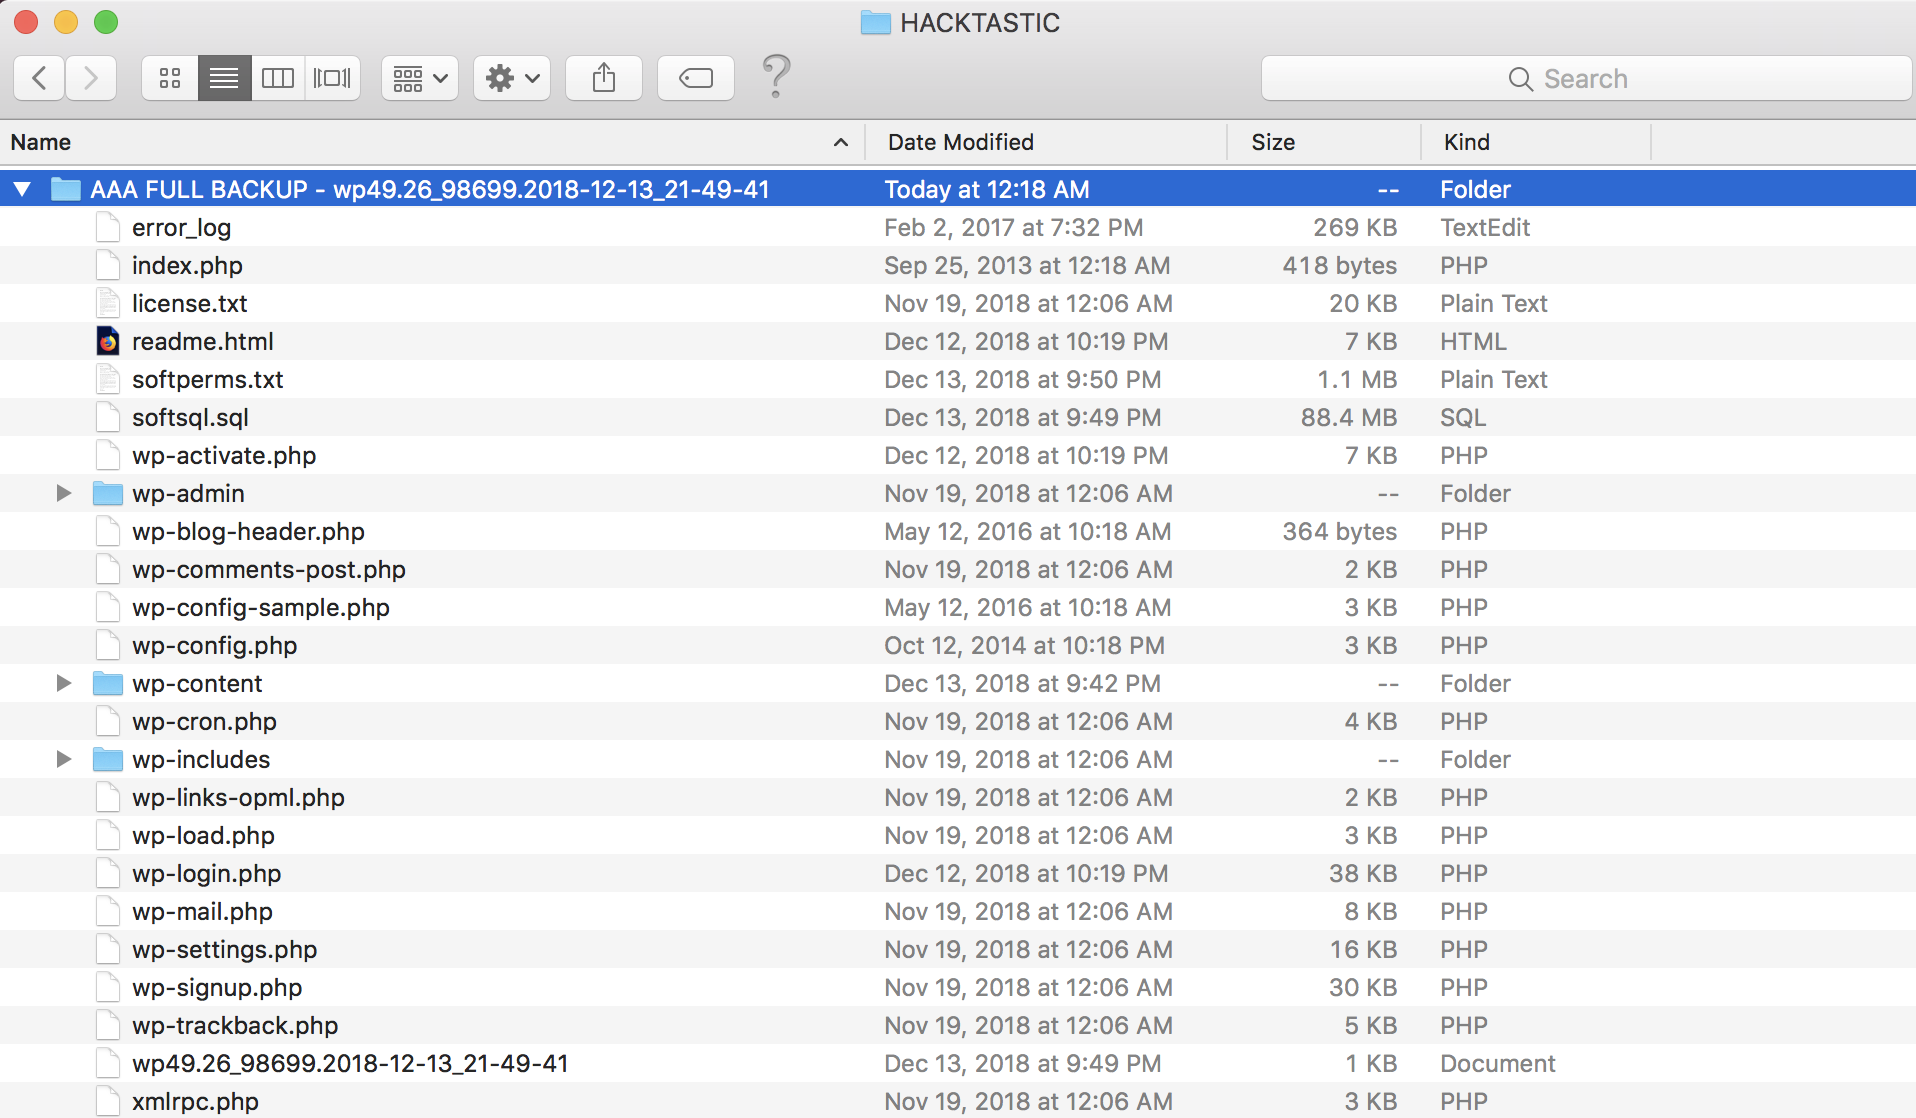
However you do it, you likely will get a zipped archive that contains all sorts of data about your site including uploads, themes, and settings. You can use this backup to reinstall an instance of your site, if needed. But the content is difficult for a human to look at, as most of the information is in an .sql database:
This is great, but what if you wanted to be able to view your articles and maybe copy them into another website or blog? This is the second type of backup that I suggest: open each of your blog posts and pages and save the content with File / Save Page As. This will save all text, image, and formatting so you can see exactly how your articles looked, and cut and paste from them if needed.
I’ve sunk so much time into writing detailed blog posts that I did both of the two types of backups above not only for my current blog Hacktastic and my website here at mathgrrl.com, but also for my old print-something-every-day-for-a-year blogspot/blogger site MakerHome. It’s taken forever to make all these backups, but I’m consoling myself by remembering that next year I’ll only have to worry about backing up the one year of content I generate in 2019.
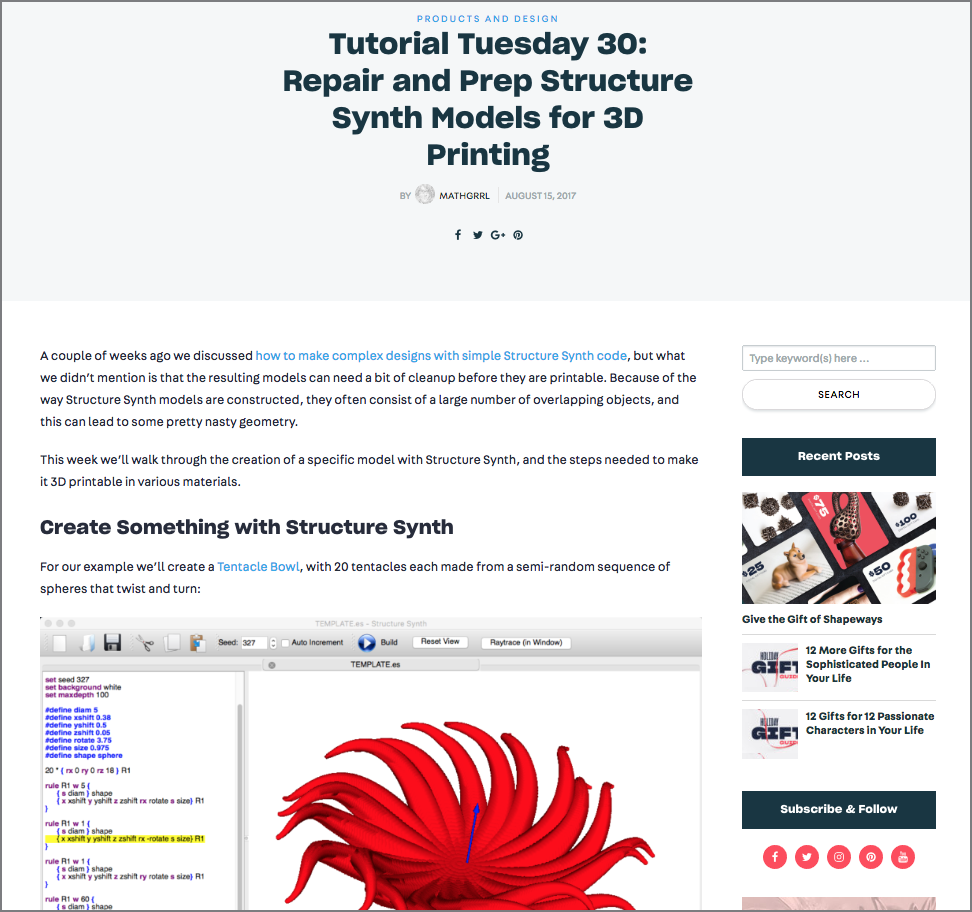
The third type of backup I suggest is to make local copies of articles you write for websites you don’t control. For example, I’ve written a few education-focused articles at Ultimaker Education, and a huge number of technical articles at Shapeways Magazine, like this one about repairing Structure Synth models:
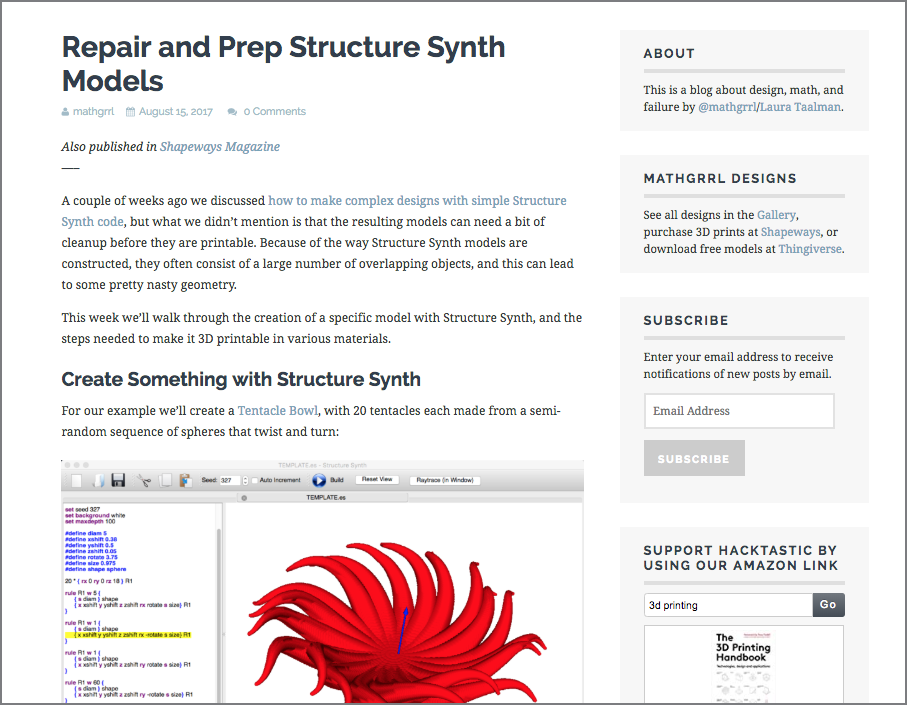
I could back these articles up by saving their complete web pages as above, but if you have a WordPress site then a different strategy can be even more useful: copy and paste the articles into your own WordPress site so that you have complete copies with editable text and images. You can make the posts visible or not on your blog, depending on what your copyright agreements are. Here’s how the article above looks when saved into Hacktastic for safekeeping:
There is something you need to watch out for with this method, which is that if you just do a straight cut and paste, then the images on your version of the article will just point to their original locations at the other site where your article is hosted. If you want to have a truly secure backup then you need to change that, so that local copies of the images are stored in your WordPress database. Otherwise if something happens to the external site then all of your images will become broken and you will have no way to update or fix them.
Luckily, there’s an app for that! Or more precisely, a WordPress plugin, called Image Teleporter. When you activate and set up this plugin and then save any post on your blog, Image Teleporter will scan it and identify any images that point to other websites. Then it will download those images to your own WordPress image database, and update the links so that they point to your copies. (Obviously you should only do this with images for which you have permissions or ownership!) This plugin saved me an immense amount of time and heartbreak, and I heartily recommend it.
Backing up Twitter
I’m not sure that I’d ever want to repost or recreate my Twitter posts if the service ever disappeared, but I do want to be able to preserve the ability to look things up in my past Tweets and conversations for reference. So just in case, let’s back that up as well.
Go to Profile and Settings and scroll down to “Your Tweet Archive” to request an archive of all the Tweets you’ve even Tweeted. In just a few minutes Twitter will email you an archive that you can download. That’s all!
Some people have had problems receiving their archives in their email, so here are some tips for troubleshooting that problem. First of all, the email will have the word “Tweet” in it, but not the word “Twitter” (although it’s from Twitter), so you may have to use “Tweet” if you are searching for the archive in your email. Second, you need to make sure that your Twitter settings allow email notifications (thank you @SteveStreza). Second, you may have to “wake up” Twitter email notifications by changing the email in your Twitter Profile, confirming that change, and then changing the email back again. This second thing actually solved the problem for me (thank you Stack Exchange).
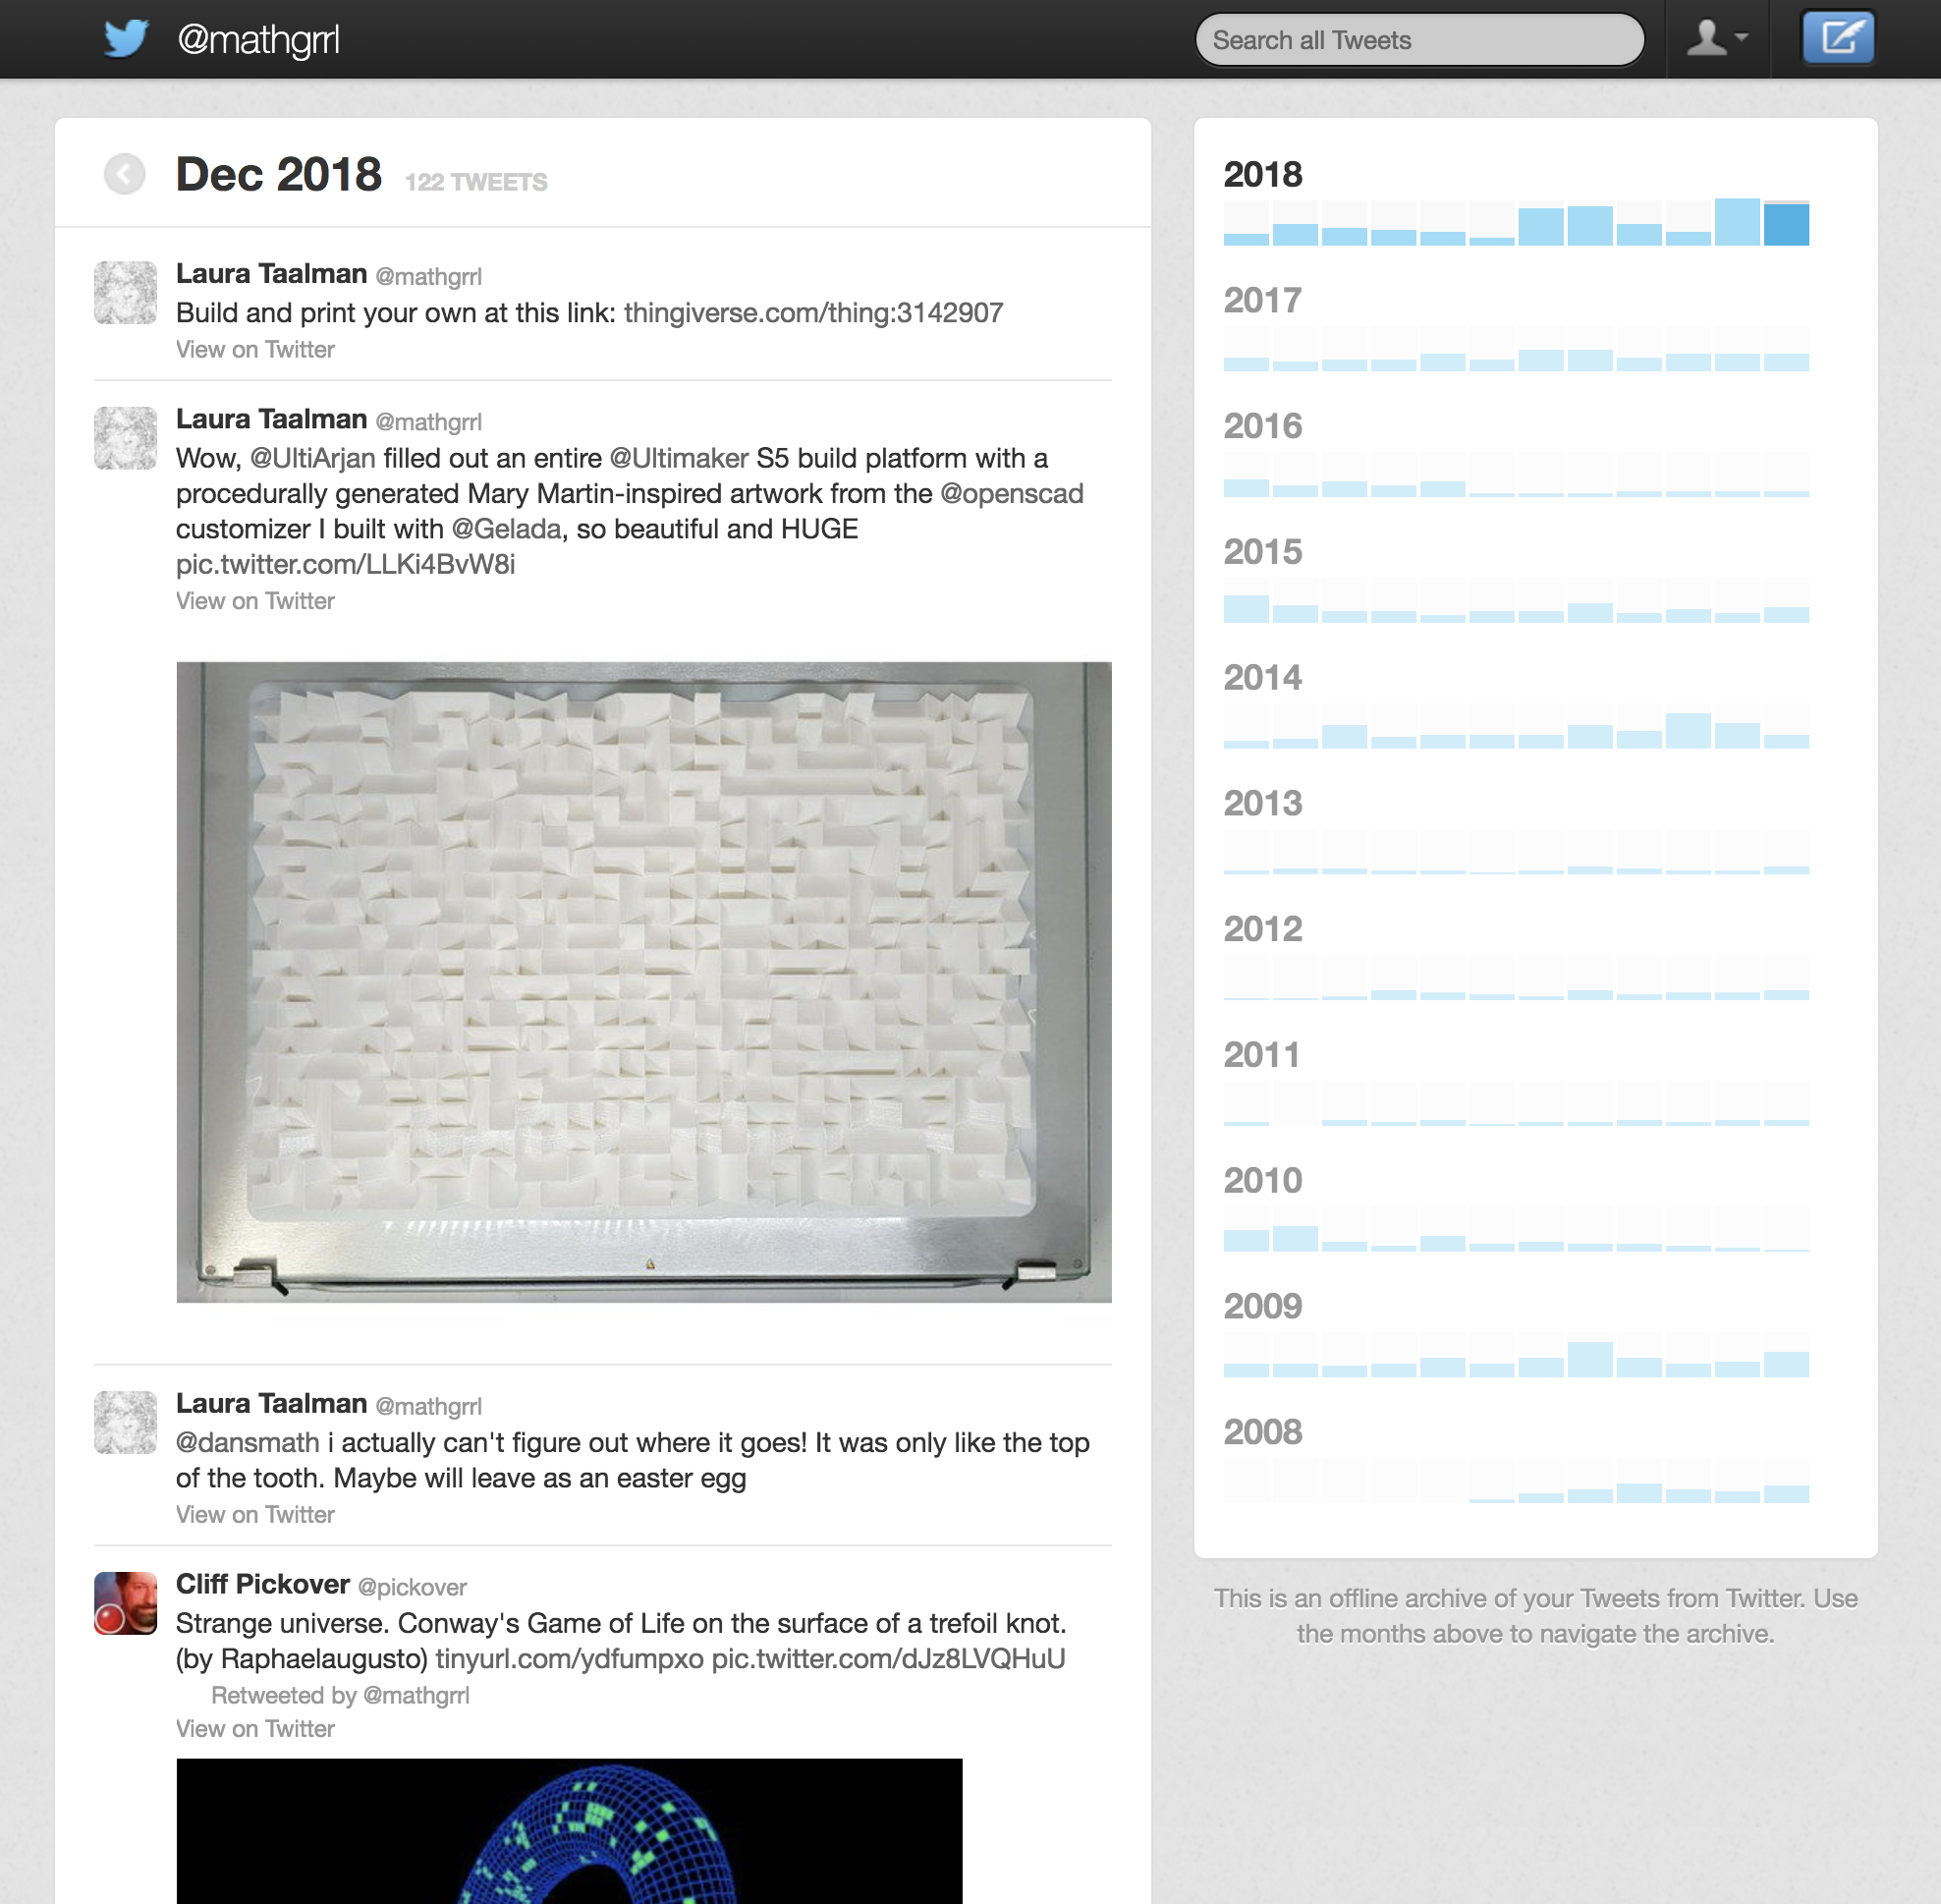
Your Twitter archive will be linear, with Tweets and Retweets and Replies listed in chronological order but not threaded:
And I know, I’m a dinosaur and should probably be using Instagram instead of Twitter… but I’m not. If you are, then say thank you to Tech Crunch, who just this year convinced Instagram to allow its users to download all their images using a Data Download tool.
Everything Else
Of course you should also back up your email and online cloud storage. Gmail and Google Drive data can be archived using Google Takeout (see this Lifehacker article for how to view your Gmail .mbox files if you ever need to), and Dropbox can be backed up just by downloading all your files to a local folder on your computer (select them all at once to get a single .zip file; thanks CNET). Personally you may also need to back up photos that you keep on Flickr or Shutterfly, or music that you keep on Google Play or Apple Music. One last final stretch… what else do you have out there? Anything on Ravelry, Squarespace, Soundcloud, GitHub? If you’re on a Mac, make sure your Time Machine is set up. Some people might even consider a paid online cloud backup service like Backblaze or IDrive, or putting backups on Google Drive or Dropbox.
Storing Physical Backups
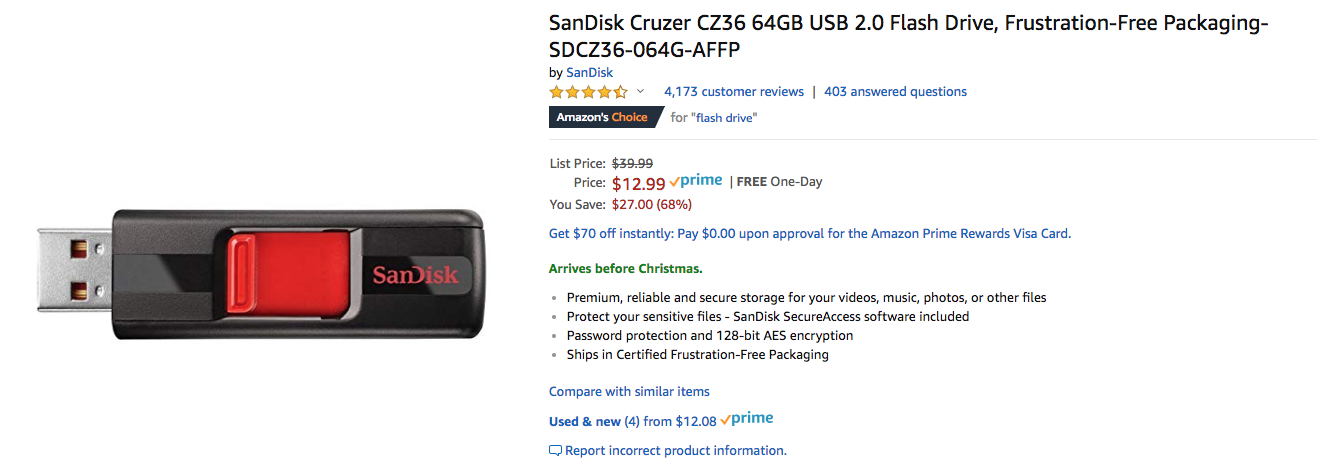
My personal preference for end-of-year backups is to put them on physical media that I can store in a firebox. All of my backed-up content put together (not including Gmail) is about 6GB , which sounds like a lot… but for less than $15 you can get a 64GB USB thumb drive:
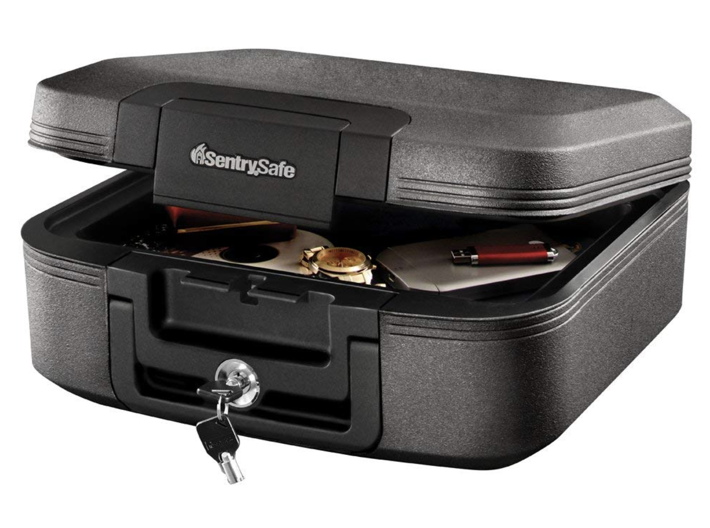
Or, for less than $50 you can get a 1TB external hard drive and back up all of your local and online digital content at once. After backing up your content to a physical drive you can lock that drive in a waterproof/fireproof box for safe keeping for less than $40. Think of this “firebox” as the black box in an airplane; even if your house burns to the ground, your firebox and everything in it will still be intact. While you’re at it, keep your analog content safe too by putting your birth certificate, social security card, and other important papers into that box!
Once everything is backed up and stored away safely, raise a glass. It’s a new year, and time to start thinking about what all the new content that you’ll be creating :)
——————
As an Amazon Associate we earn from qualifying purchases, so if you’ve got something you need to pick up anyway, going to Amazon through this link will help us keep Hacktastic running. Thanks! :)








Leave a Reply