Today we continue Fred Hohman‘s guest post from Day 355, in which he will print the knot fibrations he constructed yesterday…
Now that I have code that can generate trefoil knots and fibrations of any thickness, it’s time to start printing various versions of the models. The goal is to be able to print the trefoil knot separate from the pages to create a 3D puzzle. At the end of this post I’ll share some of my successful experiments in doing just that.
1. Printing the trefoil knot with one page with a gap.
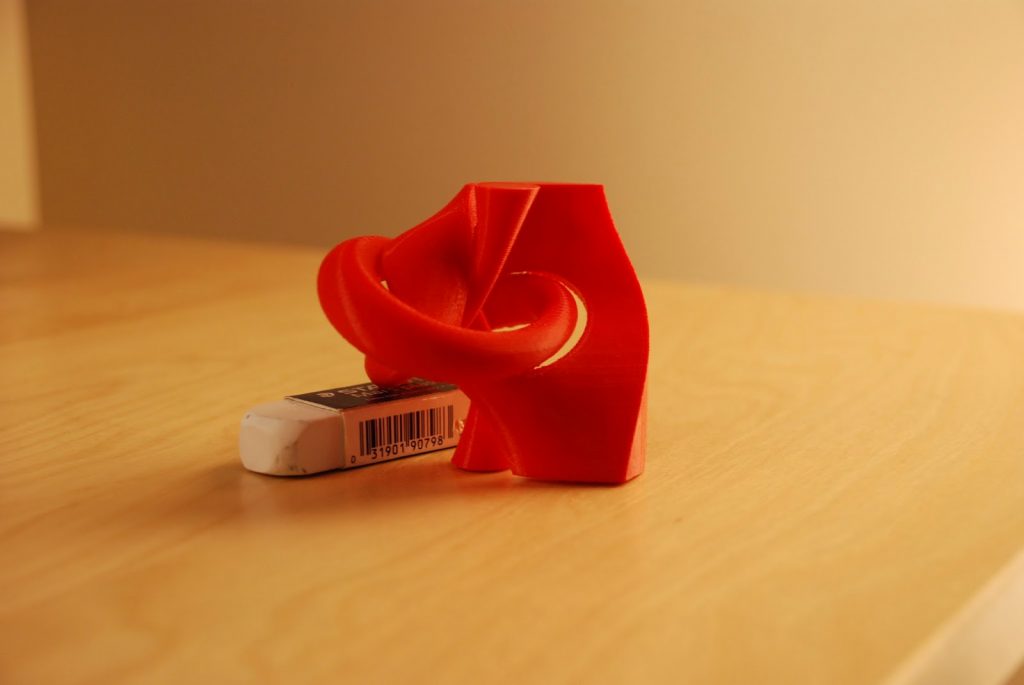
Here I made a model of the trefoil knot with one page, but removed the points where the page meets the knot. In other words, there is a gap running along the knot where the page meets the surface of the knot. When printed, the page should be free to wiggle a little bit. Here is the object in Mathematica:
After exporting to STL and printing, this is the result:
Thingiverse link: http://www.thingiverse.com/thing:331530
2. Printing the trefoil knot with three pages with a gap.
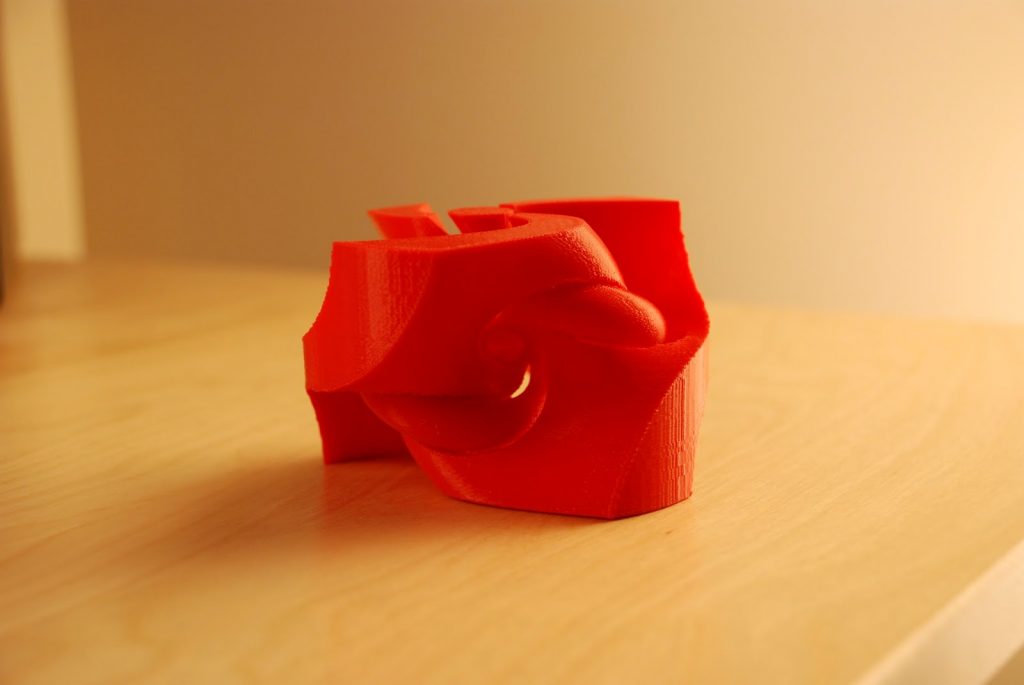
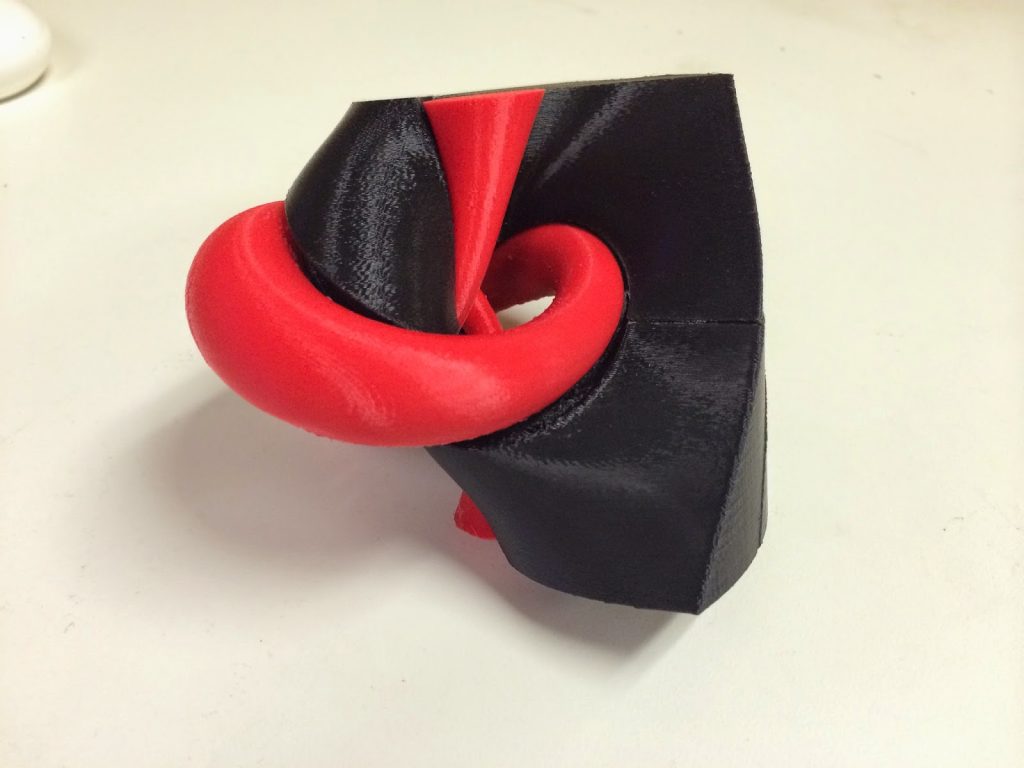
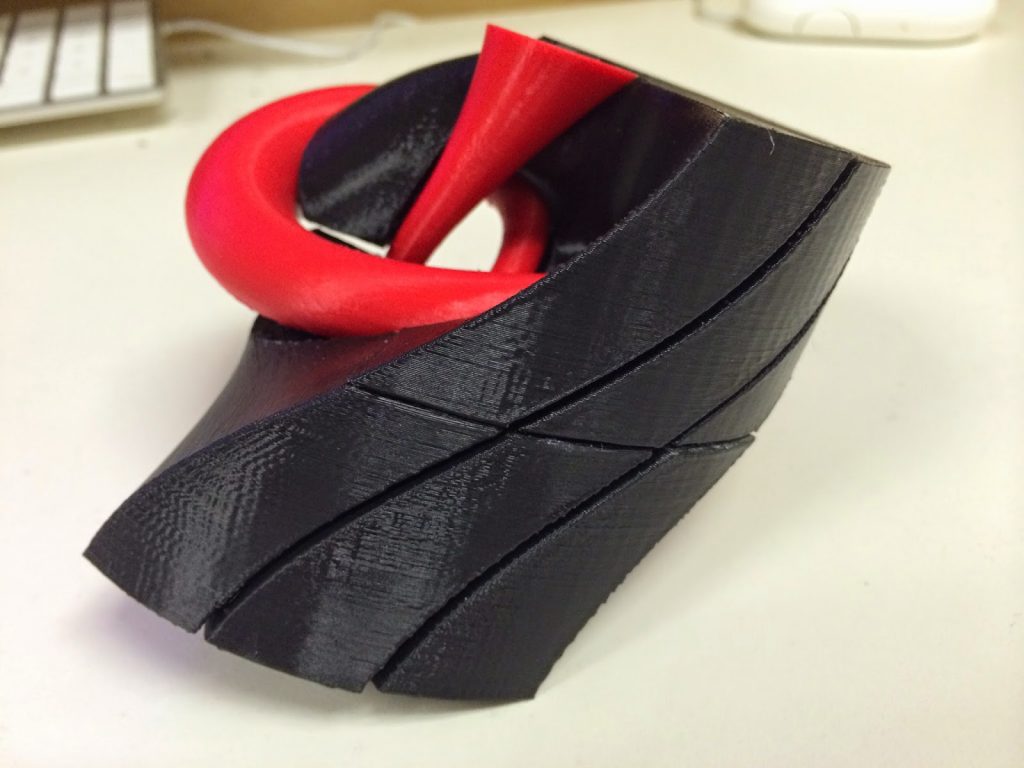
This is a trefoil knot with three pages, all of which have gaps where the pages meet the knot. This knot is closely related to the previous model; however, two more pages have been added, all of which are equiangular (think of the Mercedes Benz logo). The print time on this can be a bit longer (an afternoon), and the clean-up of supports can get annoying. However, this model looks fantastic in person. Here it is in Mathematica:
And now printed:
Thingiverse link: http://www.thingiverse.com/thing:337185
3. Printing the trefoil knot and one page separately.
Here I printed the standard trefoil knot but edited the domain so that the knot itself is bigger. I also made a groove in the knot that follows where one page meets the surface, with hopes that if I could print a page separately, then I could snap the page into the knot. Next, I took one page and split it into two pieces with the plane z=0. With a little force, I was able to get both pieces in the knot. A good first start, but not ideal for consistent “puzzle-building”.
Current and future work.
This puzzle-building problem illustrates a simple idea, but can prove to be very complicated in practice. Many people have assembled large objects by printing smaller components; however, due to the complex geometry of the shape we are dealing with, slicing the knot in a particular way such that the pieces can be reassembled without blocking any other piece is an interesting and challenging problem for any 3D printing enthusiast.
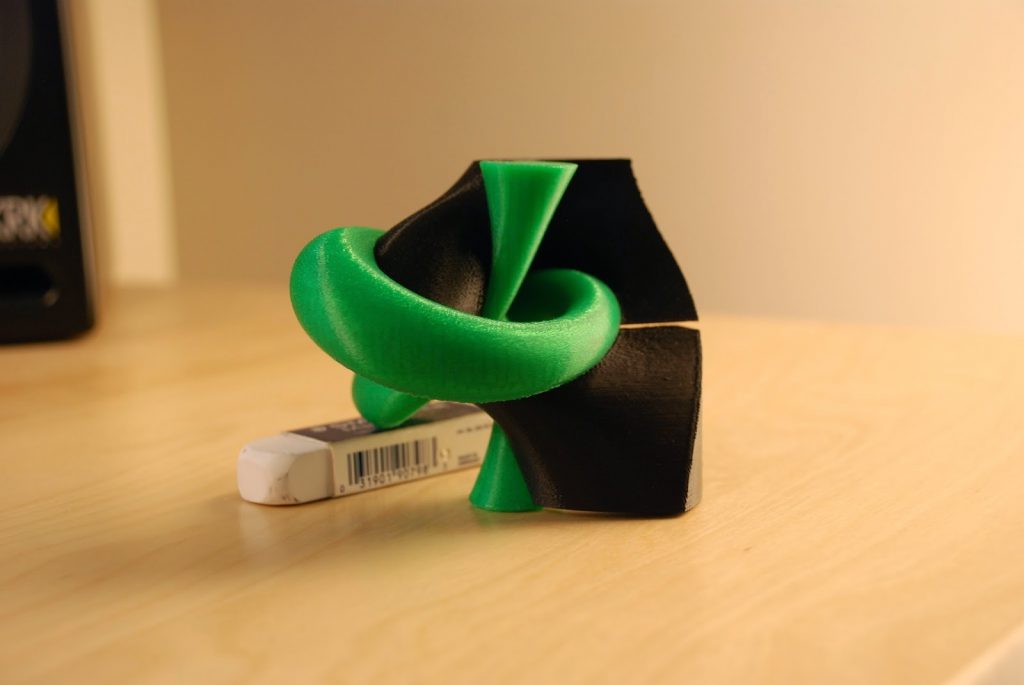
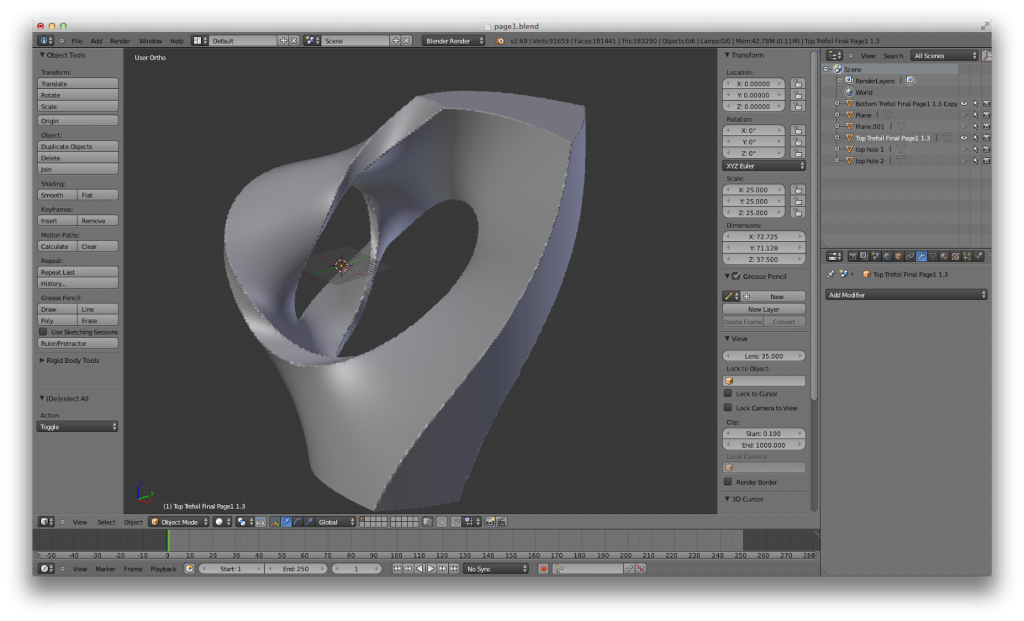
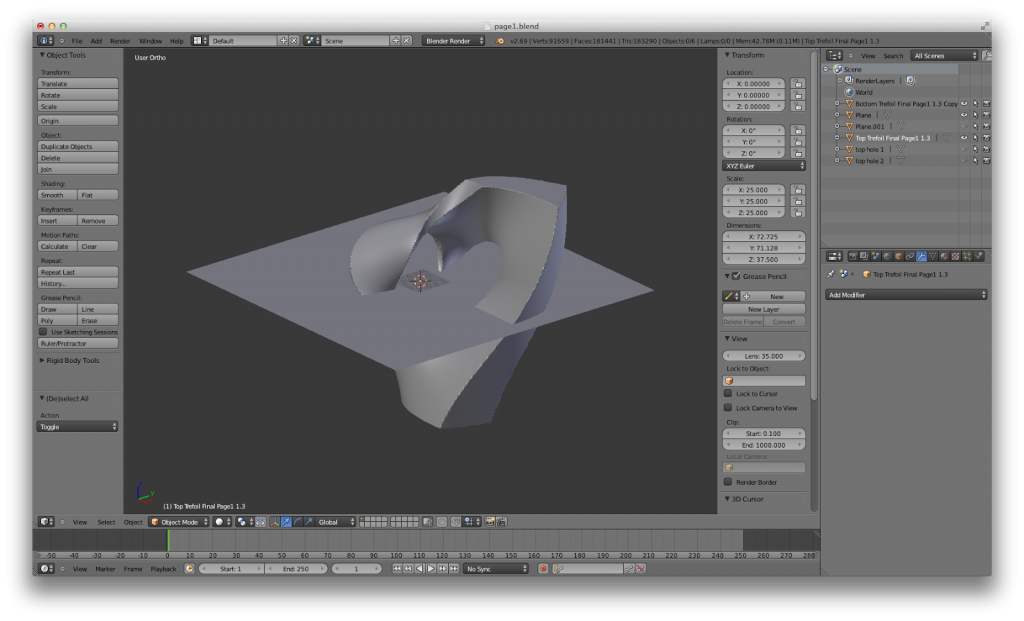
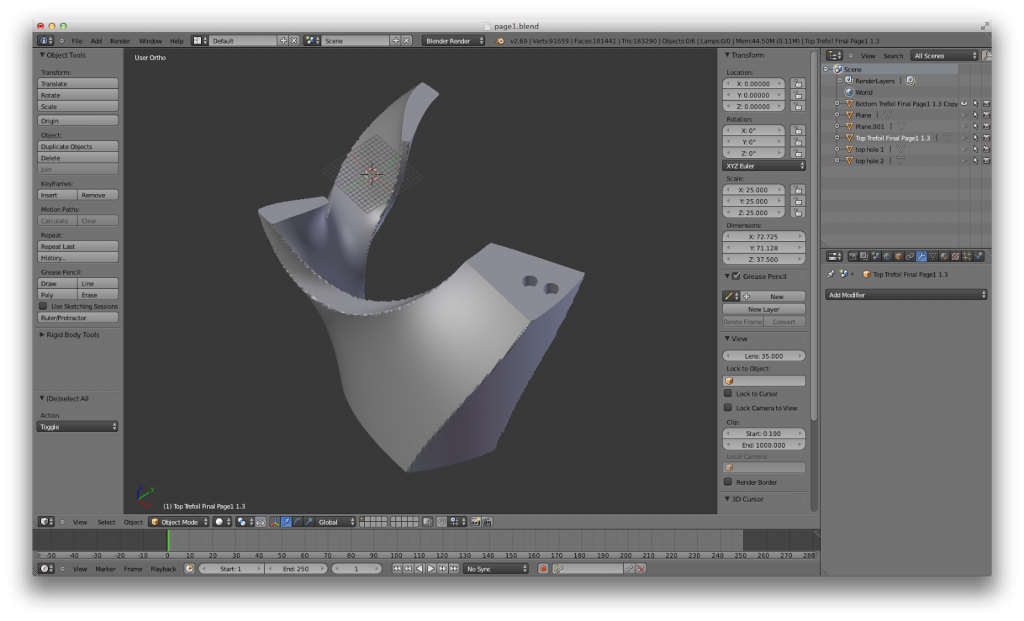
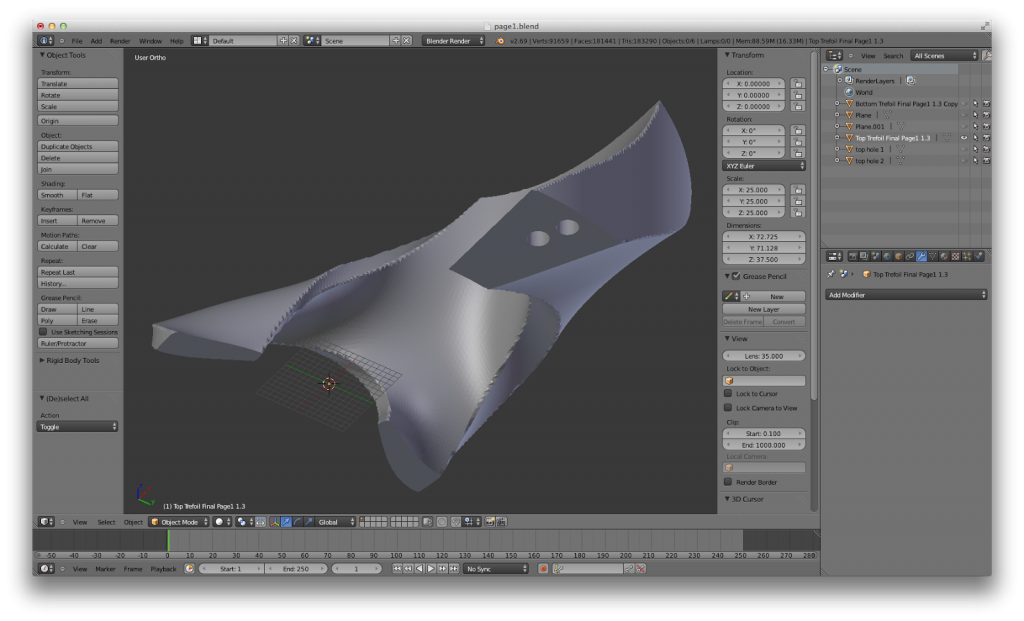
My latest attempt has been to have Mathematica generate all twelve pages of Pi/6 thickness, cut each page into two pieces using the plane z=0, and import each piece individually into Blender, a free, open-source 3D modeling and animation software. In Blender, I added small holes in the bottom and top of each piece of a page. Once the hole was made, I printed the pieces of the pages and glued in small magnets to hold two pieces of the same page together (not all pages are same; in fact, every page is different from one another). I successfully printed a trefoil knot and 3 pages (6 pieces), all with magnets, to make a 7-piece 3D puzzle. Here is the process in Blender:
And here are the prints:
This coming year I will work to refine the process of adding holes; I may cut the pages at different angles too. Once a puzzle has been made and printed that is easy to piece together, contains multiple pieces, and is of appropriate size, I plan on posting the puzzle in its entirety on my Thingiverse profile—so be on the lookout!
I would like to thank Dr. Laura Taalman for the opportunity to write about my research so far, and Dr. David Gay at the University of Georgia for his guidance and access to a MakerBot Replicator 2.




Leave a Reply