I can’t believe it took me this long to get around to printing an iPhone stand. Phone cases and stands are the first thing that most of my students think of to print. But here I am, almost at the end of printing one thing a day for an entire freakin year, and it just now occurs to me that I need a stand for my iPhone. This is like when I learned to knit by struggling through a complicated Fair Isle Estonian sock pattern instead of starting with a scarf like everybody else. After a couple of years of knitting strange and complicated things I finally got around to knitting a scarf, and now almost everything I knit is some kind of scarf. I wonder if now that I’ve finally printed an iPhone stand I will print nothing but iPhone stands…
Or maybe I can just get it out of my system all at once. We printed five stands today:
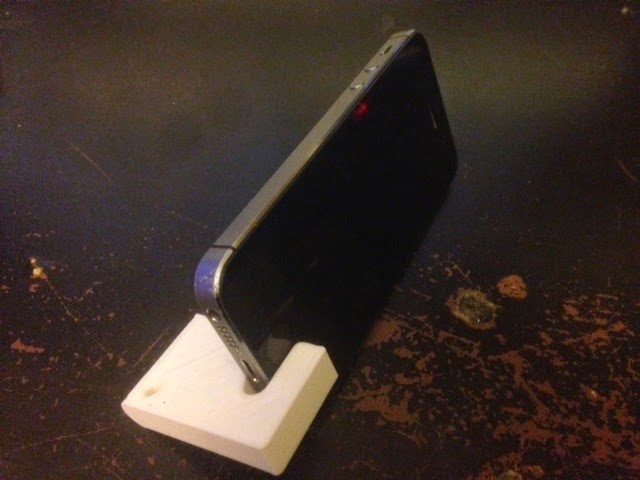
Print One: desktoplathes’ iPhone stand with 2 settings. Can’t get simpler than this. Very nice! The two angled positions work particularly well if you have a case on your phone, since the lip of the angle grabs the front lip of the case. This results in a very sturdy stand, even though it is so small you could easily carry it around in your pocket.
Thingiverse link: http://www.thingiverse.com/make:91016
Settings: MakerBot Replicator 2 with raft but no supports, .3mm layer height, 22 minutes.
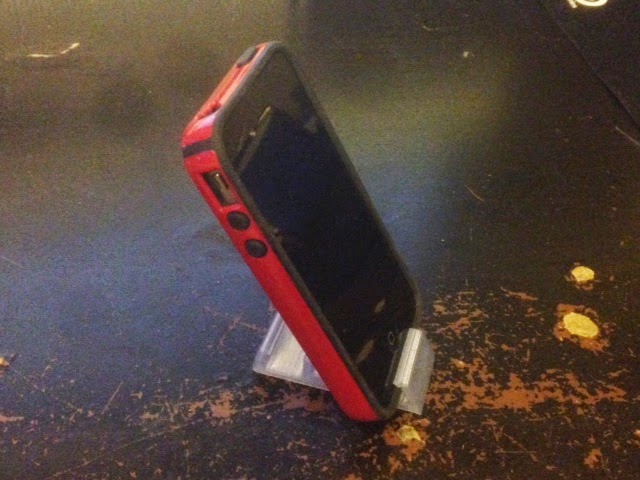
Print Two: SunnyJames’ 6 Position iPhone stand. A lot like the one above but with an extra slot for when you want to stand your phone dead vertical. I can see that being useful for filming. The center slot is too small for our iPhone 4 with case, and too large for our iPhone 5 without case; but for the iPhone 4 with no case this is Goldilocks. The outside slots work with or without the case, with either iPhone model.
Thingiverse link: http://www.thingiverse.com/make:91017
Settings: MakerBot Replicator 2 with raft but no supports, .3mm layer height, 30 minutes.
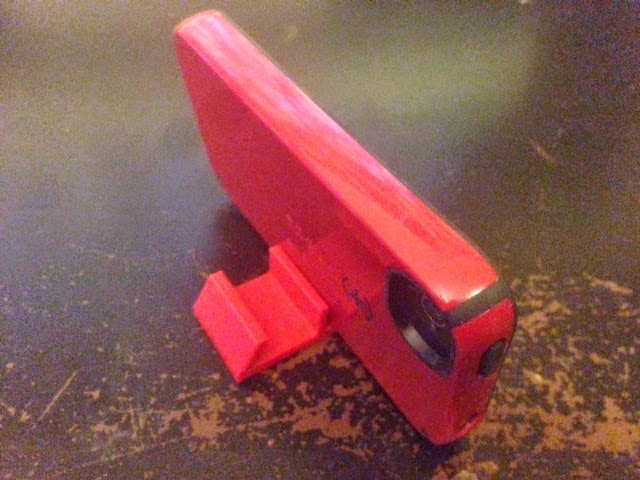
Print Three: adampaterson’s Phone Stand Concept – Dual Angle model. This one is really interesting, and it took me a while to figure out how to use it. It turns out to be perfect for that super-low-angle position where you want to keep your phone on your desk and be able to use the touch screen. Yes! This is the only stand we printed that has this unique and very useful super-low position.
Thingiverse link: http://www.thingiverse.com/make:91021
Settings: MakerBot Replicator 2 with raft but no supports, .3mm layer height, 27 minutes.
Print Four: JohnA’s Kickstand for iPhone / iPad Touch. I love how tiny this is; you could even put this on your keychain if you wanted to. In fact, it has a hole that you could use to do just that! However I had trouble balancing my phone with this one, and sometimes I didn’t get it quite right and the phone would fall over. Perhaps I need to print it at a slightly different scale to get it to fit correctly with my model of phone.
Thingiverse link: http://www.thingiverse.com/make:91022
Settings: MakerBot Replicator 2 with raft but no supports, .3mm layer height, 22 minutes.
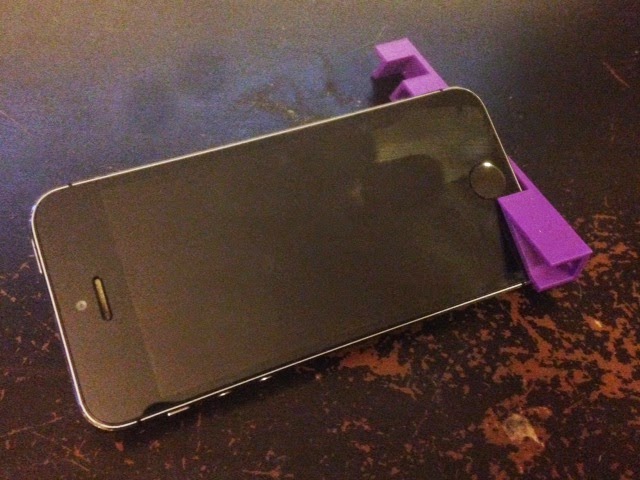
Print Five: tkramm’s iPhone 5 Stand. This one took about twice as long to print as the others, but it has a really sleek and professional design. I’m glad to have printed this one in black; it looks great with the phone. It’s also very sturdy and gives access to the button on the front of the phone. There’s only one angle option but it is a good one. Fits our iPhone 5 but not the iPhone 4.
Thingiverse link: http://www.thingiverse.com/make:91024
Settings: MakerBot Replicator 2 with raft but no supports, .3mm layer height, 57 minutes.
The verdict? Some are better for charging, some for watching videos, some for landscape, some for filming. And now I think we have enough iPhone stands for the whole family and I can stop printing them now.
Technical notes, time flavor: The five times listed above are from the MakerBot Desktop software’s estimate; I used that measure in order to be consistent, because I didn’t mark down the exact times for all of the items. In general the MakerWare estimated time is an over-estimate for the Replicator 2; for example, the fifth print actually took only 47 minutes, not 57. For the Replicator Mini the opposite is true: the MakerBot Desktop software tends to under-estimate the time needed for printing. In general we have the following:


Leave a Reply