You’d think it would be easy to make a machine knitting punch card pattern based on something as simple as Tetris pieces, and I guess it is, unless you want it to be interesting.
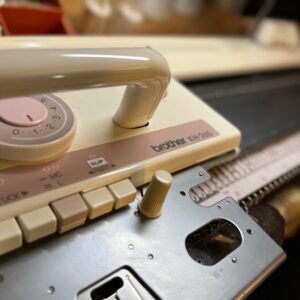
In this post we’ll create a tessellation of Tetris tetrominos that is suitable for a 24 x 48 punch card, and go from pattern to finished knit, wearable scarf. For more in-depth details about how we’re using OpenSCAD code and a Silhouette Cameo 3 craft cutter to create punch cards for our Brother KH-881 knitting machine, check out our previous Hacktastic posts on the subject.
Tetromino Tessellations
There are many, many ways that the five tetrominos from Tetris can be used alone, or in combination, to tile rectangular regions. For example, two copies of each tetromino can fit into a 5×8 square rectangle (see Wikipedia for much more about this sort of thing, if you’re interested):

In our case we are looking for a pattern that can fit inside a 24 x 48 punch card, with any repeats divisible by those dimensions. We also want to draw the Tetris pieces as solid blocks, not as blocks with outlines. At our small knitting scale the blocks of the Tetris pieces would only be two or three stitches wide, which means that any outline stitches would be way too thick around those blocks.
If we use solid Tetris pieces in our design, then in order to be distinguishable two pieces of the same color cannot touch along edges. Our knitting machine can handle two colors of yarn per row, so we need to make a tetromino packing that is “two-colorable” in the sense that no two vertically or horizontally adjacent tetrominos will have the same color. We know from the Four Color Theorem that we can properly four-color any Tetris tessellation, but two-colorings are only possible for a small subset of Tetris tesselations, most of which are kind of boring.
Tetris Houndstooth
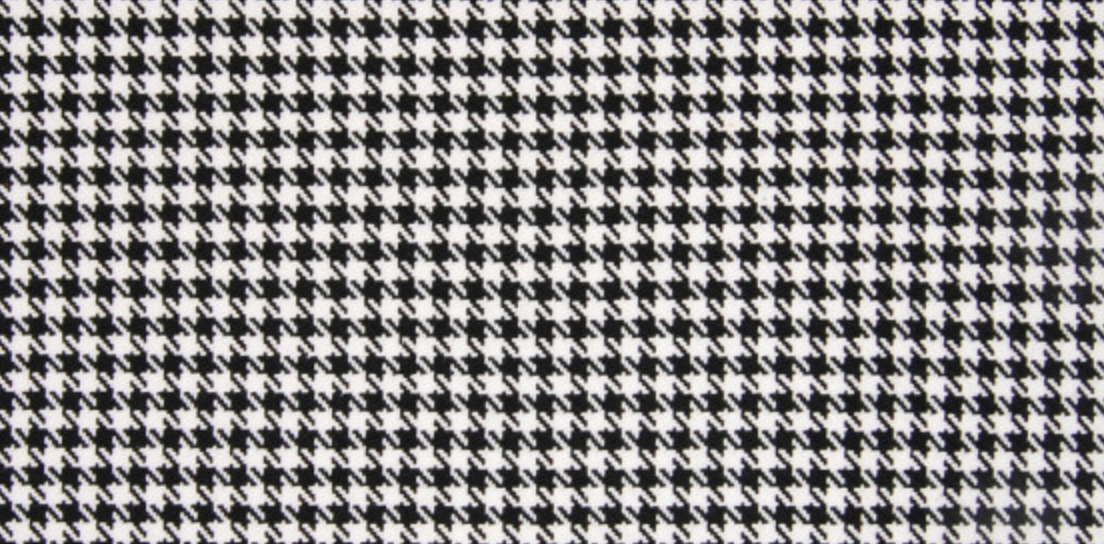
So how can we make a two-color Tetris tessellation that is interesting? We’ll get our inspiration from the classic houndstooth pattern, a checkerboard made with irregular toothy shapes:
We can do a similar checkerboard trick with any one of the five Tetris tetrominos, but they aren’t very exciting:
What about a houndstooth-style pattern that uses more than one type of Tetris piece? After a *lot* of experimentation and many dead ends (we’re talking days, not hours), we finally found a pattern that uses the “T” tetromino and both the “S” tetromino and its mirror image “Z”:
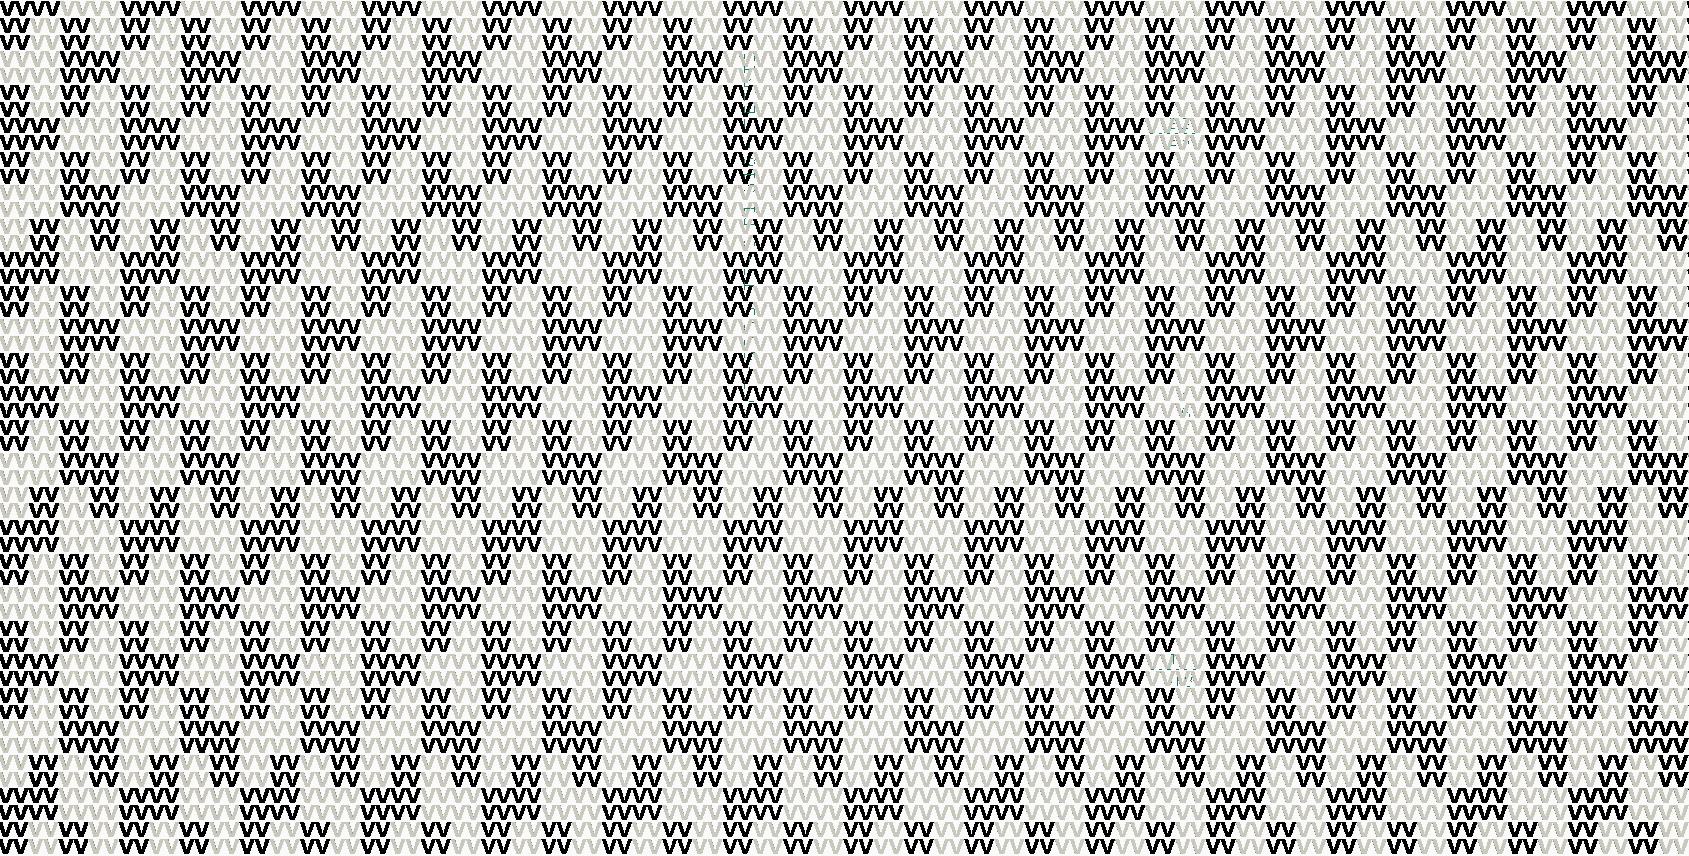
The mirror image of the black stitches is the same pattern as the white stitches, so the design is very balanced. The pattern is regular enough to seem constant from a distance, but on closer inspection changes shape and orientation. It’s a little disturbing and hard to settle your eyes when looking at it, which is exactly what I was hoping for. :)
Punching Holes
Our OpenSCAD pattern repeater can generate this design with two blocks and a couple of for loops, and assemble the whole thing into a punch card design:
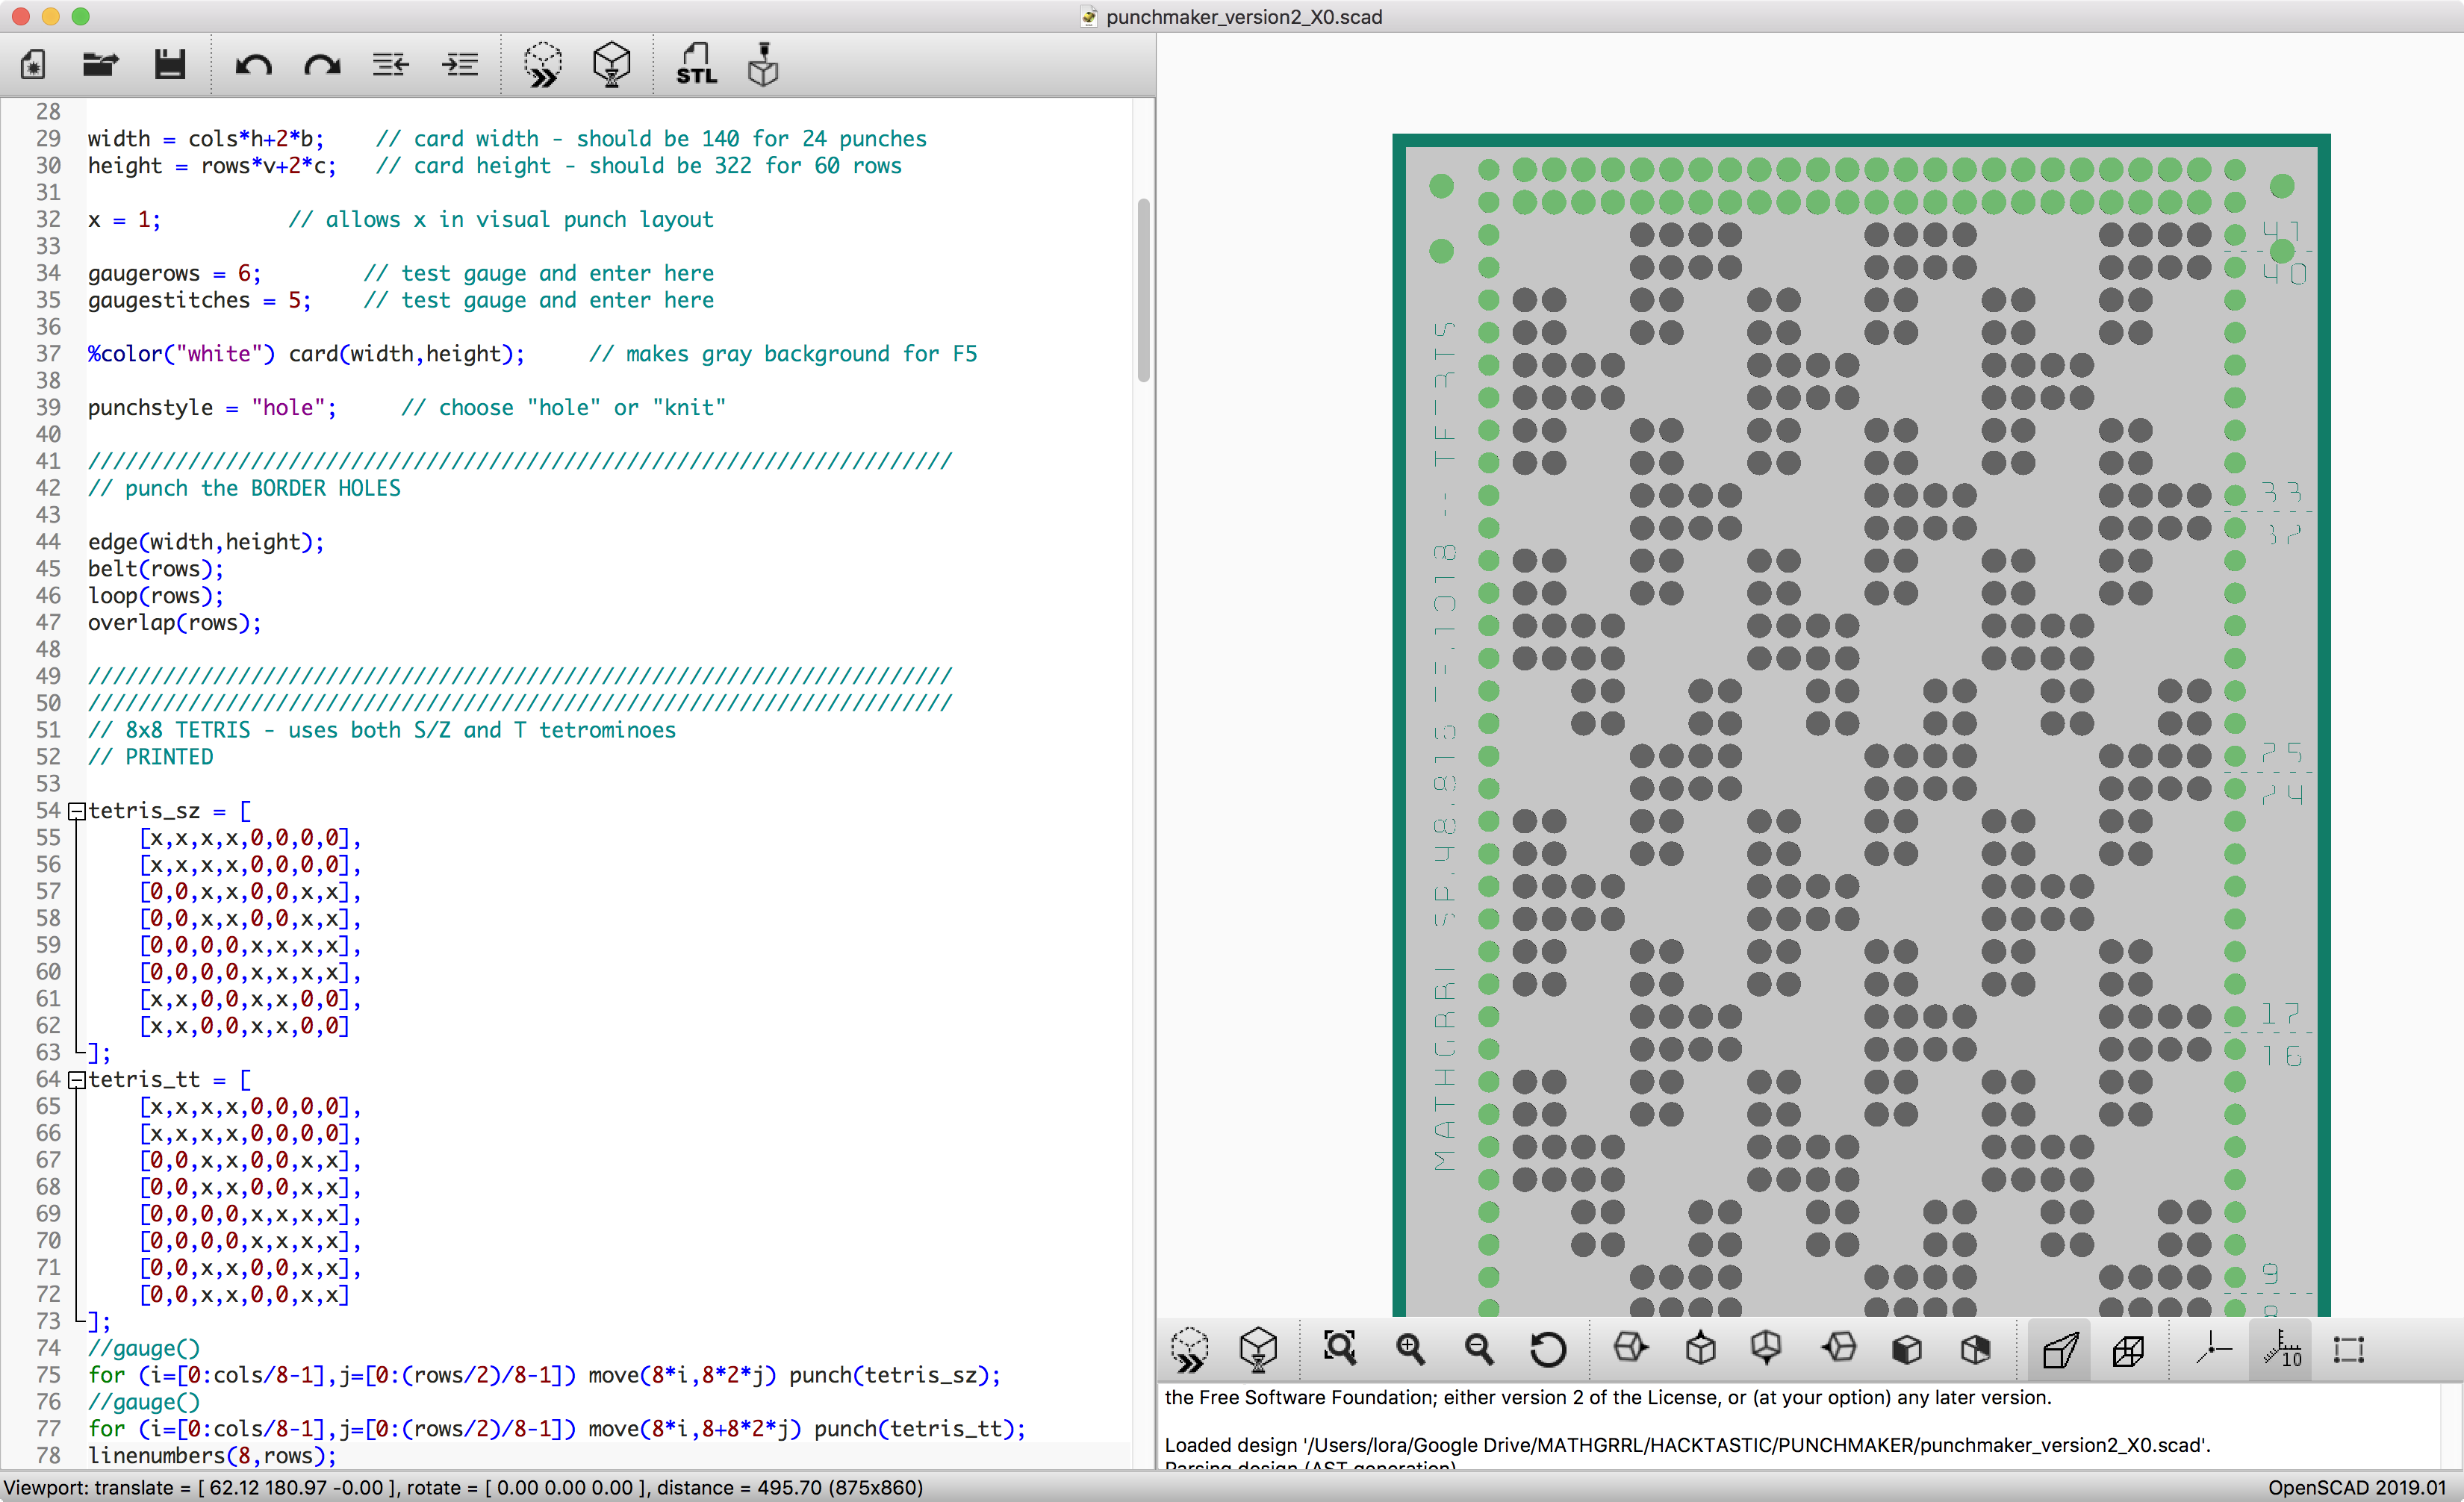
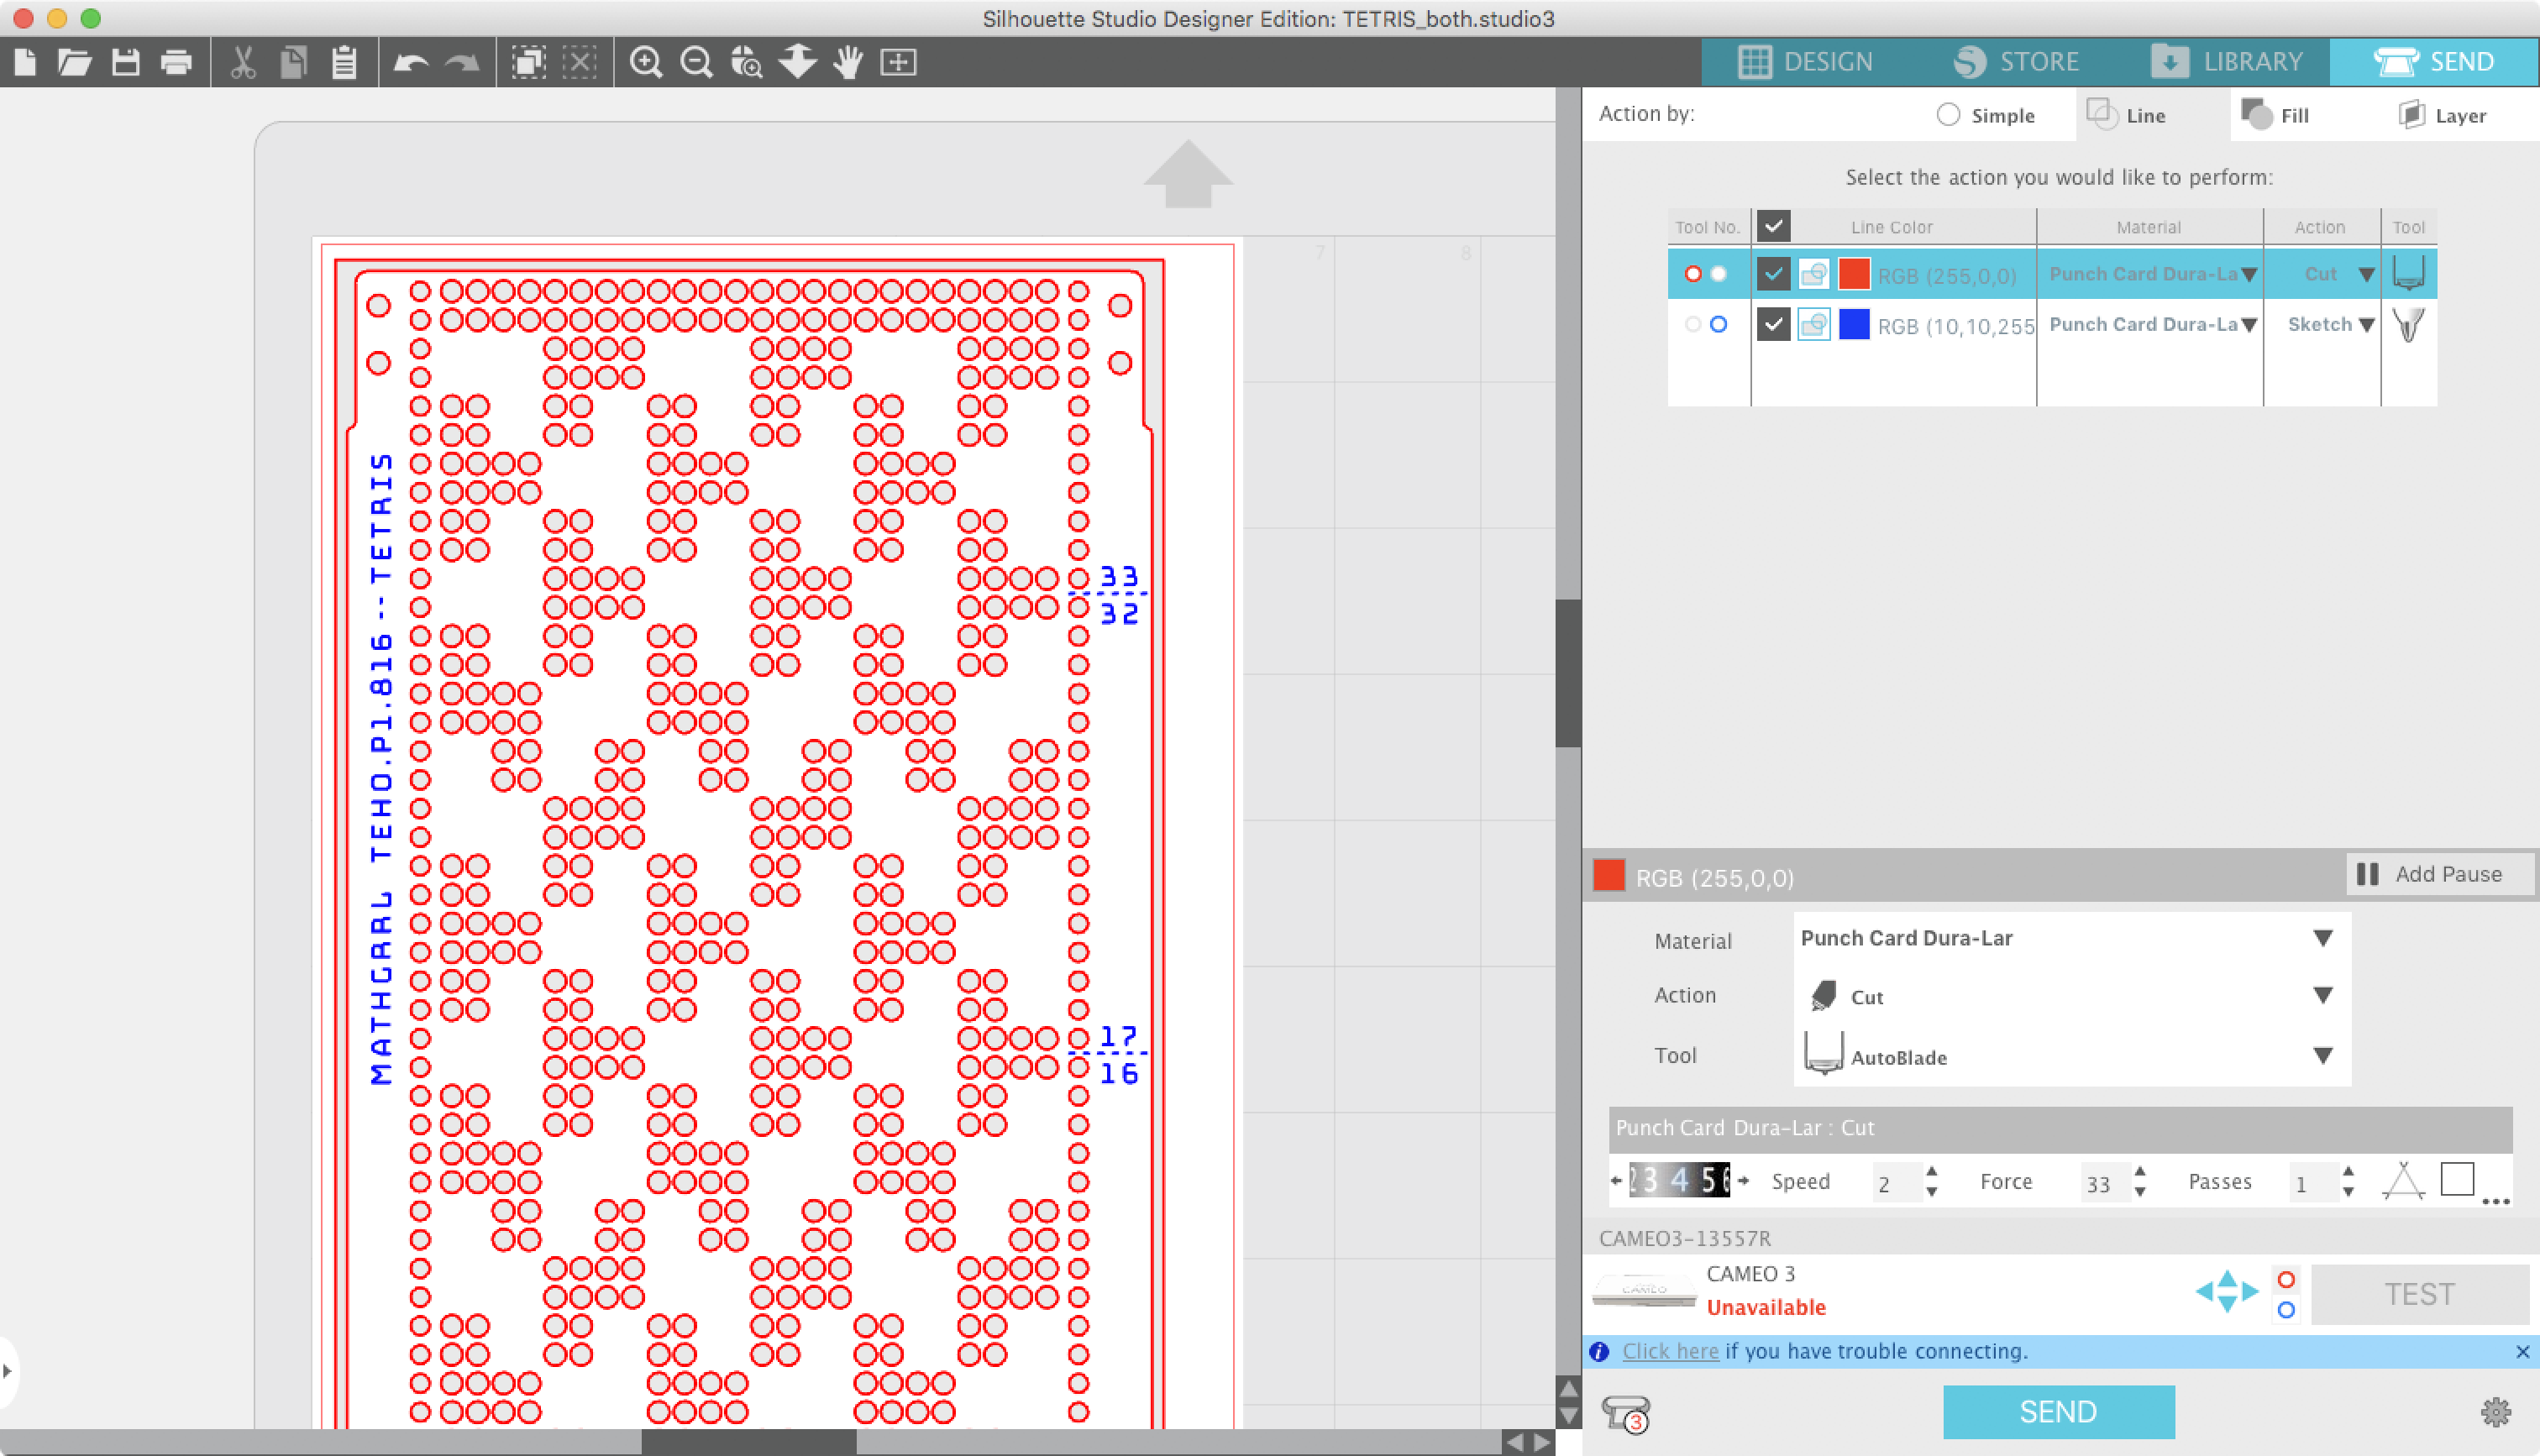
From here, we export the OpenSCAD design as two SVG files — one for objects we want to cut, and one for objects we want to draw — and import both files into the Silhouette Studio software. We set the cutting paths to red and the drawing paths to blue, and then send to the Cameo 3 craft cutter with the settings we’ve established for our Dura-Lar punch card paper.
After a lot of noisy cutting sounds we have a cut punch card!
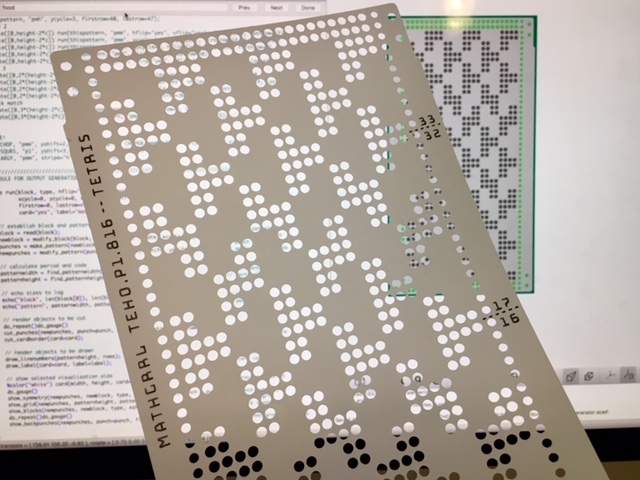
This pattern has a 8 x 16 region that repeats horizontally and vertically, so the 24 x 48 punch card has the same pattern of dots repeated three times across the card and three times up and down. The numbers and dashed lines on the right of the card help the knitting machine user to start and stop at repeats of the pattern. Since the pattern is 16 rows high, every 16th row is marked. These marks appear at heights that will be visible while the card is in the machine, not at the actual pattern row beginnings. These particular cards are made for Brother knitting machines; when the mark shows at the bottom of the inserted card, the machine is actually reading the pattern seven rows down.
Knitting and Finishing
The punch card that we just made feeds into our knitting machine. The card tells the machine how to set the needle positions for each pass of the carriage. These needle positions determine which color will be knit on each needle, producing a two-color “Fair Isle” knitted pattern. Going back and forth on the knitting machine, we knitted a large rectangle twice as wide as the scarf we wanted, so we can fold it over and have the pretty side of the fabric on both sides of the scarf. The machine knits an entire row in just a couple of seconds, but keeping track of the weights and tension and making sure the stitches aren’t falling off and the hard work of pushing the carriage back and forth is actually a significant amount of work (and hard on your back!).
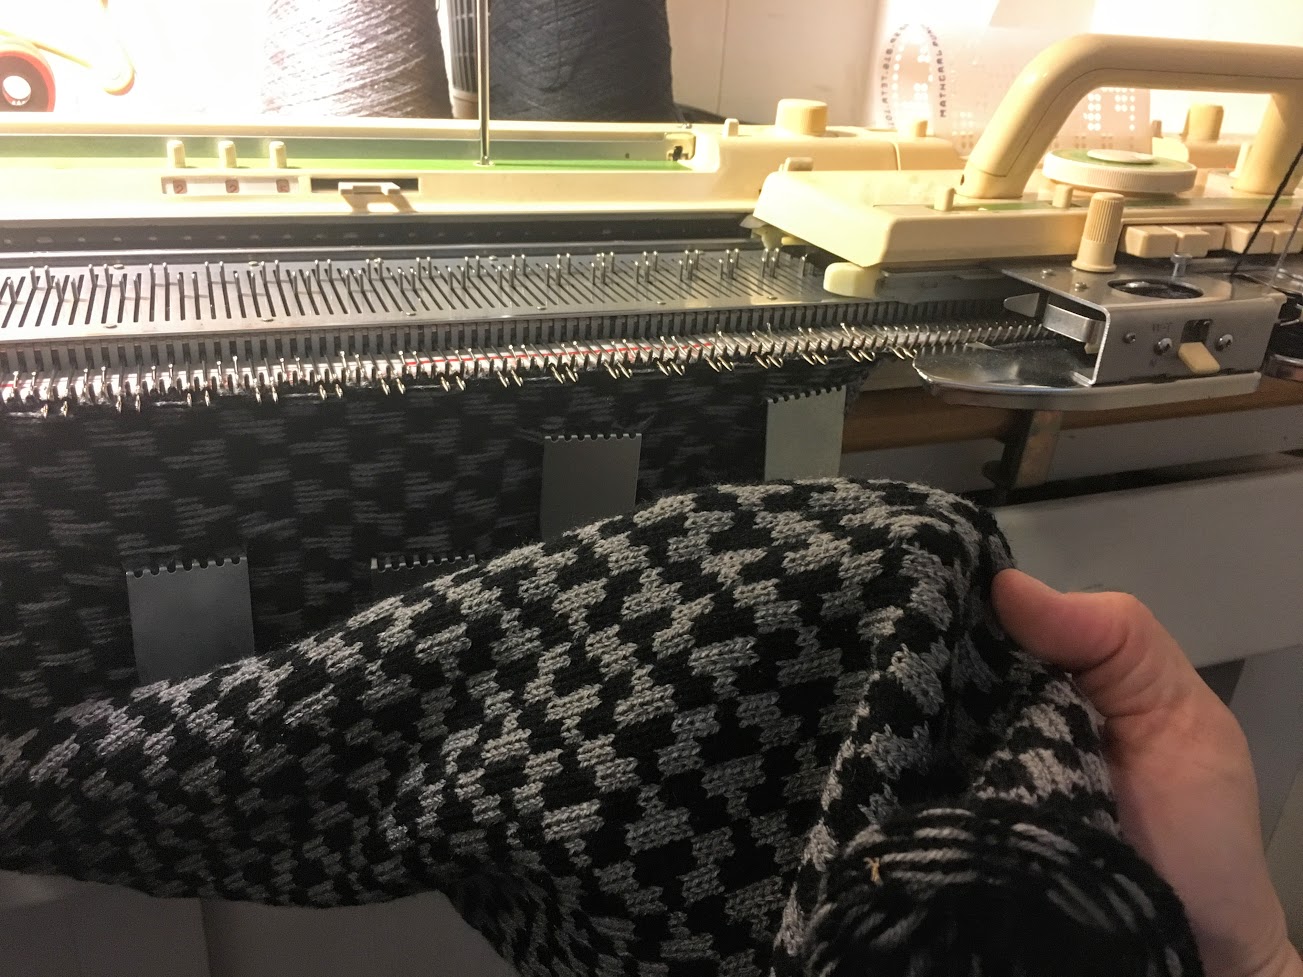
From Fabric to Scarf
At this point I realized that there are a lot of steps involved in making a scarf from a piece of fabric, and up to this point all I had done is make the fabric itself. The knitted material needed to be “blocked” or steamed into shape, and the side and ends needed to be knit or sewn up carefully. All that work would seriously cut into my pattern-creation time, so I found some outside help! I passed the material on to Kathleen and Ginny at Kathleen Temple Tailor, who did all the edging and finishing to make the raw knitted fabric into a beautiful scarf!
(Fellow knitters, I know some of you might be very disappointed in me right now… here I am using a knitting machine instead of knitting by hand, and then I went on to avoid doing all the blocking and finishing! Did I actually DO anything at all from a knitting perspective? I don’t know, but I want you to know that I *can* knit a scarf by hand. It takes forever.)
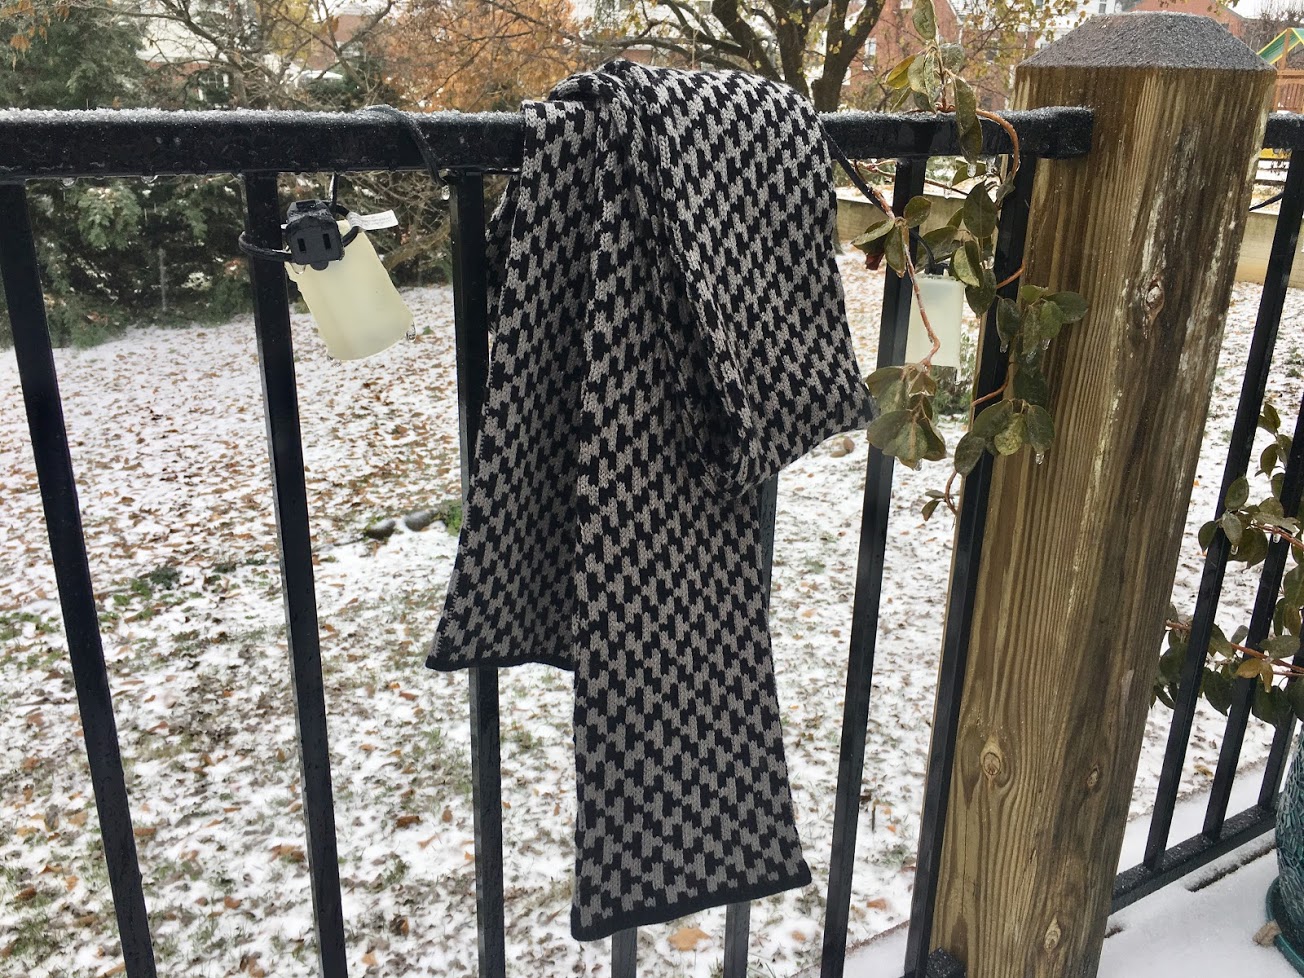
Okay, are you wondering why there is snow on the ground here in Virginia in late June? Well *maybe* I finished this piece a few months ago but didn’t have time to document it until now… in fact, stay tuned, I have a backlog of stuff that hopefully will pop up here in the next few weeks. :)
——————
As an Amazon Associate we earn from qualifying purchases, so if you’ve got something you need to pick up anyway, going to Amazon through this link will help us keep Hacktastic running. Thanks! :)

great stuff!
can you share the updated pattern generator with the text and cutout inserts?
cheers :)